Get Lost Mountaineering
You are here: England » Peak District » Bleaklow, Alport, Derwent Edge & Howden Edge from Derwent Valley
Back Tor, Howden Edge, Margery Hill & Outer Edge
Back Tor, Howden Edge, Margery Hill & Outer Edge
from Fairholmes Car Park, Derwent Dam
Start/Finish
Fairholmes car park just to the S of the Derwent Dam. This is about 2 miles up the minor road, from the bottom of the A57 (Snake Pass), on the W side of the Ladybower Viaduct which crosses the northern arm of Ladybower Reservoir. In winter, this road is often untreated and it can be quite hazardous under snow and ice. The A57 is usually gritted but it does not take much wintry weather to close the Snake Pass at its highest point, beyond the Snake Inn.. It is expensive to park in this car park but there are good facilities, including toilets, snack bar, gift shop and ranger service. Free parking is available on the minor road, some within a few hundred metres of Fairholmes. On Sundays, the minor road is closed beyond Fairholmes but a regular bus service runs to the end of the road. The bus is used at the end of this walk so check the times and fares before setting out as it can be unreliable. If the bus is not running then the only alternative is a 5 km walk along the cycle track on the east side of the Howden and Derwent reservoirs.
Distance/Time
18 km Approx 6 - 7 hours walking plus bus travel time and waiting
Peaks
Lost Lad, 518 m, SK 194 913.
Back Tor, 538 m, SK 197 910.
High Stones, 548 m, SK 188 943.
Margery Hill, 546 m, SK 188 967.
Outer Edge, 541 m, SK 177 969. OS Outdoor Leisure 1: Dark Peak
Introduction
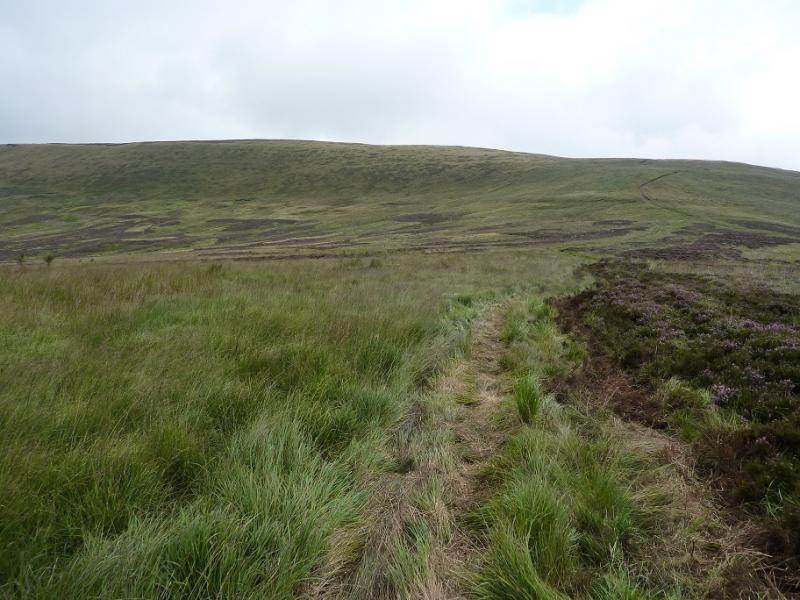
This is a good but strenuous ridge walk with excellent views. Some of the going is boggy and gaiters are recommended in a wet spell. There is plenty of time for this walk on a late-winter's day when the views are often at their best and the frozen ground is more pleasant to walk over. Snow and ice are not normally a problem but err on the side of caution if you have any doubts. The steepest section is in ascending Hollin Clough. The ridge itself has the gentlest of gradients. There are some outcrops on the ridge but not on the scale of the Derwent Edge. The ascent up Hollin Clough is a delight. Crow Stones (below Outer Edge) is one of the finest outcrops in the area.
Route
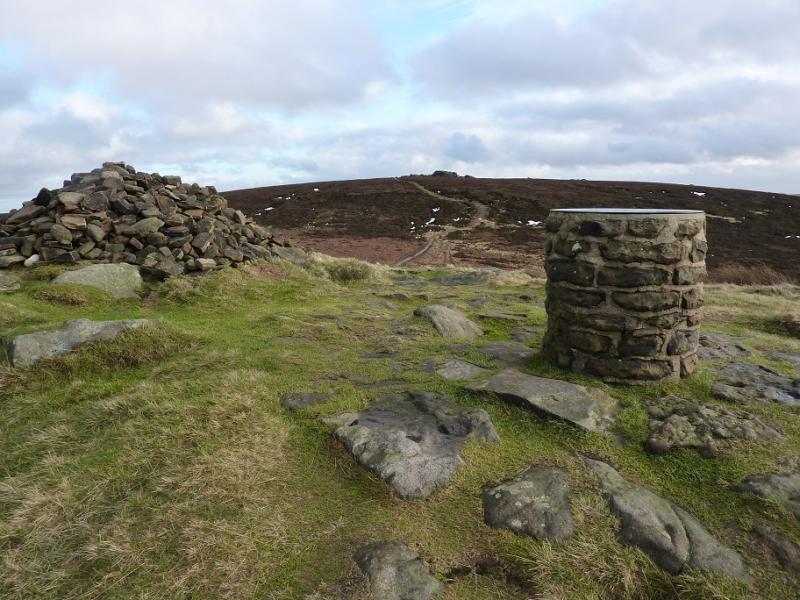
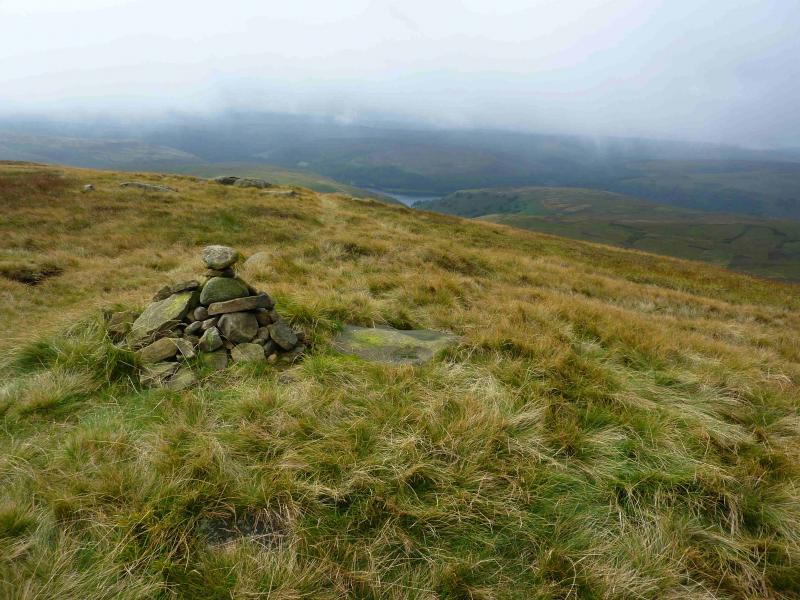
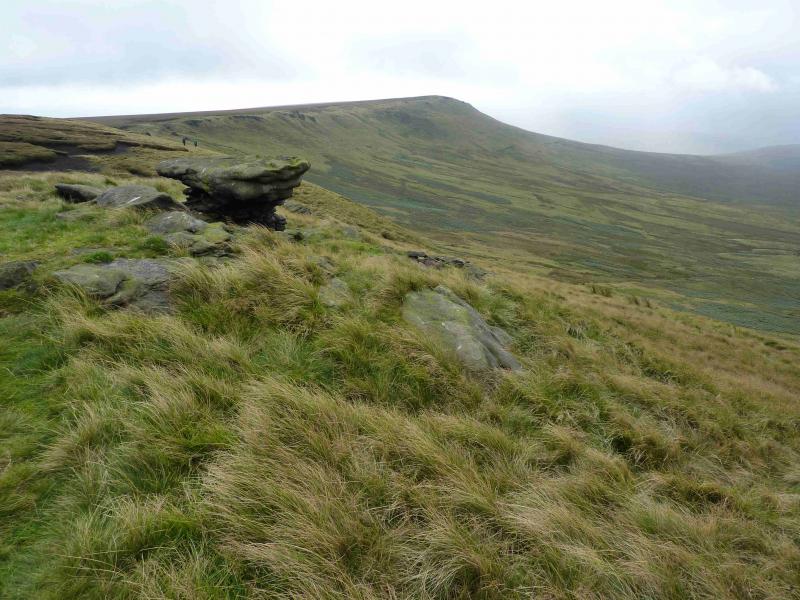
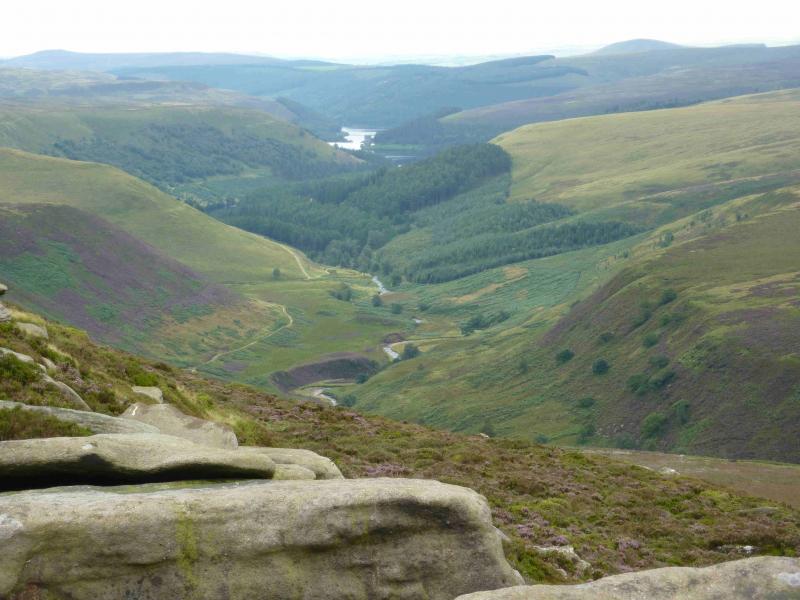
(1) From the car park, walk N towards the Derwent Dam, on a minor road. Cross the road bridge then soon leave the road and follow the obvious path across the grassy area below the Derwent Dam. Climb up the steps and emerge on a good track. Turn left, N, and follow the track for about 200 m to just before the bridge over the stream flowing out of Hollin Clough. Just before the bridge is a small sign, easily missed, with a footpath arrow on it. This indicates a path which ascends the S side of Hollin Clough. Higher up is a more prominent sign confirming that this is Hollin Clough. The path stays close to the stream which is on your left. Higher up the path goes to the right, leaving the stream and soon reaches a crossroads of grassy tracks. Turn left here and ascend to reach a track just before a fence. There are excellent views of the Derwent Dam and beyond from the ascent of this clough. Turn right on the track and soon reach a stile on the left. Cross the stile and follow the narrow path through the heather to emerge on a rough grassy track. Turn left on to the track. In clear weather, Lost Lad and Back Tor will now be visible. Soon reach a diamond crossroads with a triple signed fingerboard. Go straight on which is signed Derwent Edge. After about 400 m, the track passes to the left of a grouse butt which when first spotted may be thought to look like a bridge. Continue past a reverse left fork. About 100 m further, another track goes off to the right and follows a broken wall, descending gently. Ignore this track and continue ahead. Further on, another track goes off to the right which goes below Lost Lad and meets the Derwent Edge at Bradfield Gate Head to the S of Back Tor. Ignore this track and continue ahead to the foot of Lost Lad Hillend. This section of track can be quite boggy. The track starts to ascend up Lost Lad Hillend but after about 25 m of ascent, the track goes off NE and a good path heads E up and across to Lost Lad, 518 m, where there is an obvious cairn plus a viewing cairn which gives the directions of all the local landmarks and their distances.
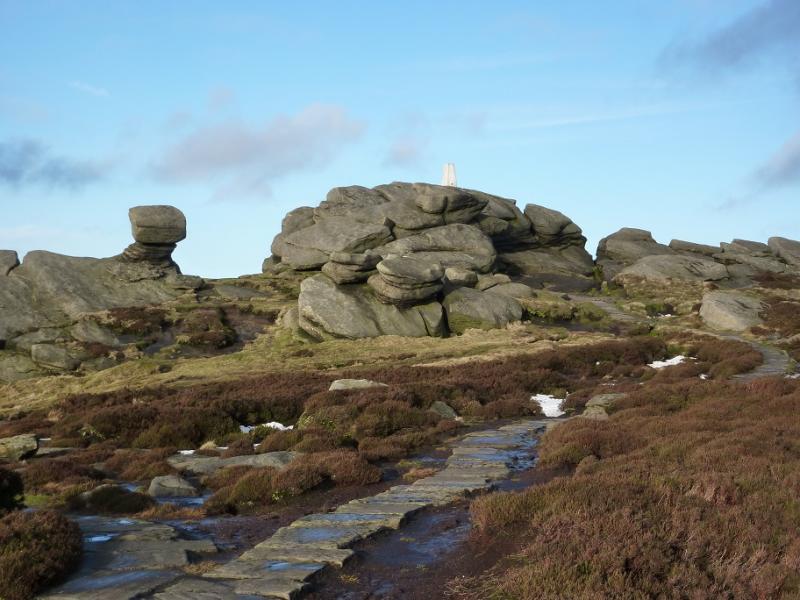
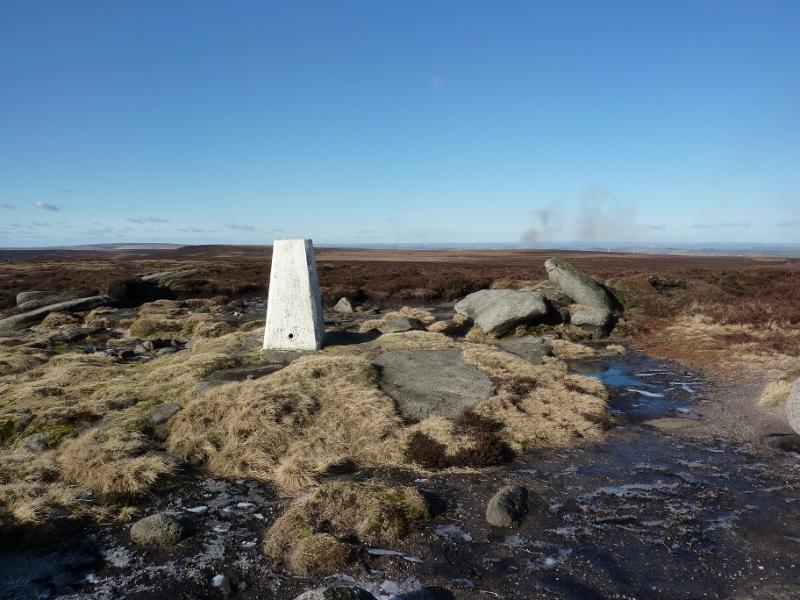
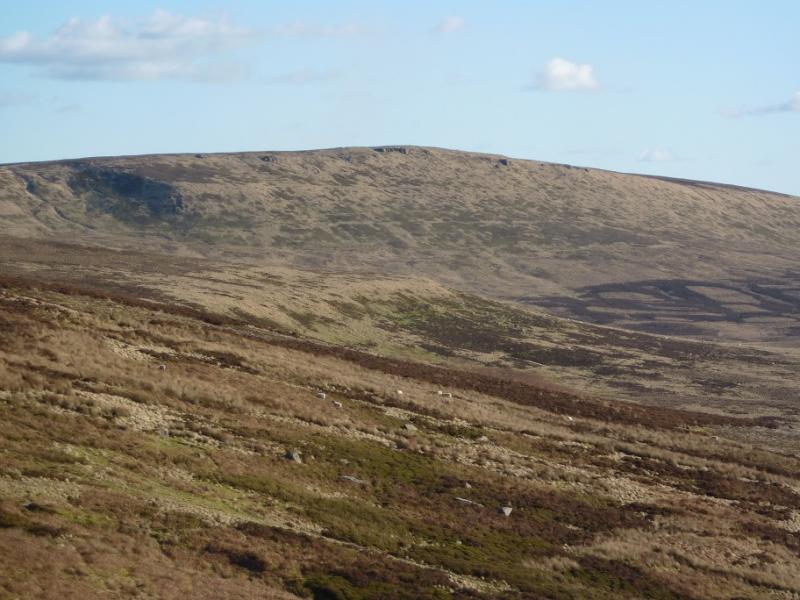
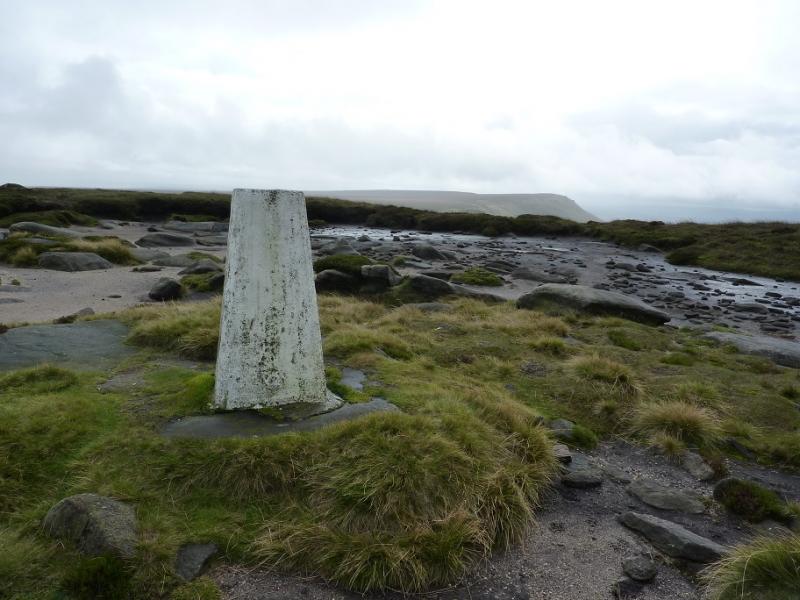
(2) The obvious path, slabbed most of the way, descends about 30 m roughly SE before gently climbing to Back Tor, 538 m. The trig point stands on the highest outcrop. It is most easily reached by either a crack on its SE side or the fissure on its S side but either route will require care if the rock is wet or icy. There are numerous outcrops to take shelter behind.
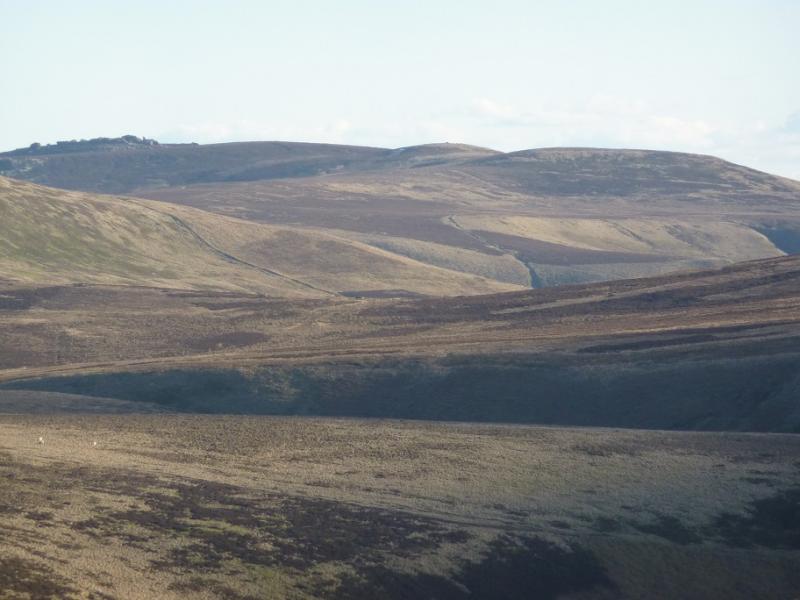
(3) Descend roughly NE/NNE on a path which soon becomes a slabbed path and leads across Cartledge Stones Ridge. There are short sections of unslabbed path. Pass over spot height 498 after which there is a very gentle descent. At about the lowest point, the slabs finally run out so leave the path and head slightly N of W. If the ridge path has turned NE, you have gone too far. Within 250 m, Cartledge Brook/Abbey Brook (they are the same stream!) has to be crossed which might not be easy after heavy rain so leading to a detour upstream. The best place to cross seems to be where there is a 3m “rocky wall” on the far side of the stream. Once across, the ground is mainly pathless and tussocky but of gentle gradient. Continue roughly WNW up very gentle slopes with the odd hint of a path heading for the skyline which is the Howden Edge. From leaving the path to the Howden Edge is about 2 km. Once the Howden Edge is reached, turn N and follow the edge to a minor “bump”. The path is well to the W of the ridge line. Just before this “bump”, there seems to be a grassy track coming in from the E. Alternatively, continue further beyond the lowest point then head over to Cartledge Brook. It has a fairly distinctive path on its S side which can be followed up and which gradually curves around towards the Howden Edge. When the path becomes indistinct, head W across mainly easy ground to join the edge. An automatic weather station may be passed as the edge is neared. Depending on how far the stream is followed, one will reach the edge around about the “bump” to weather station area but certainly before the crude grouse butts referred to below. Continue N, on the path, and soon pass some crude grouse butts which are simply wooden wind shields. Continue ahead, along the almost level ridge, to reach another top where there is a small cairn. This is High Stones, 548 m, the highest point on the Howden Edge.
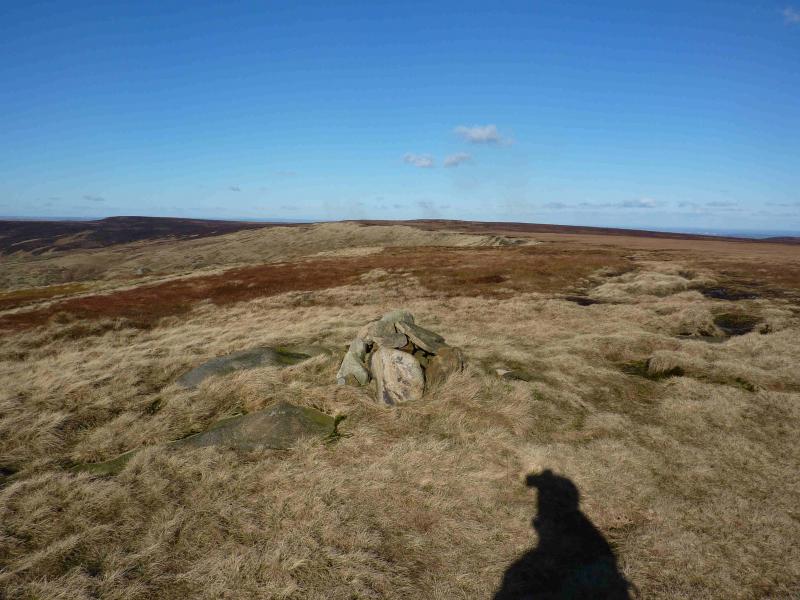
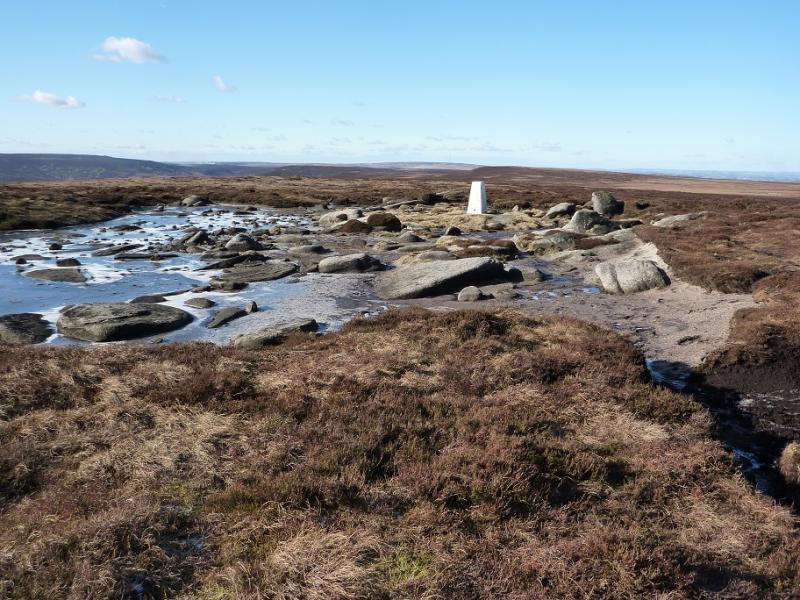
(4) Continue ahead on the path along the edge and descend into a shallow dip. Soon the path splits. Either stay on the edge until the fence then turn right later on or take the right fork which leads to Margery Stones, a small but significant outcrop of, essentially, two large rocks. About 50 m further is the trig point of Margery Hill, 546 m, which sits in a flat and wet boggy area although it is quite easy to reach the trig point. On a clear day, one can see the Holme Moss mast (slightly left) and the Emley Moor mast (slightly right).
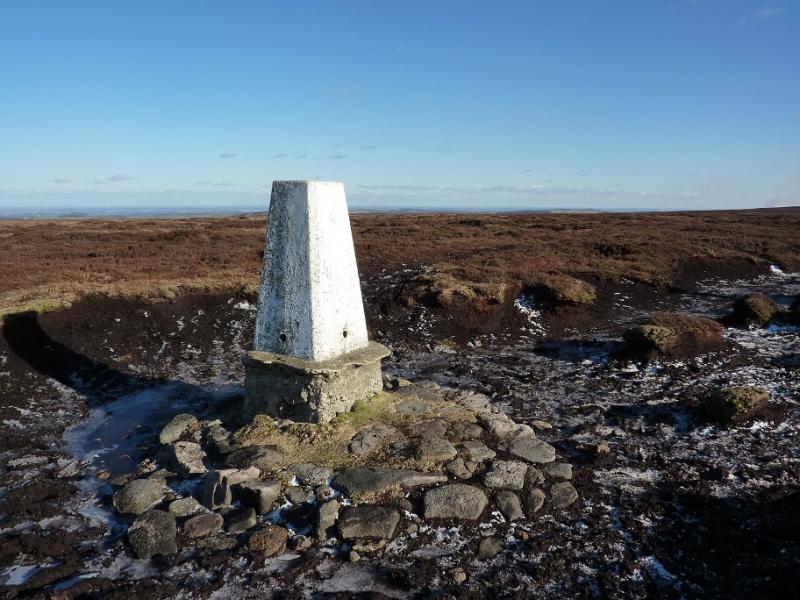
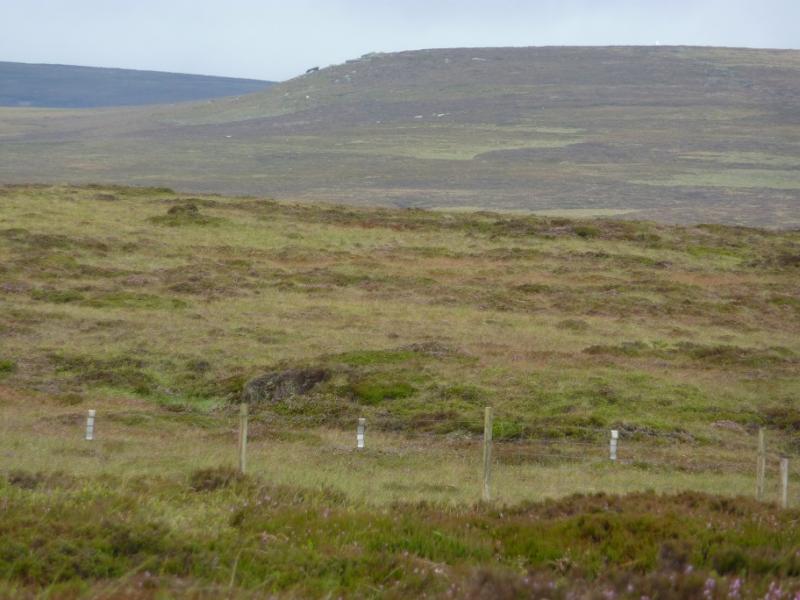
(5) Descend roughly NW to a stile ( the tthird stile down the fence is probably best) then continue, on very boggy ground, following a path to reach Cut Gate which is a crossroads of paths. Go straight on, following the boggy path. There is a gentle descent then an equally gentle ascent which leads to the Outer Edge trig point, 541 m. As one approaches the shallow col between Margery Hill and Outer Edge, some strange “cairns” are seen on the skyline to the right of Outer Edge. These are actually isolated trees! A drier, but rougher, route between the two hills is to look for some short white marker posts on the right, E. These also have low cairns near them and can be followed until close the the summit of Outer Edge.
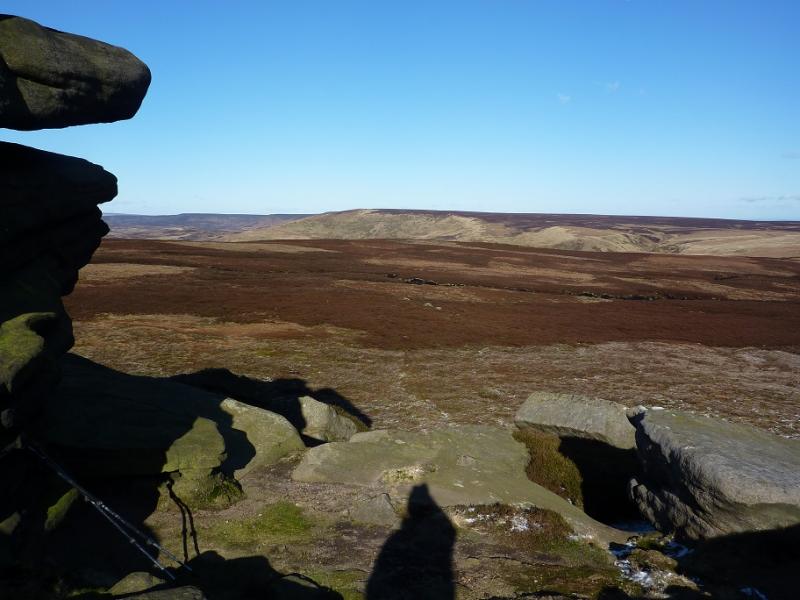
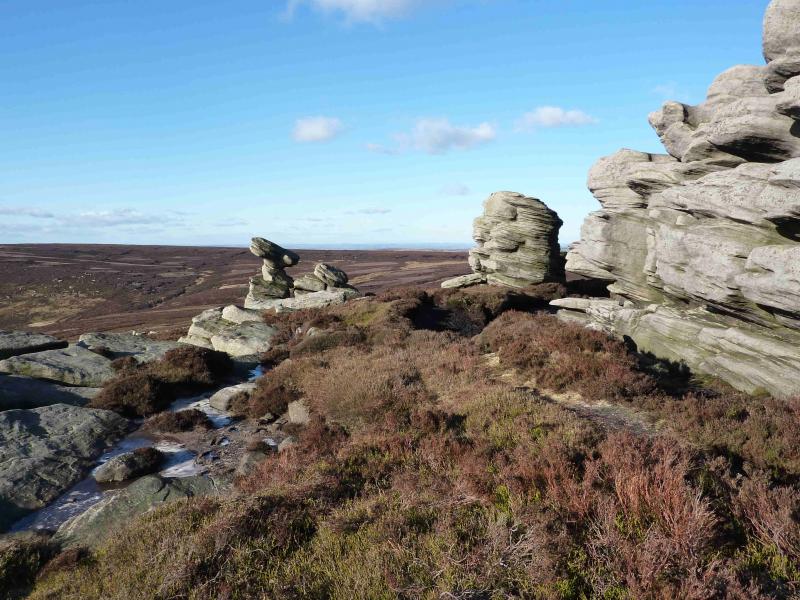
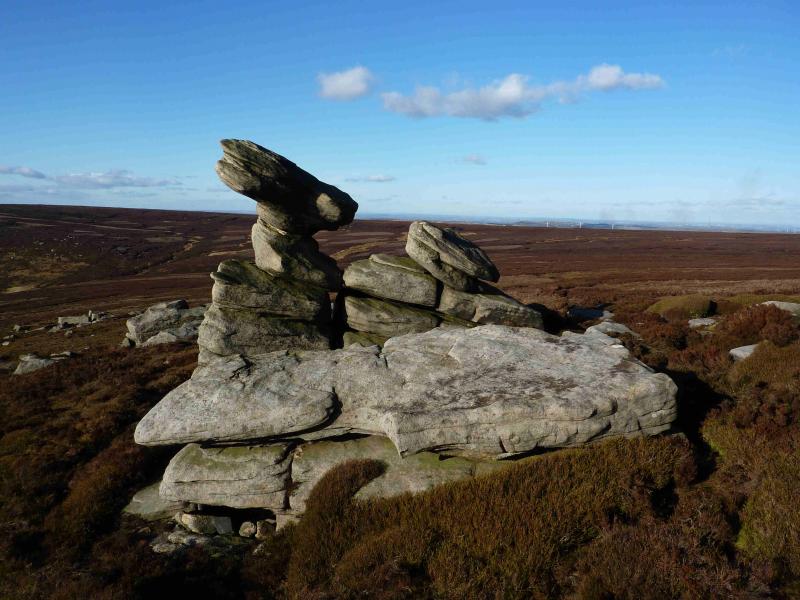
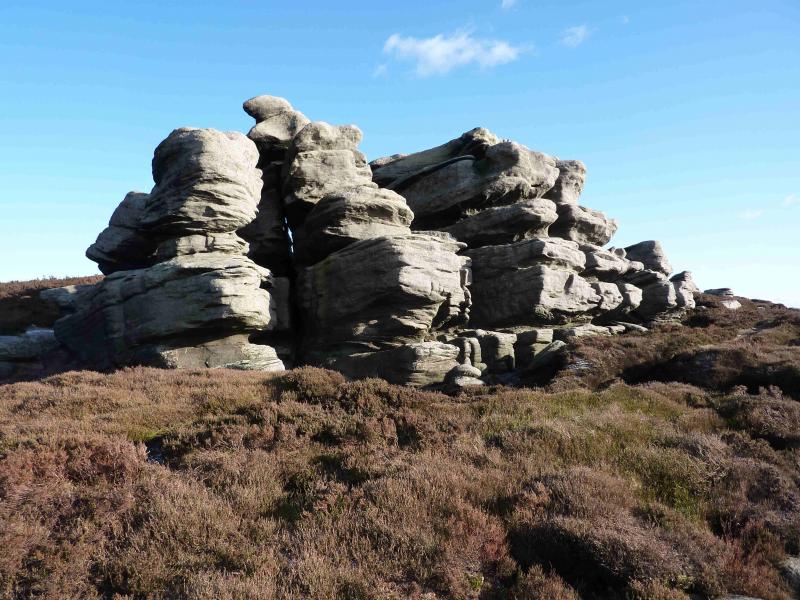
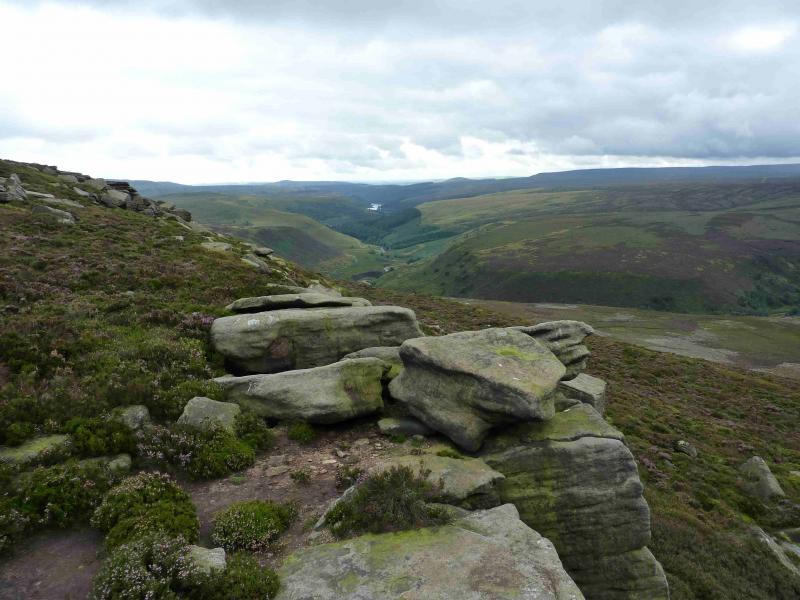
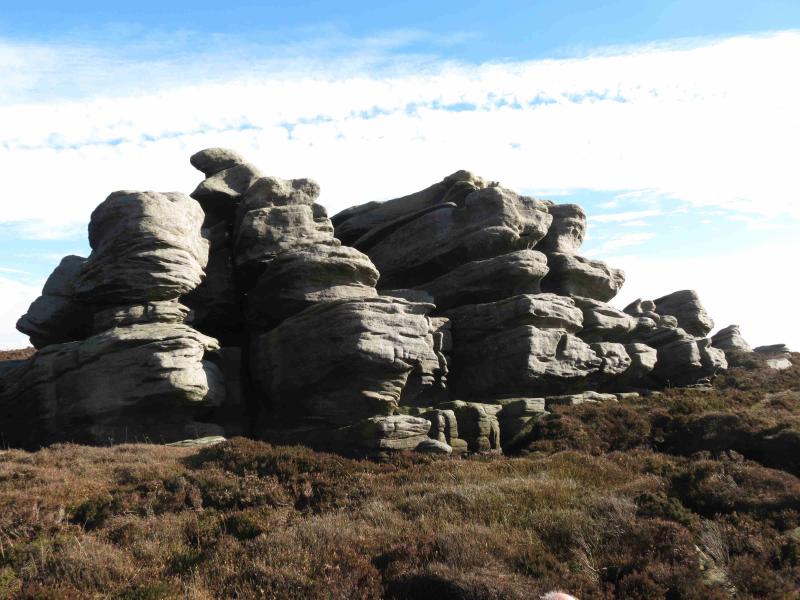
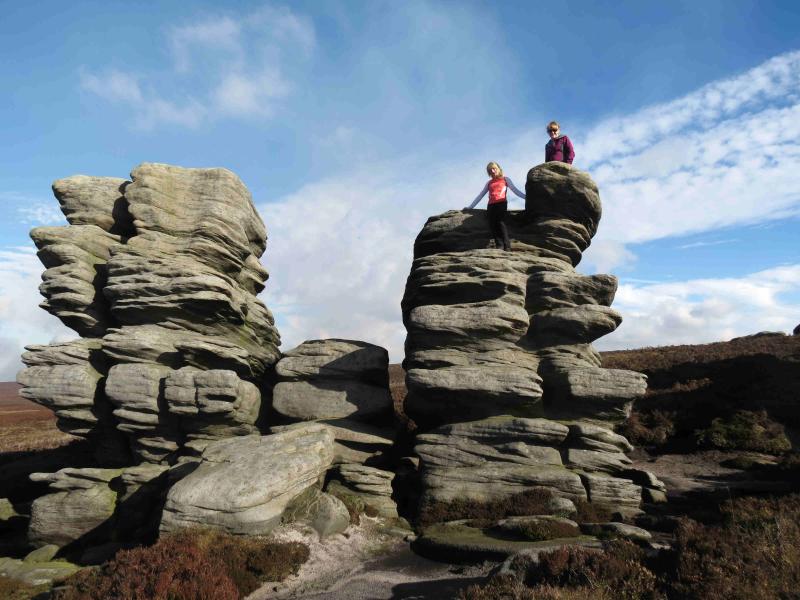
(6) In clear weather the Crow Stones lie slightly N of W and about 800 m away. Descend Outer Edge but drift left of the direct line to pick up a path down the edge which then heads across the flatter area towards the Crow Stones. This path is faint in places but leads to Crow Stones which is a very fine outcrop indeed with many good examples of rocks sculpted by the wind and rain. There are numerous places to shelter amongst the stones. One of the rocks looks like a much larger version of the Salt Cellar on the Derwent Edge.
(7) Walk roughly S/SE along Crow Stone Edge on an obvious but boggy path. Keep looking to the right and soon find a narrower path heading in roughly the same direction but slightly lower. Follow this and gradually drop down lower to the right. Unfortunately, the path becomes faint and is replaced by quite a few animal tracks. One is aiming for the grouse butts to the N of the upper part of Broadhead Clough. These are at approximately SK 175 966. The first is almost completely grassed over. Continue roughly SE to cross the top of Broadhead Clough where there are two prominent stone grouse butts about 100 m apart. A grassy track (not shown on the map) goes down the S side of the clough from these grouse butts. Follow the track down to the main track in the Upper Derwent Valley. At the bottom, turn left, S. In about 800 m, meet the track coming down from Cut Gate. Soon after, if aiming for the bus, take the right fork to the bridge (which should be in sight) at Slippery Stones. Cross the bridge and follow the good track for about 1.5 km to the end of the tarmac road where one can catch the bus back to Fairholmes. If not using the bus, stay on the main track, ignoring the fork to Slippery Stones, and follow it for about 5 km past the Howden and Derwent Dams back to Fairholmes. It takes about 40 minutes to descend from Crow Stones to the Derwent Valley, 10 more minutes to the fork for Slippery Stones, 40 more minutes to the Howden dam and 40 more minutes to the Derwent dam. From Slippery Stones Bridge to the bus stop at King's Tree takes about 20 minutes.
Notes
(a) This walk took place on 19th February, 2012 and 6th May, 2012.
Photos - Hover over photo for caption. Click on to enlarge. Click on again to reduce.