Get Lost Mountaineering
You are here: England » Peak District » Bleaklow, Alport, Derwent Edge & Howden Edge from Derwent Valley
Derwent Edge from Fairholmes Car Park, Derwent Dam Updated June 2024
Derwent Edge from Fairholmes Car Park, Derwent Dam Updated June 2024
Start/Finish
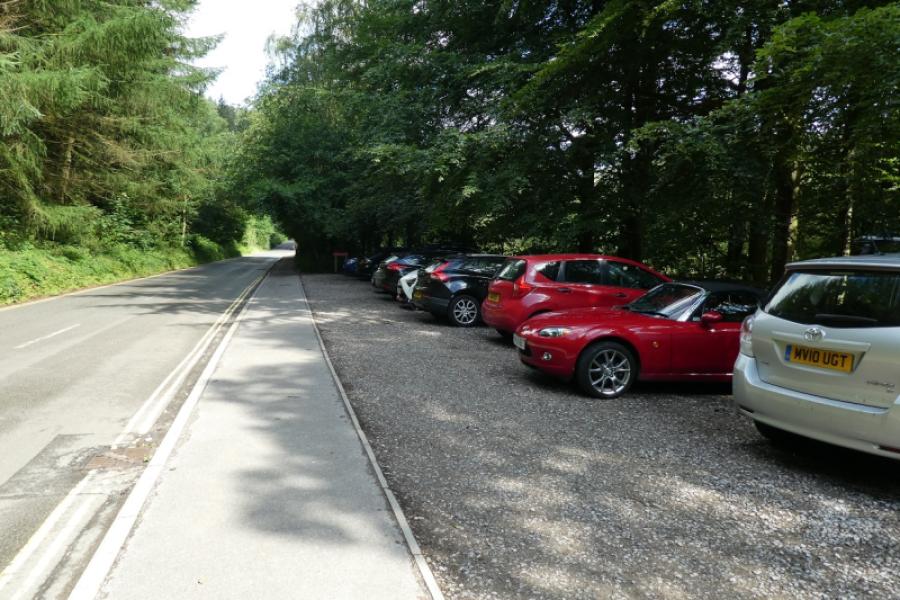
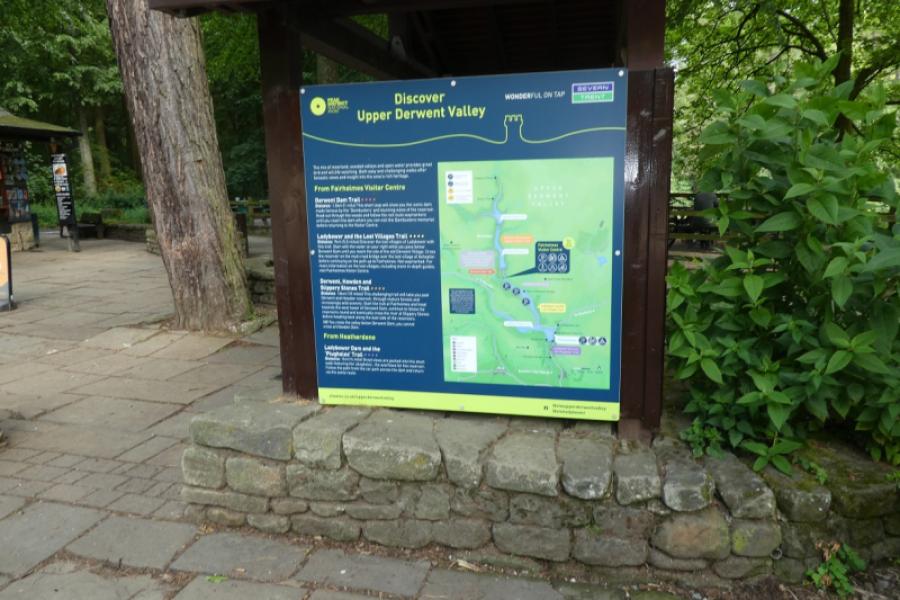
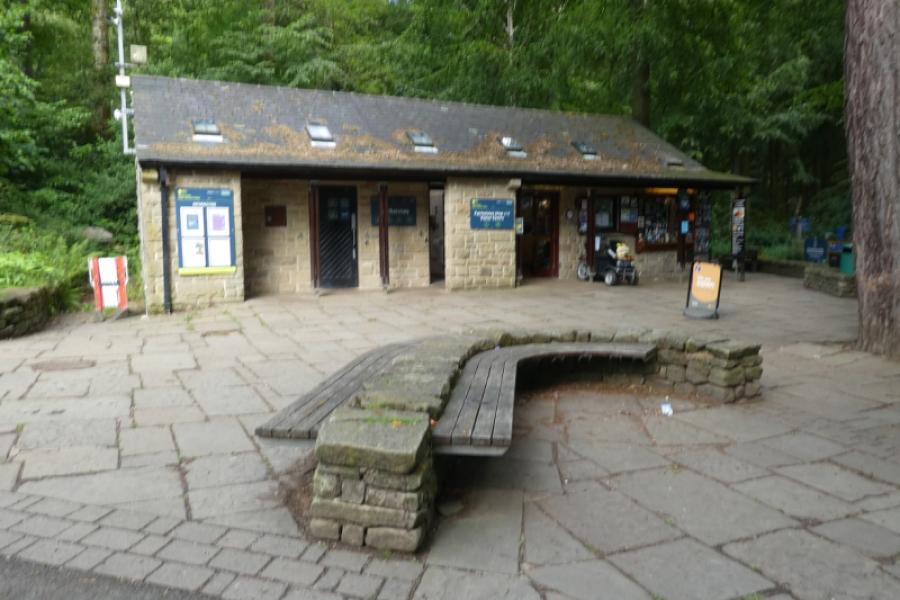
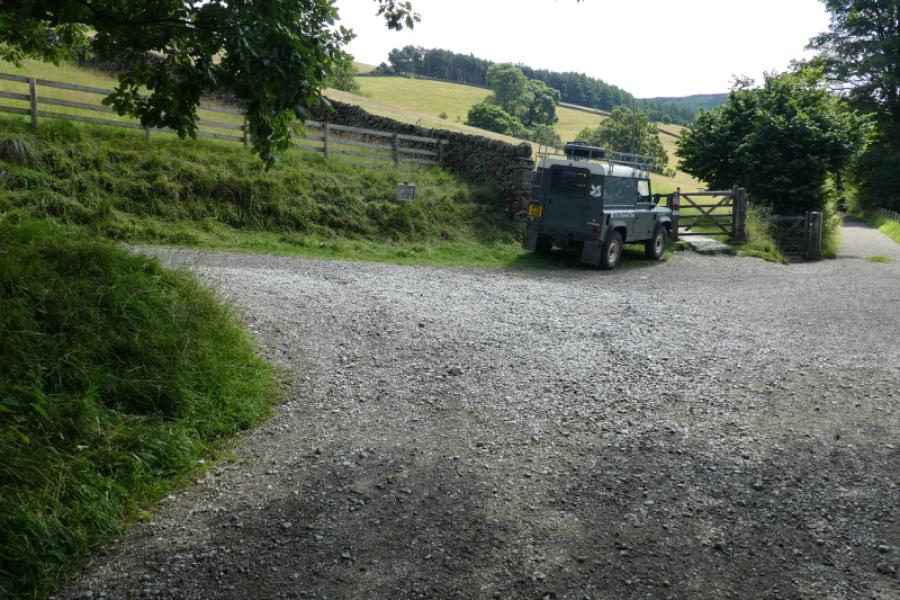
Fairholmes car park just to the S of the Derwent Dam. This is about 2 miles up the minor road, from the bottom of the A57 (Snake Pass), on the W side of the Ladybower Viaduct which crosses the northern arm of Ladybower Reservoir. In winter, this road is often untreated and it can be quite hazardous under snow and ice. The A57 is usually gritted but it does not take much wintry weather to close the Snake Pass at its highest point, beyond the Snake Inn. This would only be an issue for those coming from the Glossop side. It is expensive to park in this car park but there are good facilities, including toilets, snack bar, gift shop and ranger service. Free parking is available on the minor road, some within a few hundred metres of Fairholmes. On Sundays, the minor road is closed beyond Fairholmes but a regular bus service runs to the end of the road. However, the road beyond Fairholmes is not part of this walk.
Distance/Time 14 km About 5 - 6 hours
Peaks
Whinstone Lee Tor, c 400 m, about SK 197 876.
Hurkling Stones, c 420 m, SK 202 677.
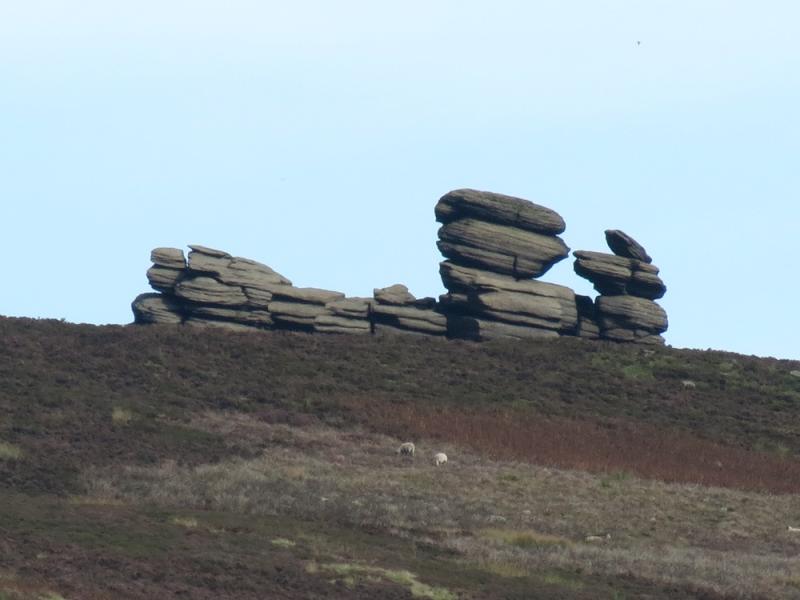
Wheel Stones, 481 m, SK 203 885.
White Tor, 487 m, SK 198 888.
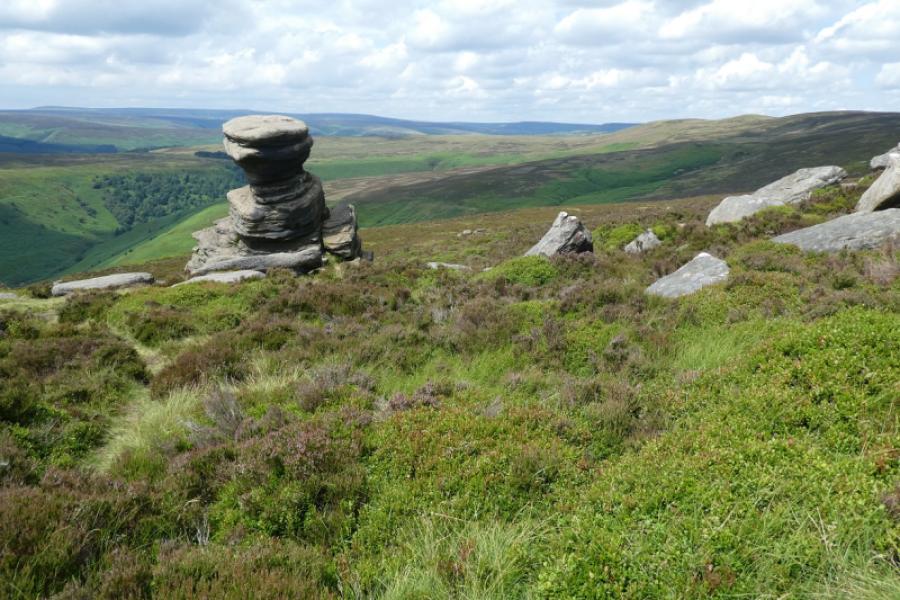
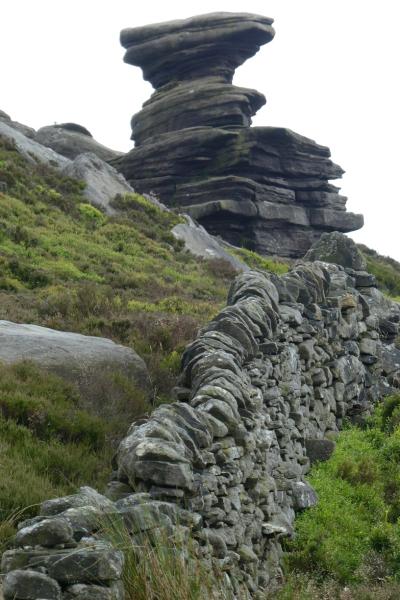
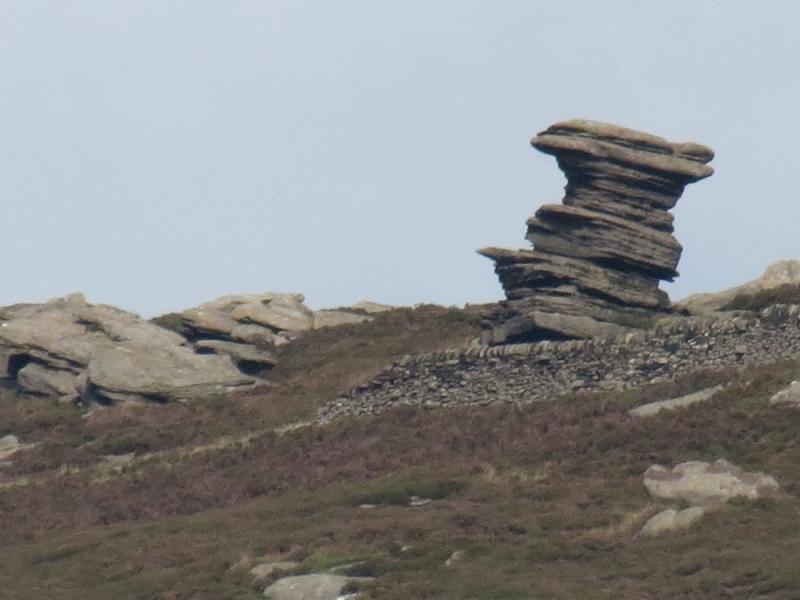
Salt Cellar, c 470 m, SK 197 893.
Dovestone Tor c 500 m, SK 197 898.
Cakes of Bread, c 500 m, SK 198 901.
Back Tor, 538 m, SK 197 910.
Lost Lad, 518 m, SK 194 913. OS Outdoor Leisure 1: Dark Peak
Introduction
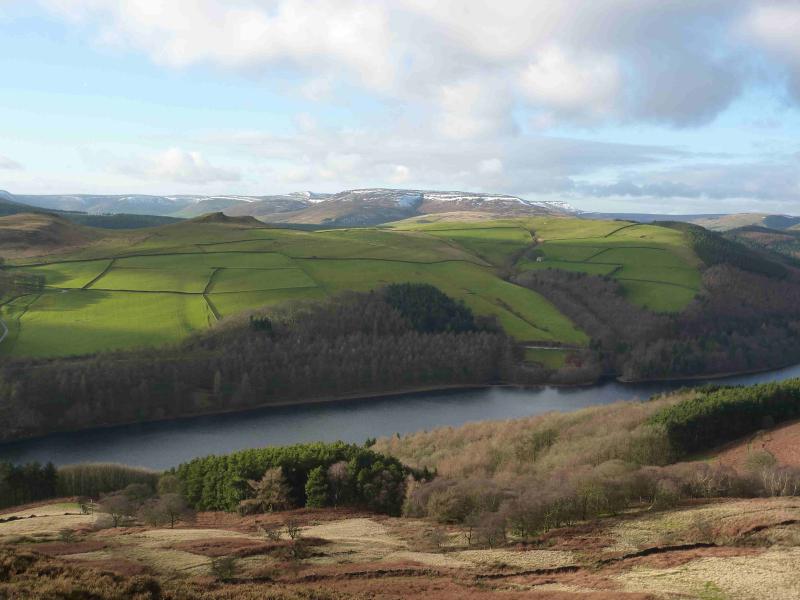
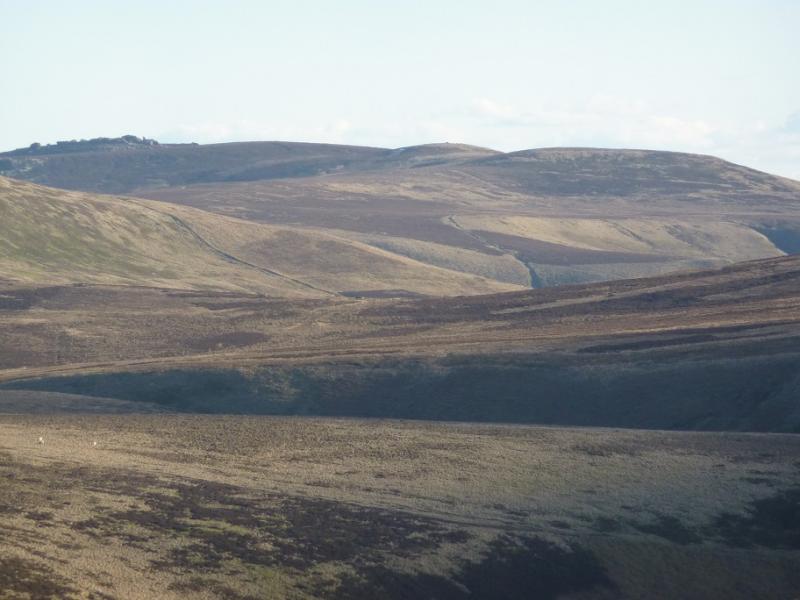
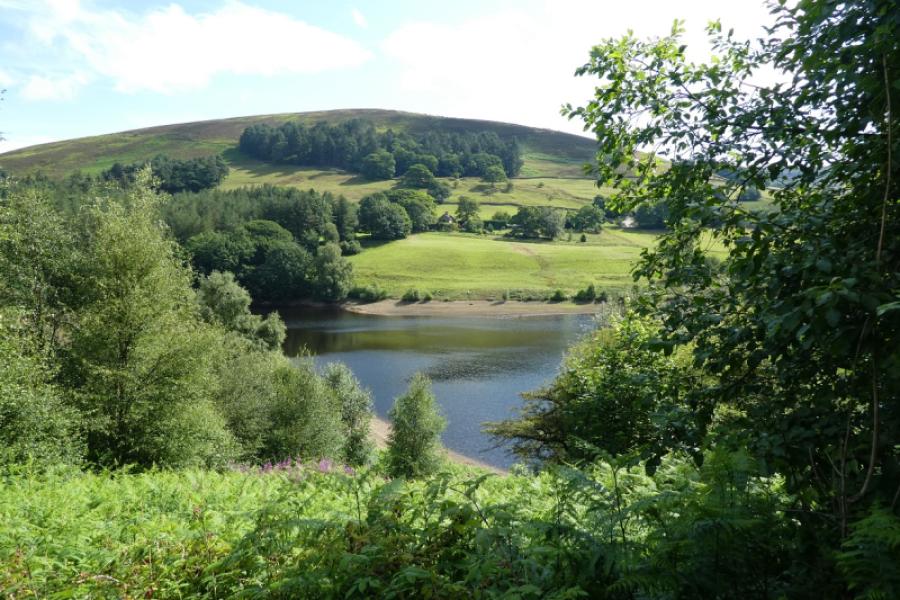
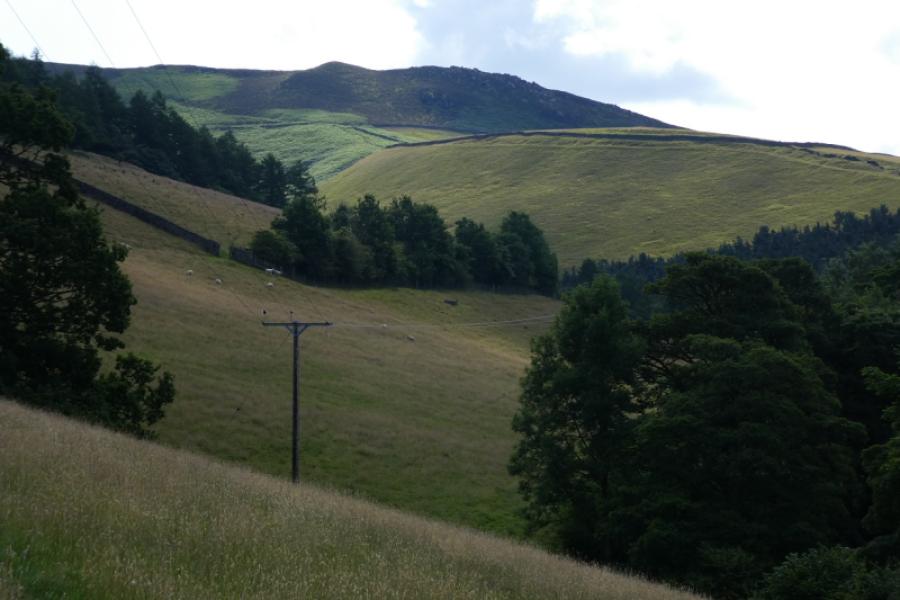
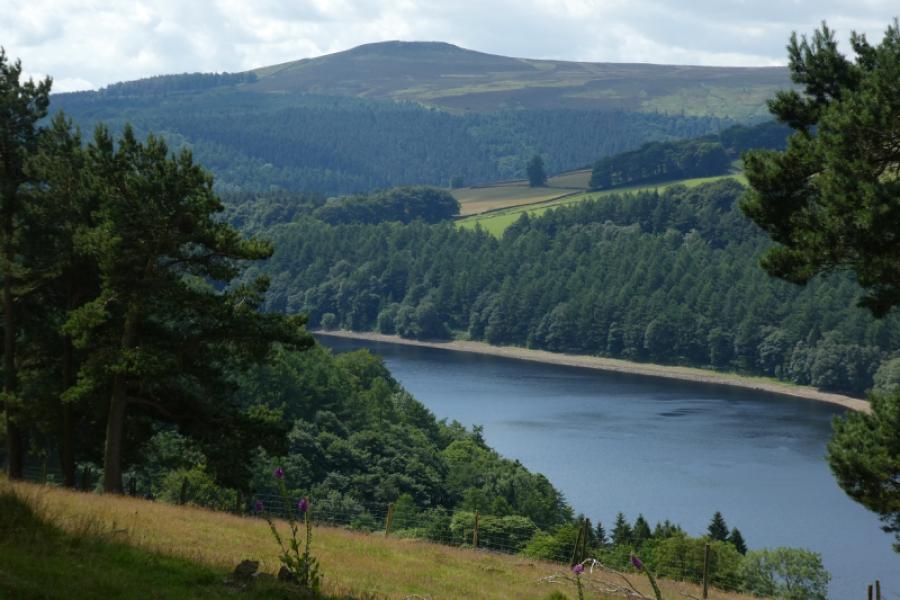
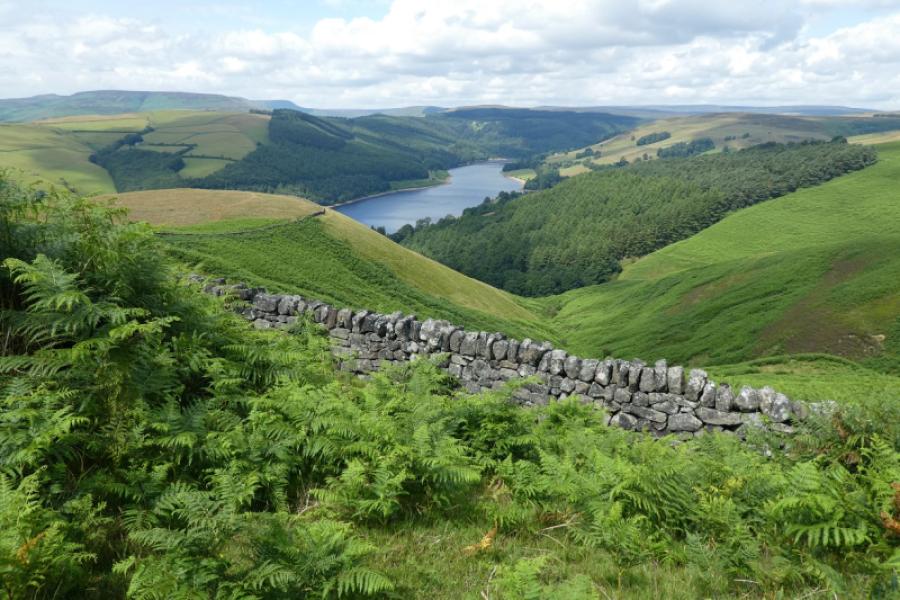
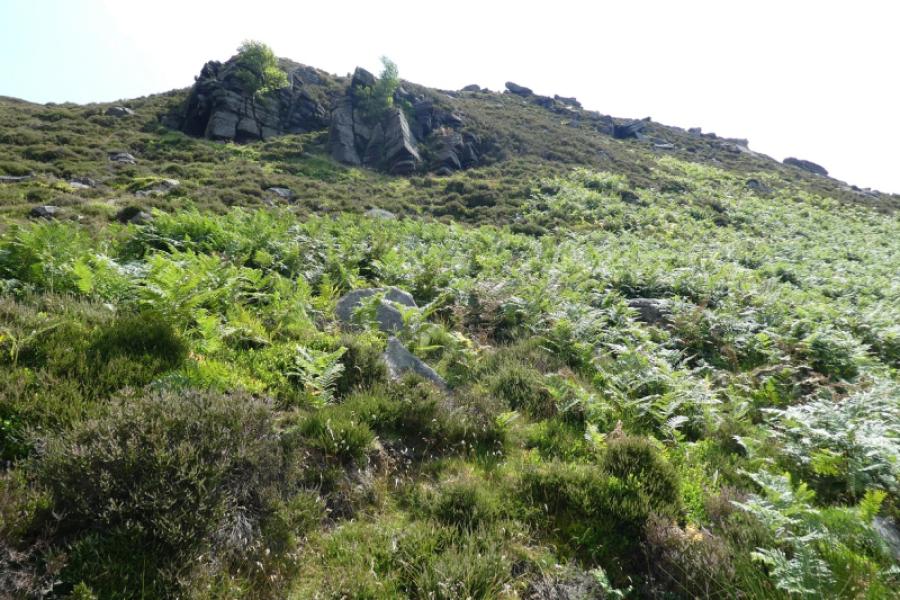
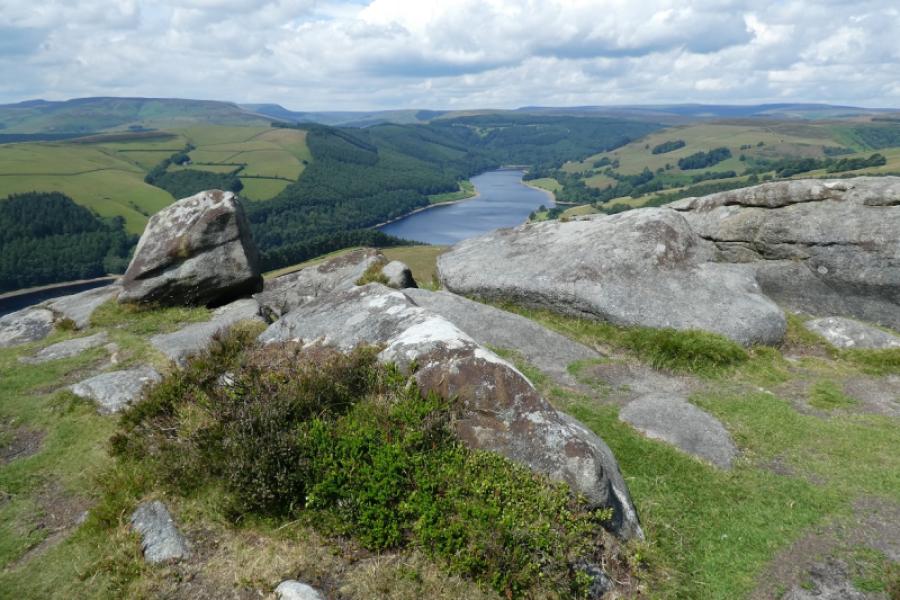
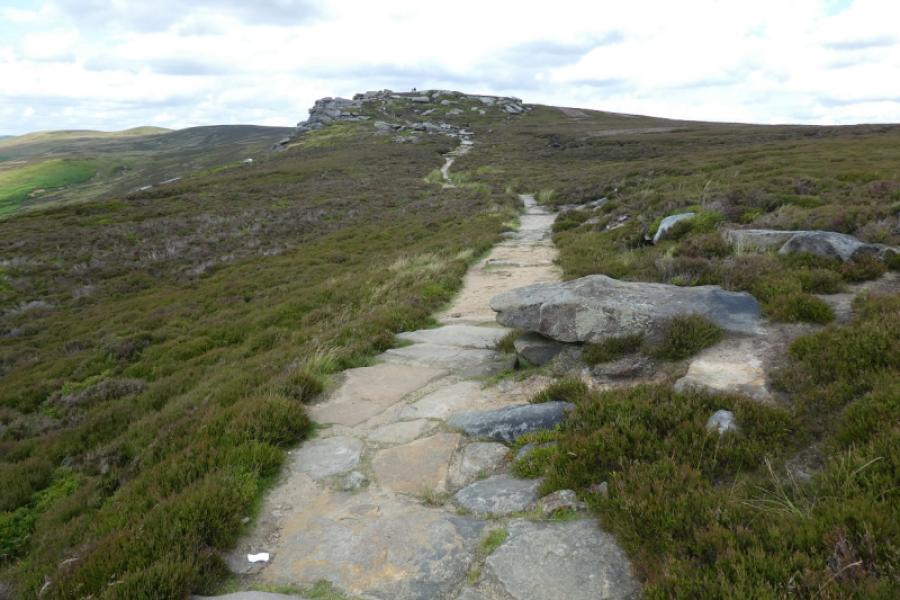
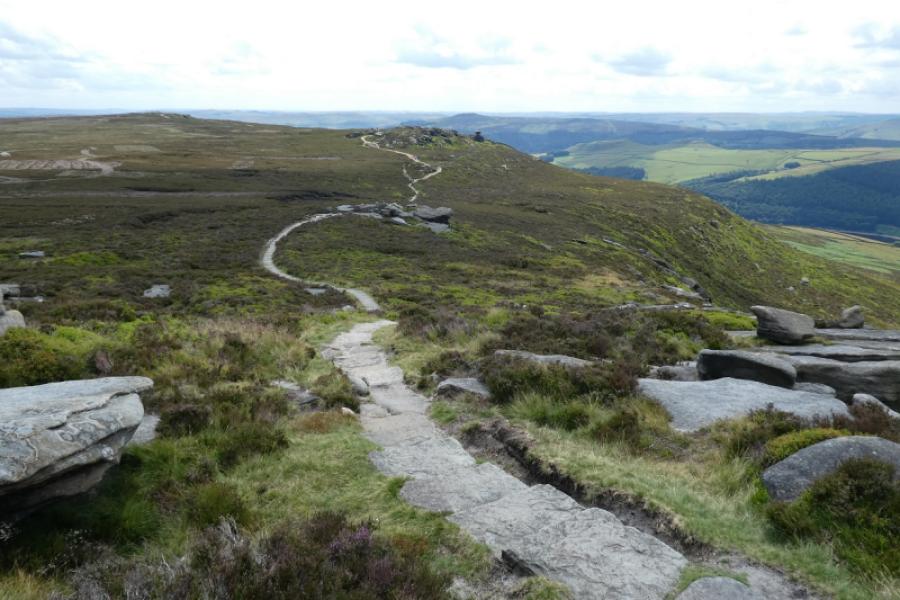
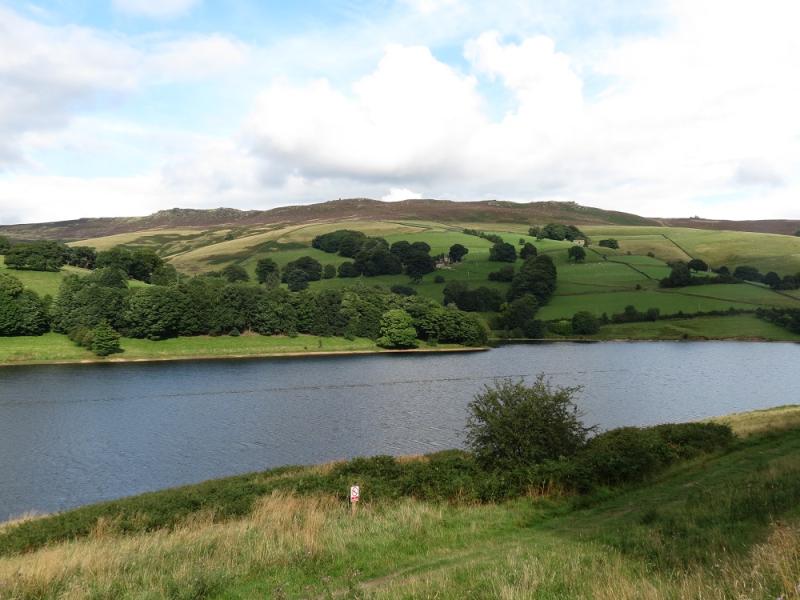
This is one of the finest ridge walks in the Dark Peak which, in good weather has good views of the Mam Tor ridge, Kinder, plus some distant views to Bleaklow and Higher Shelf Stones, Stanage Edge and the local reservoirs. A little of the going is boggy and gaiters are recommended in a wet spell. There is plenty of time for this walk on a mid-winter's day when the views are often at their best. Snow and ice are not normally a problem but err on the side of caution if you have any doubts. The steepest sections are in ascending and descending from the ridge. The ridge itself has the gentlest of gradients. There are many tors on the ridge. Some are easy to ascend but some are beyond the average walker but are easily avoidable. Under heavy snow, one has to be careful of falling into any gaps between rocks. On the ridge itself, the numerous outcrops and tors provide plenty of shelter from the elements when a stop is called for. Navigation is fairly straightforward until one has descended Lost Lad and is heading for Hollin Clough
Route
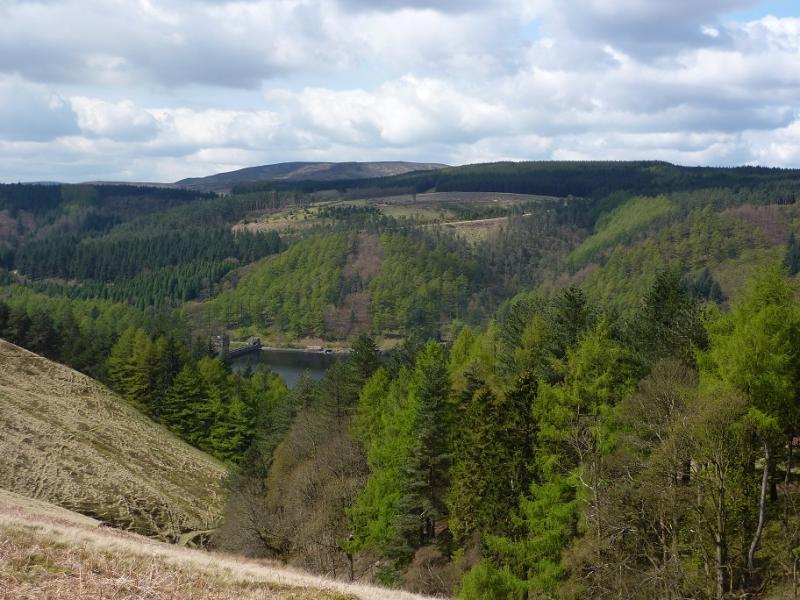
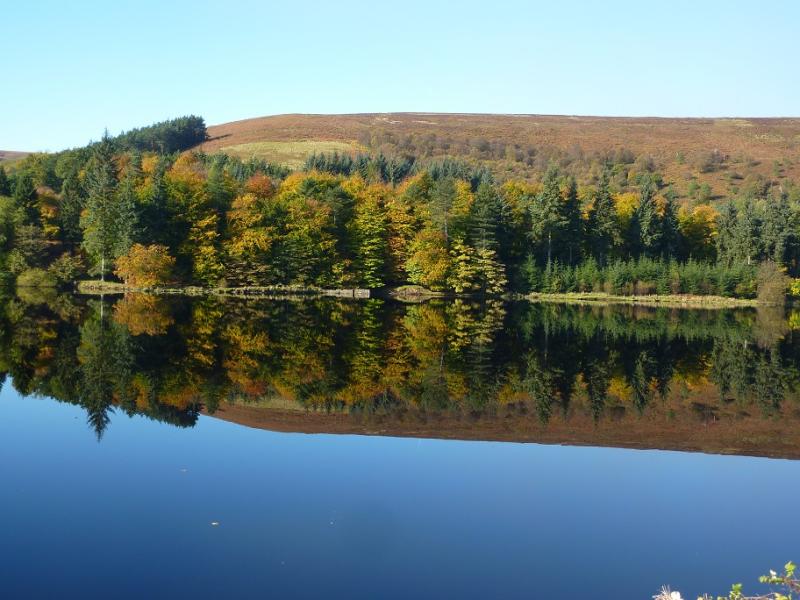
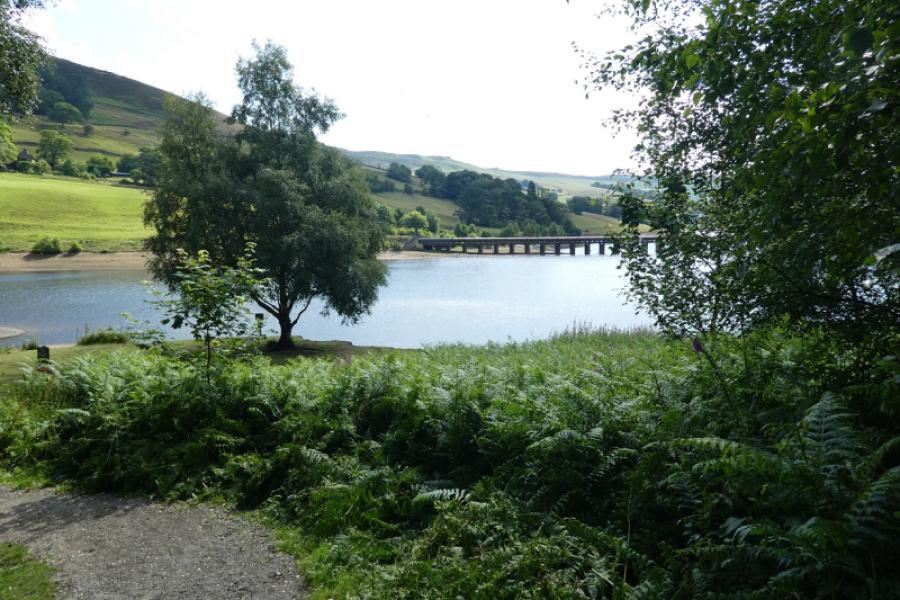
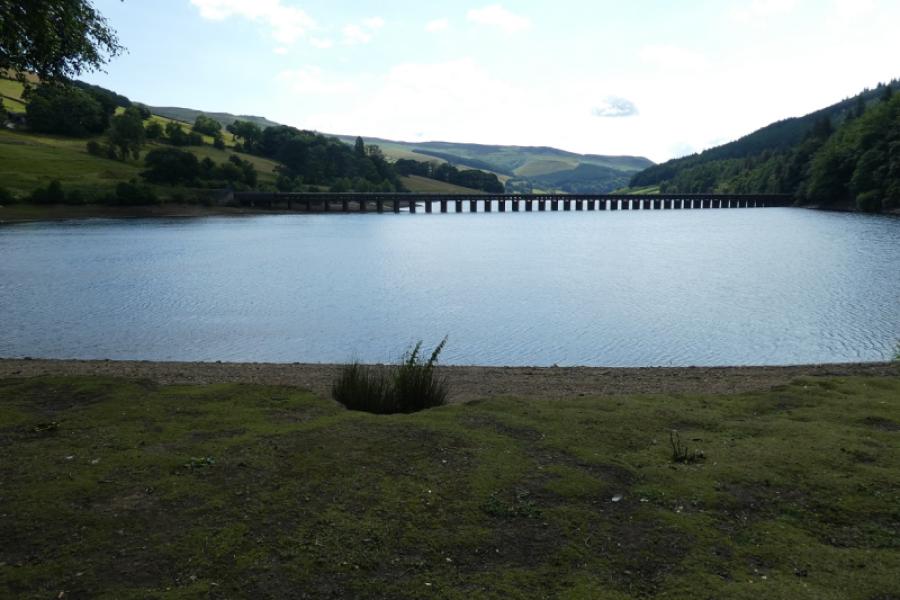
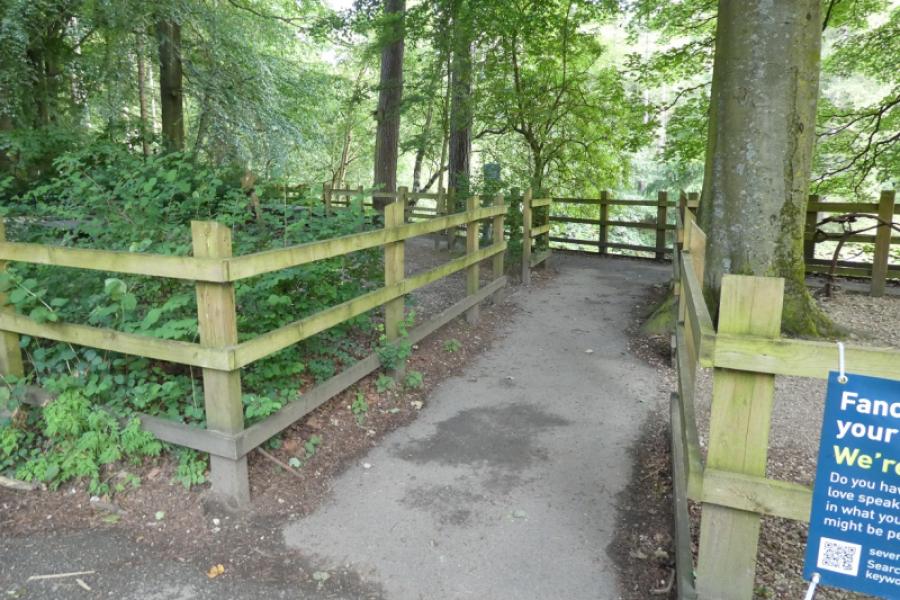
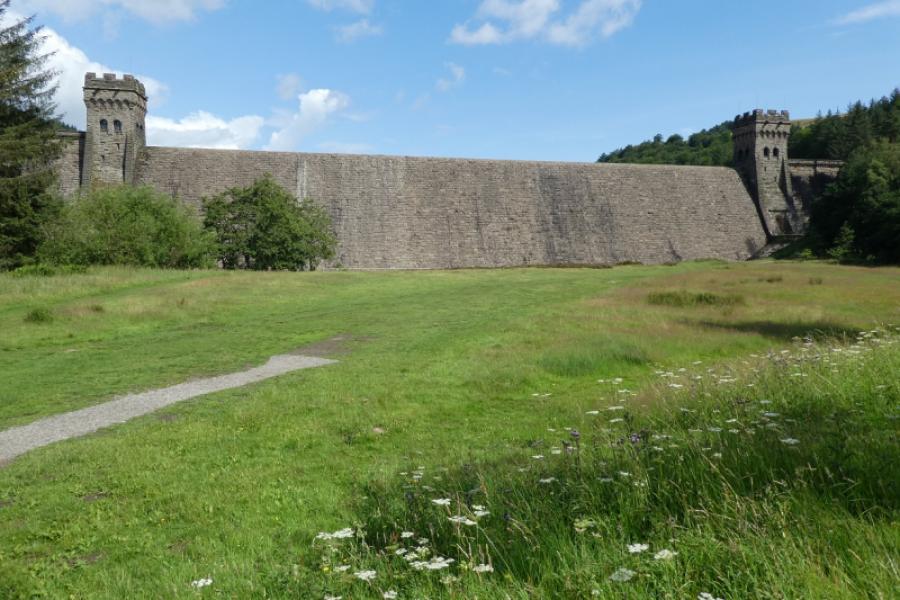
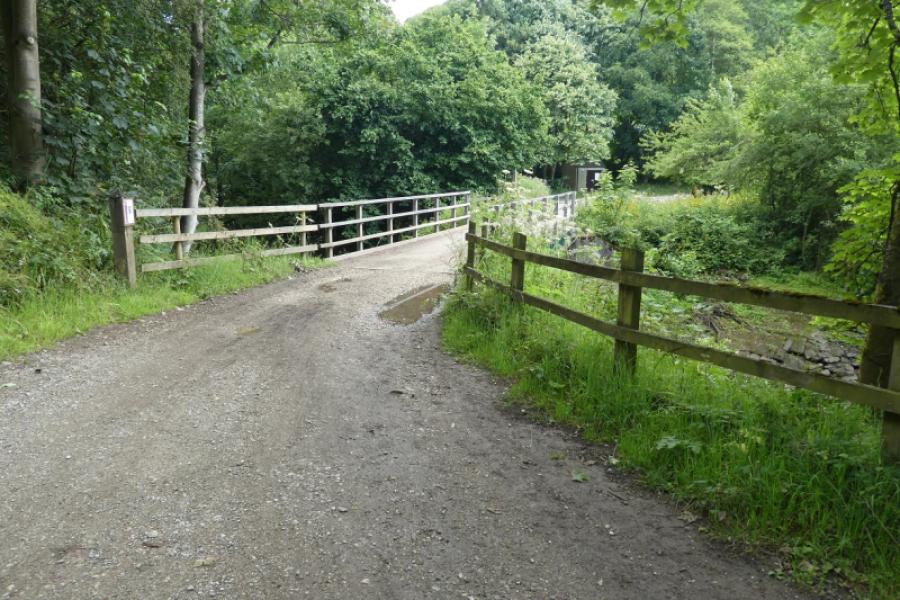
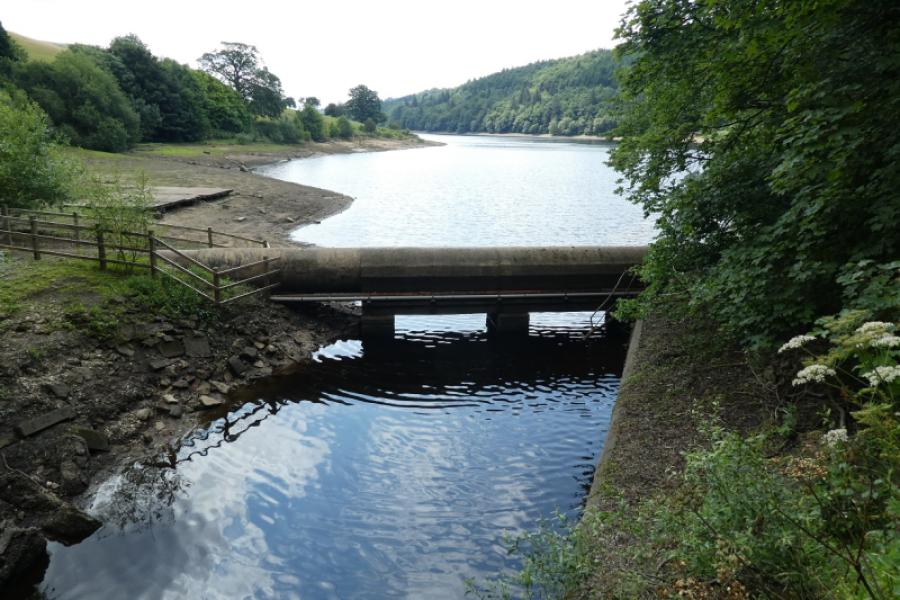
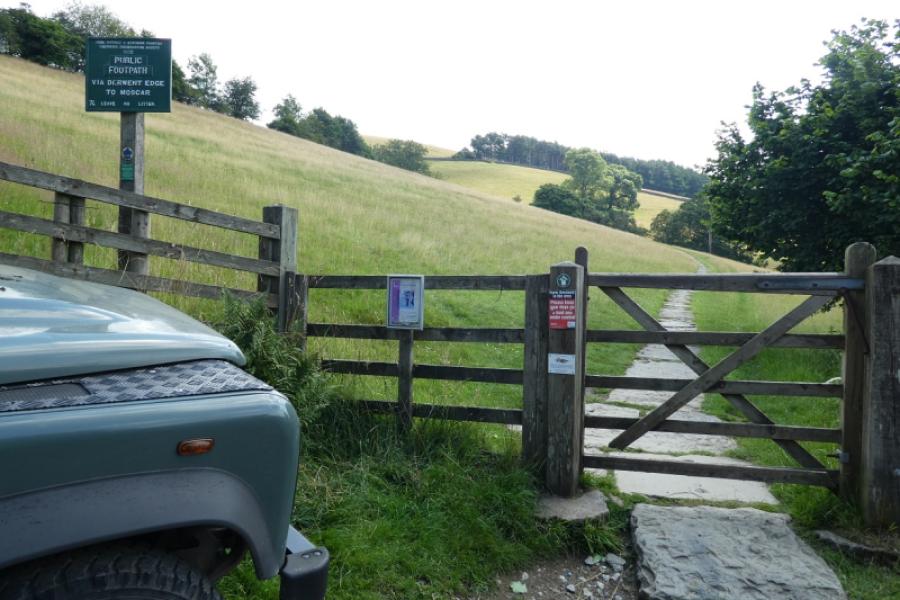
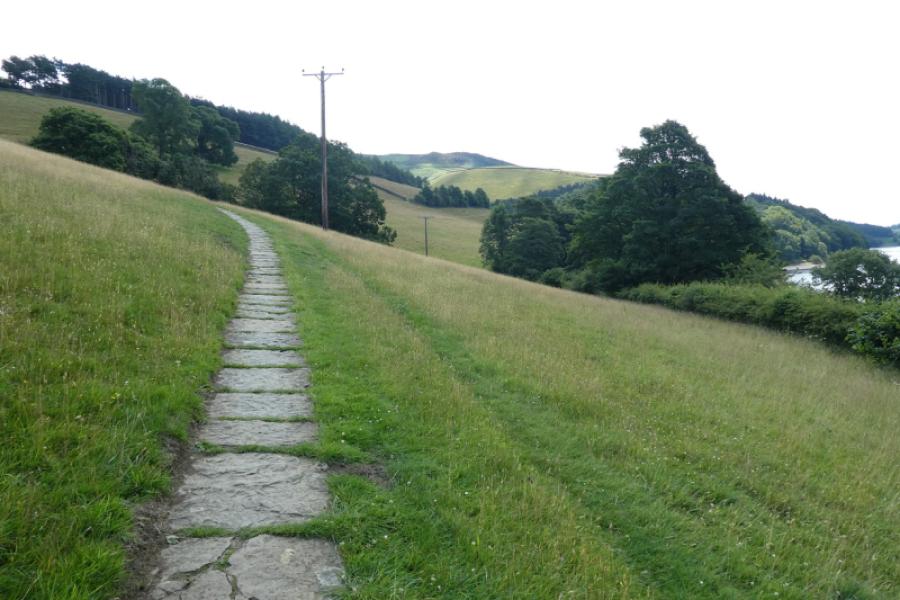
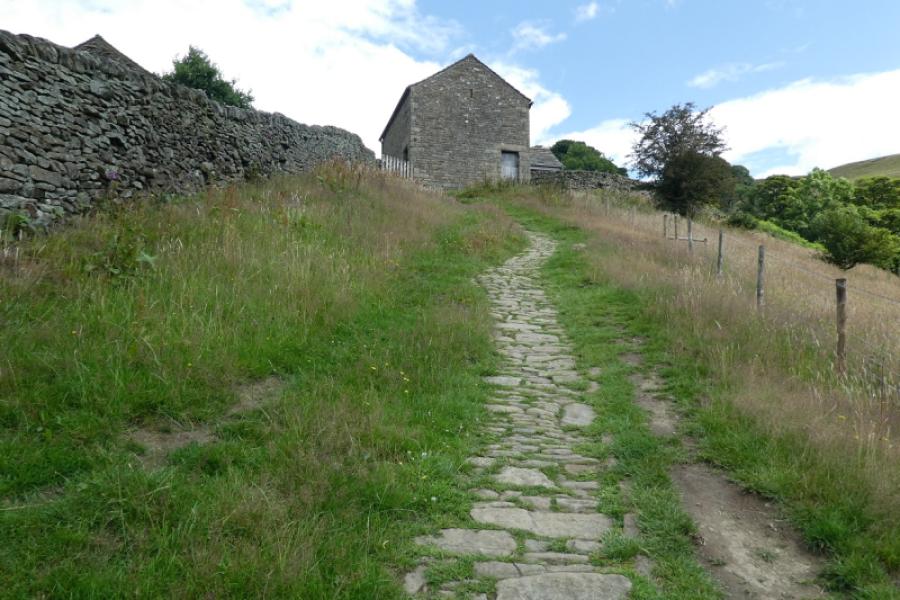
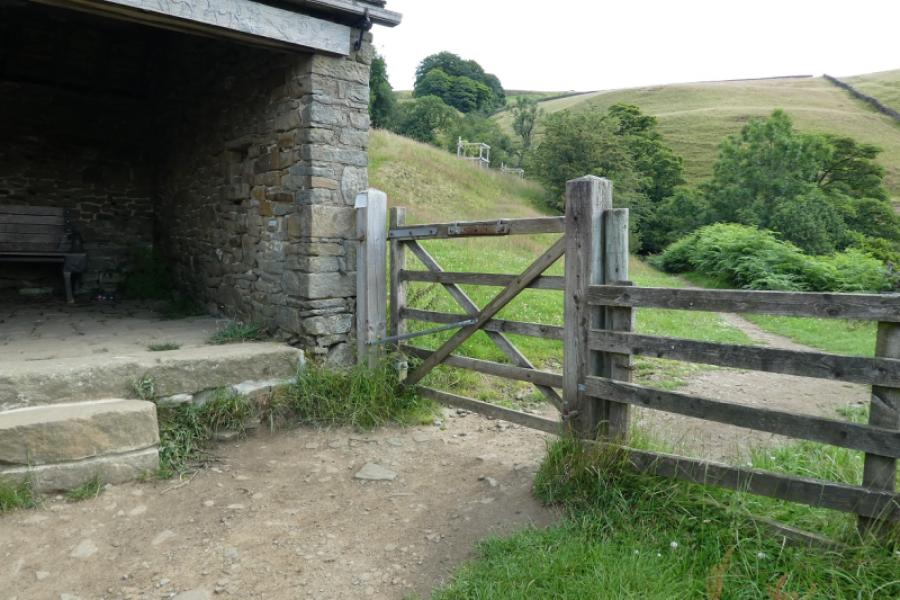
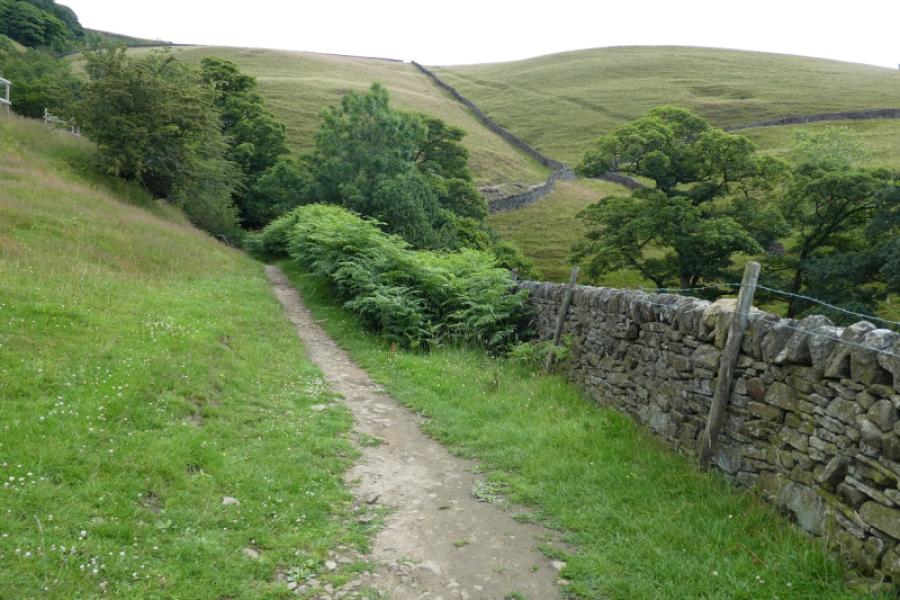
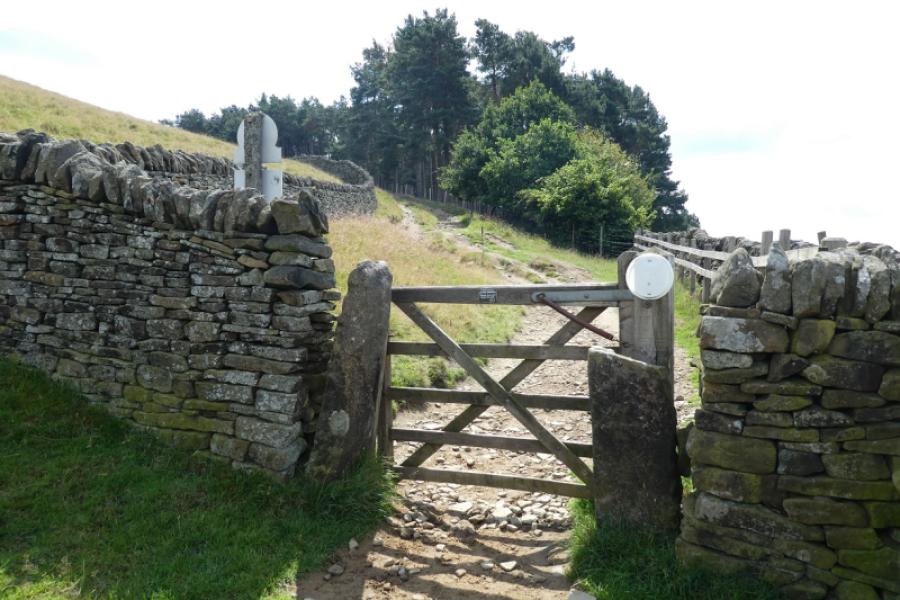
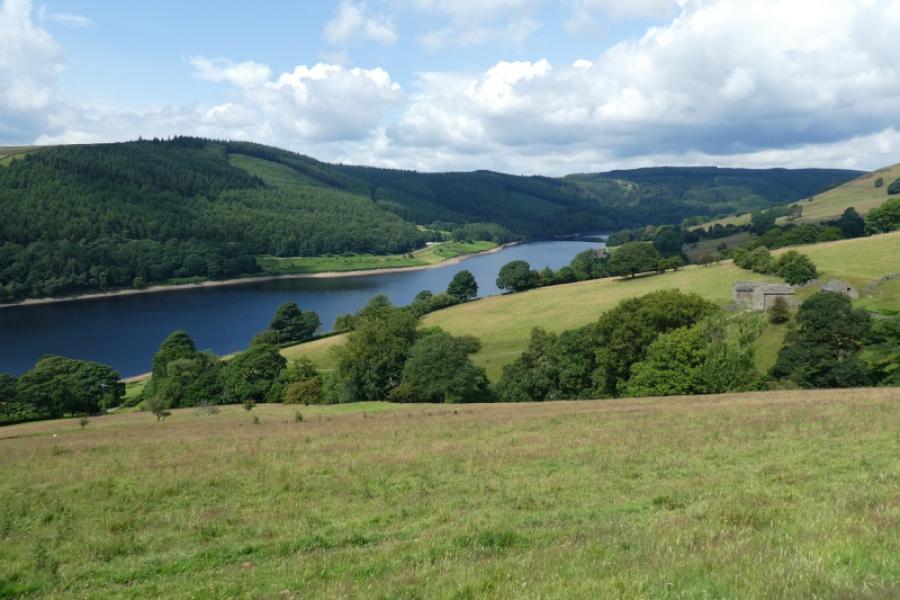
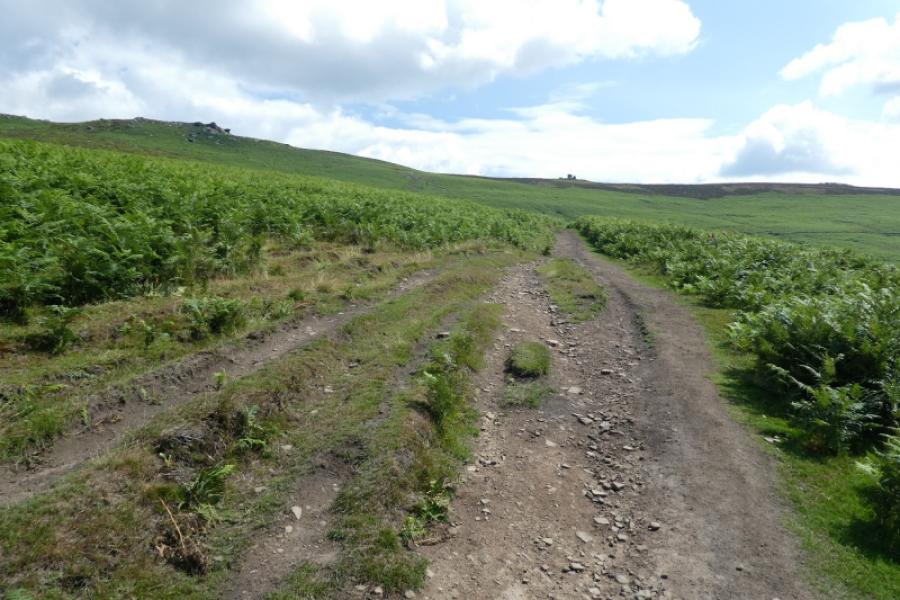
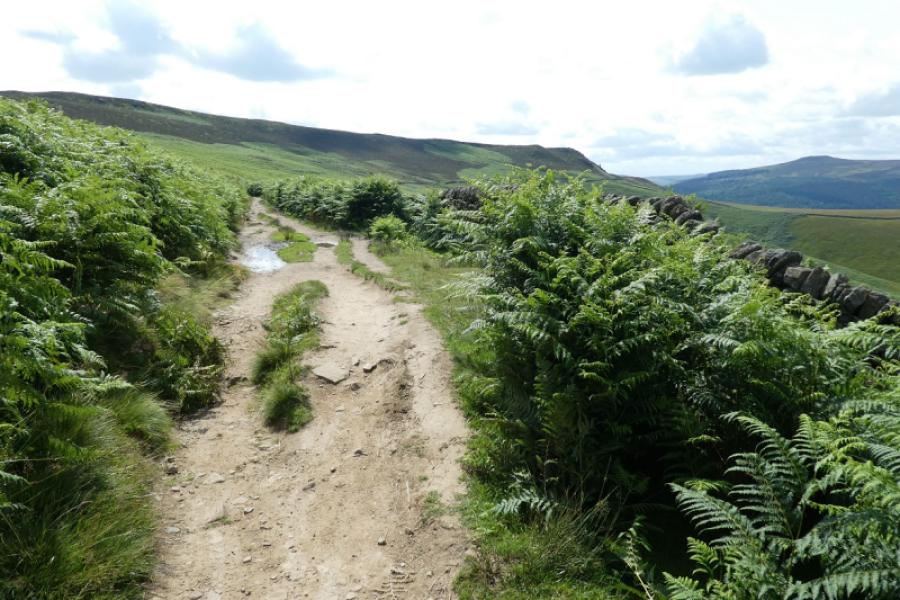
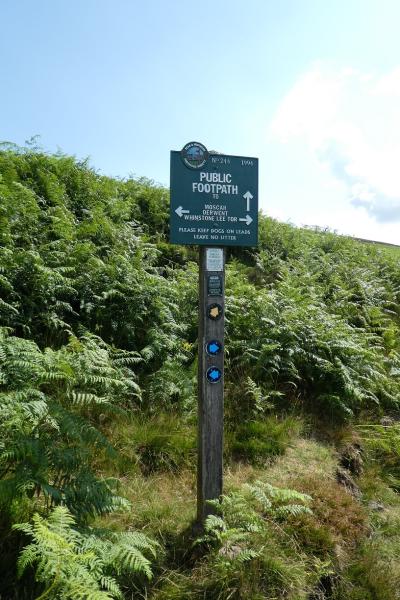
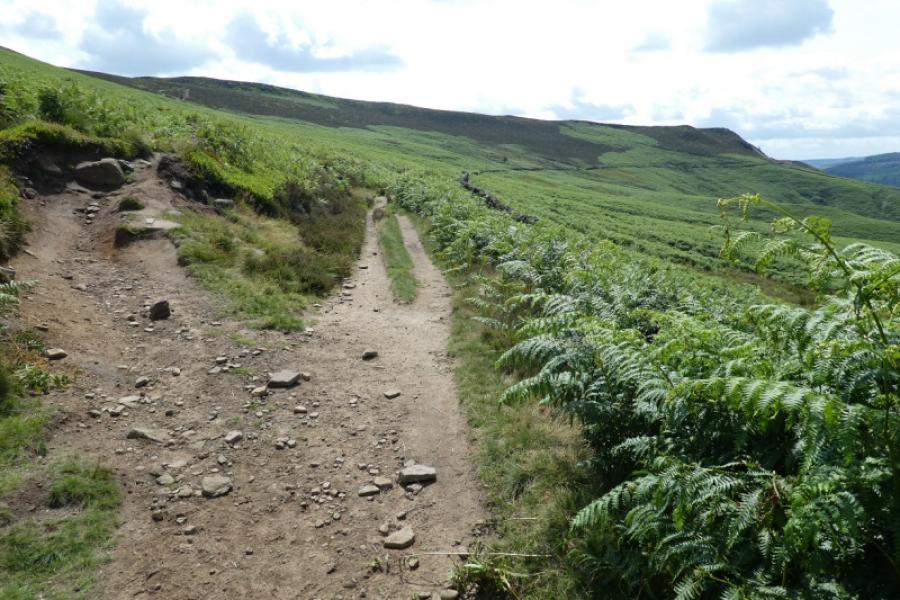
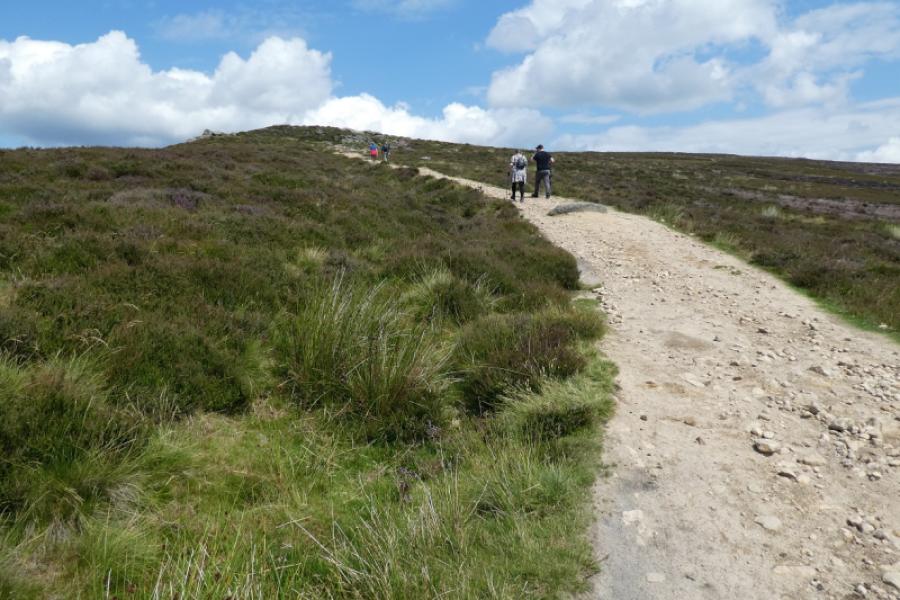
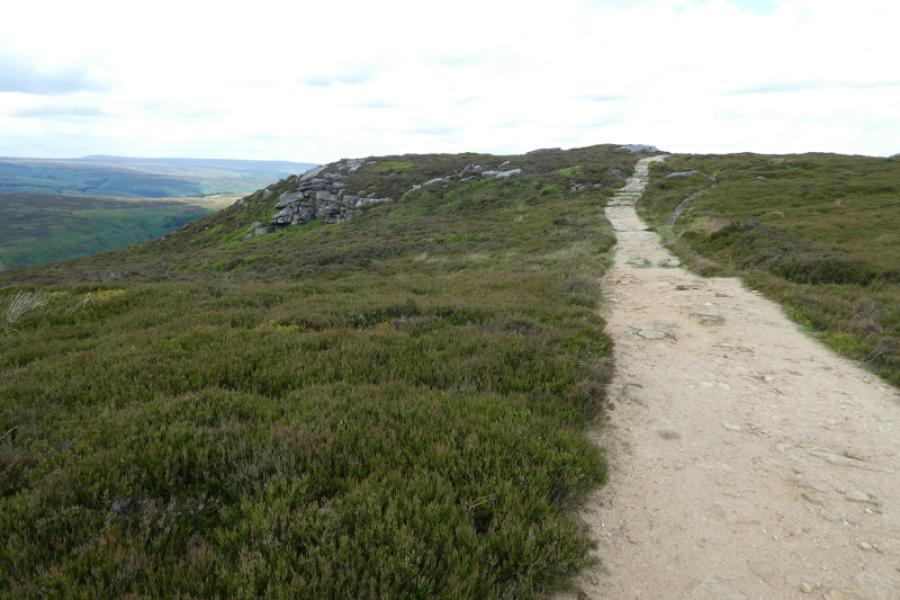
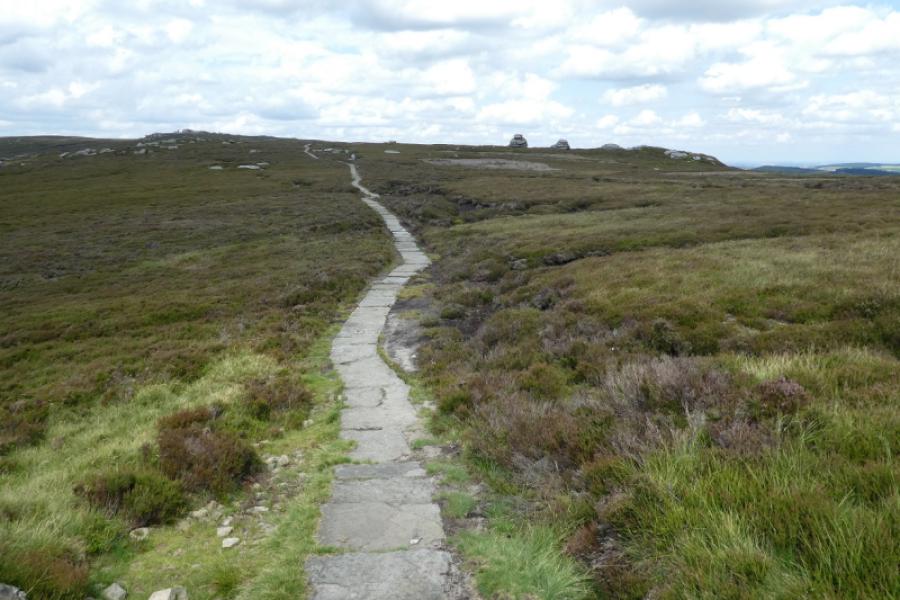
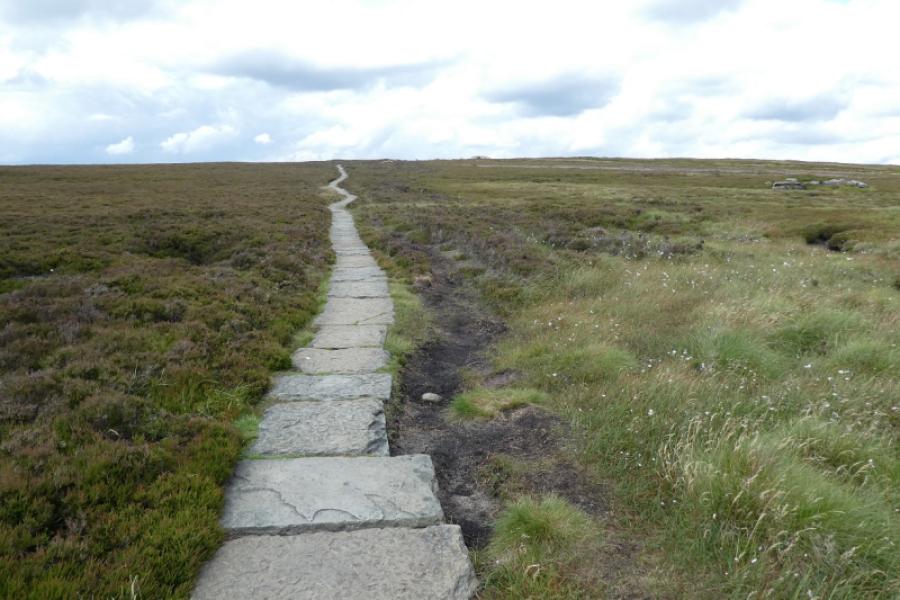
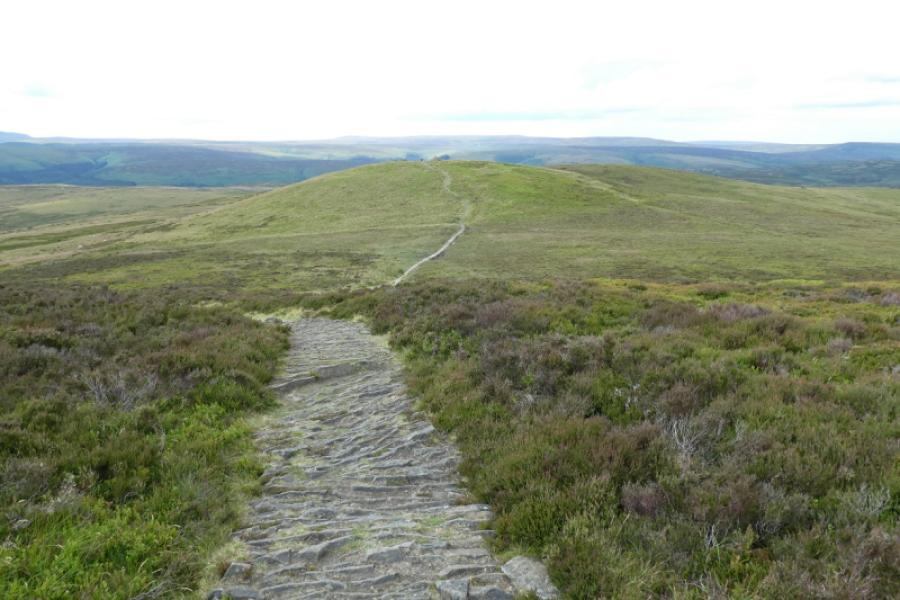
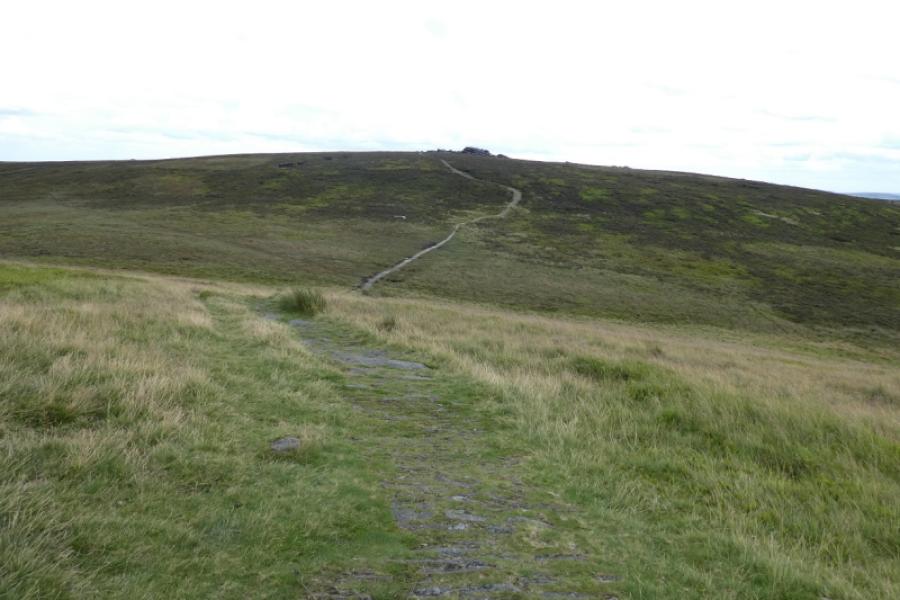
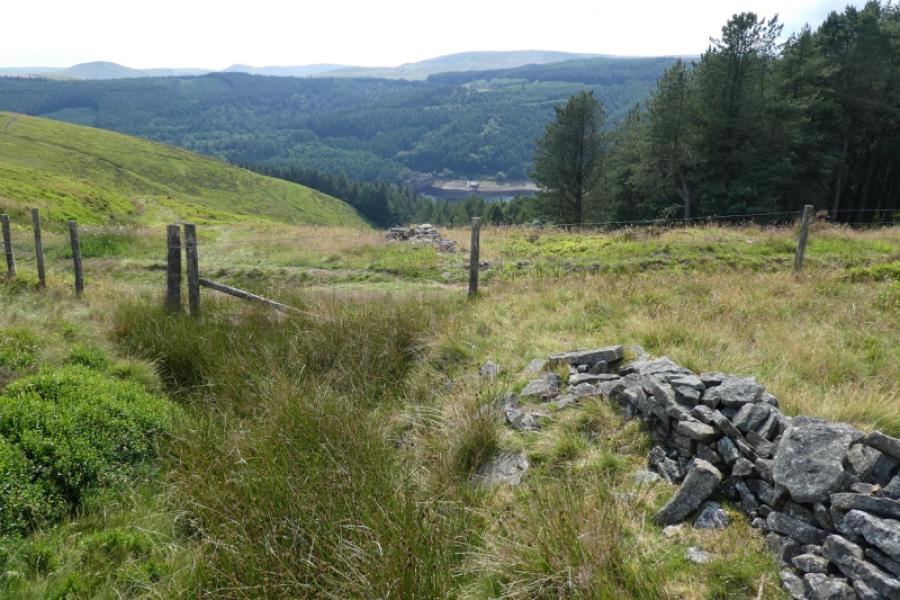
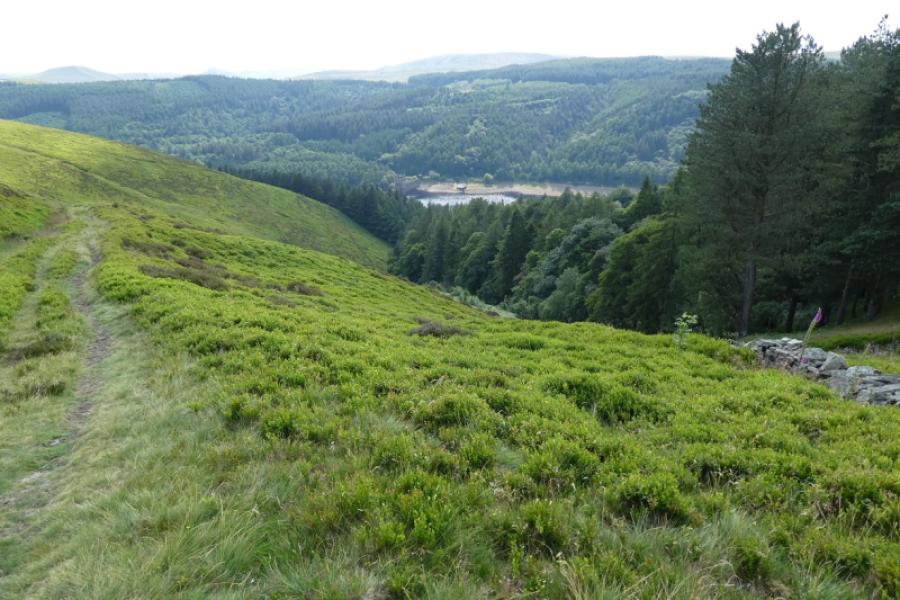
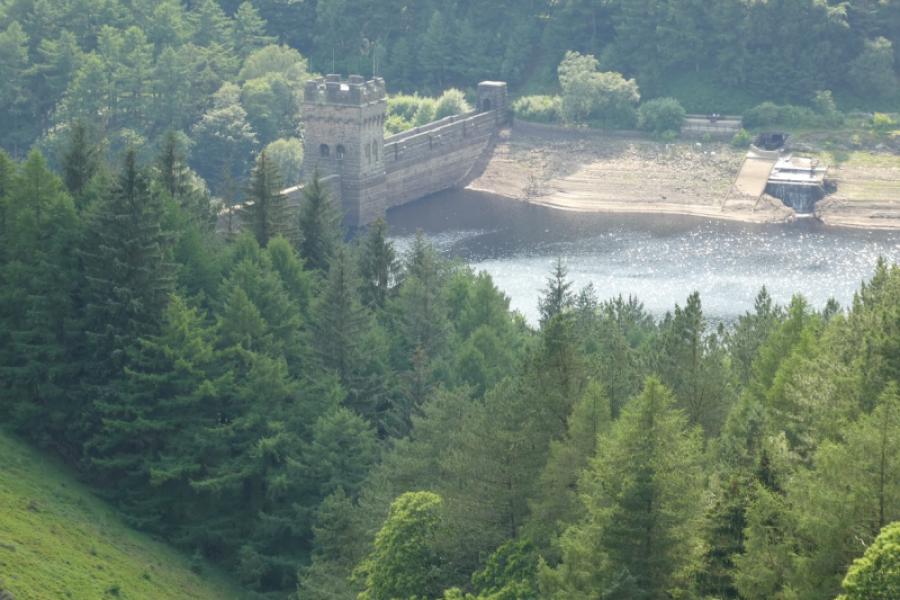
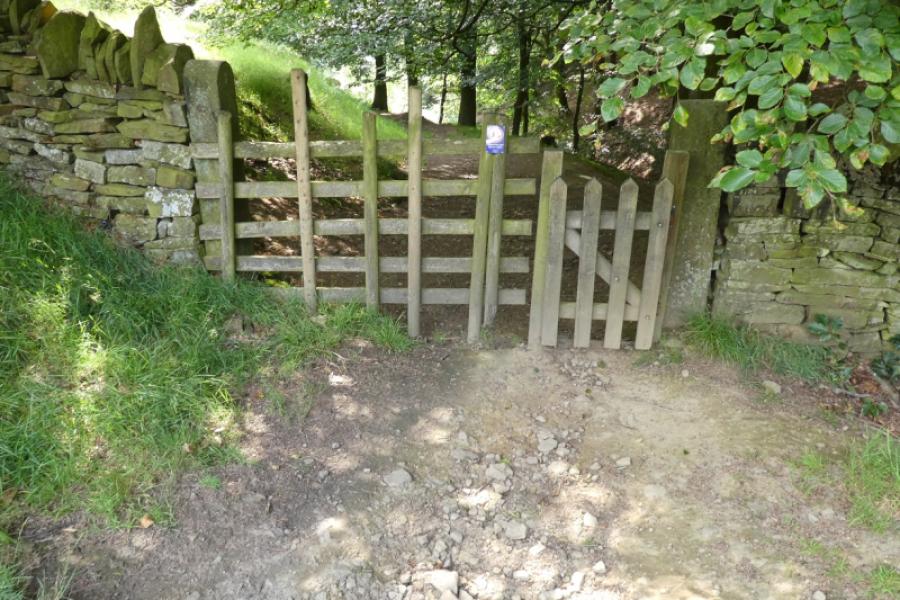
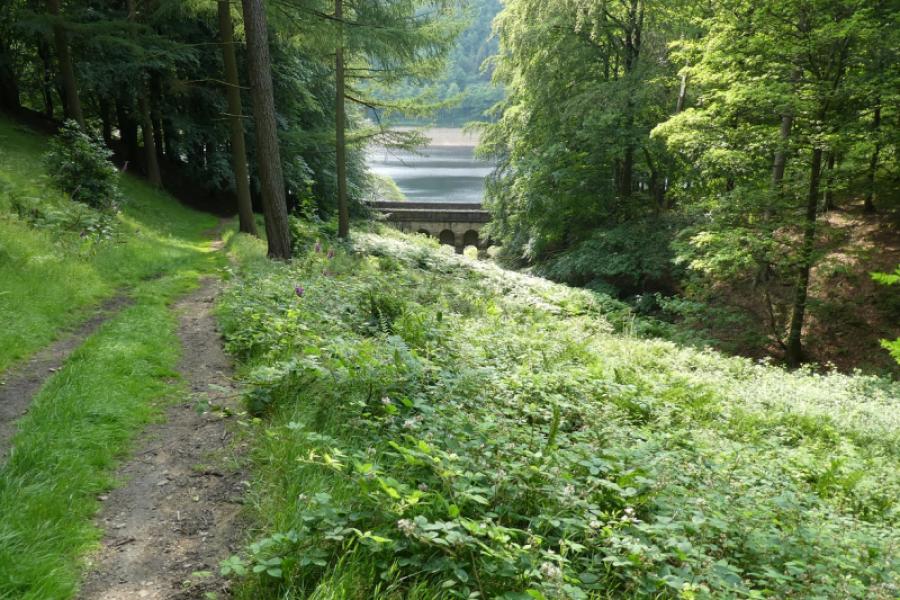
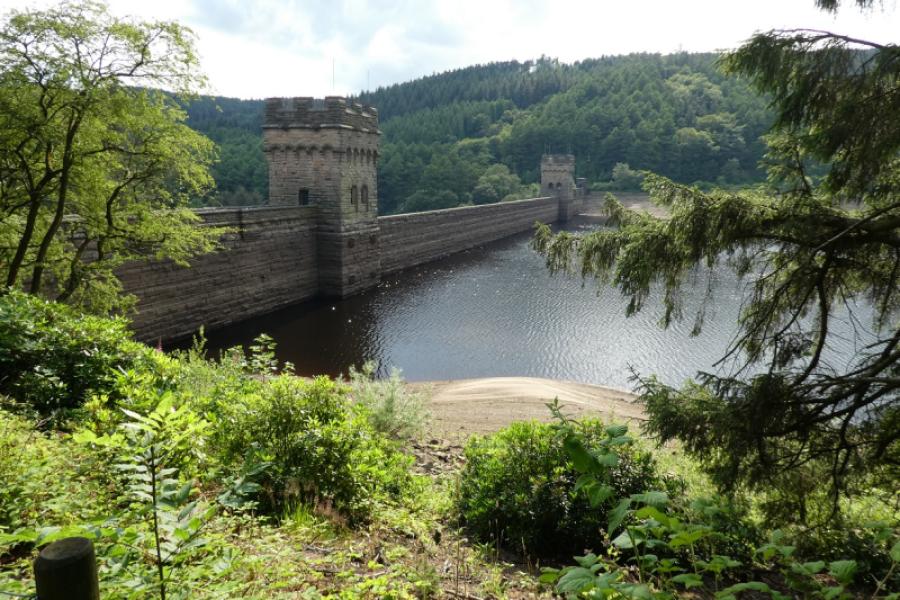
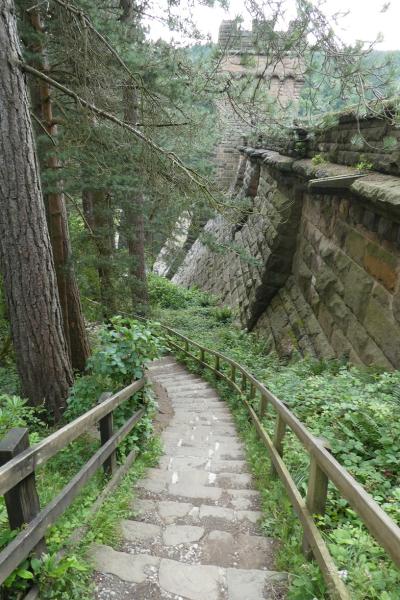
(1) From the car park, walk N towards the Derwent Dam, on a minor road. Follow this road across the river and then roughly SE on the opposite bank to the car park. Continue to the obvious small inlet at Wellhead where there is a notice board and an obvious bridge over the wide stream coming from the N. Continue for about 0.5 km until a good track comes in from the N. A few metres further, a path is signed which ascends roughly E. Take this path, which soon becomes slabbed and follow it up, steeply in places, to a collection of stone buildings. The path goes behind the first building then right and passes an open barn where walkers are welcome to rest. The path continues SE then E alongside a wall and then a pleasant wood. Continue roughly E until the path meets a bridleway at a wall. Follow the bridleway, roughly S and almost level. This section can be boggy, mainly due to cyclists. Continue for about 1 km, with some very pleasant views of the reservoirs and a level grassy plateau just below Whinstone Lee Tor. The path goes below the Tor before turning E then N to gain the crest of the ridge. This is the area known as Whinstone Lee Tor, c 400 m.
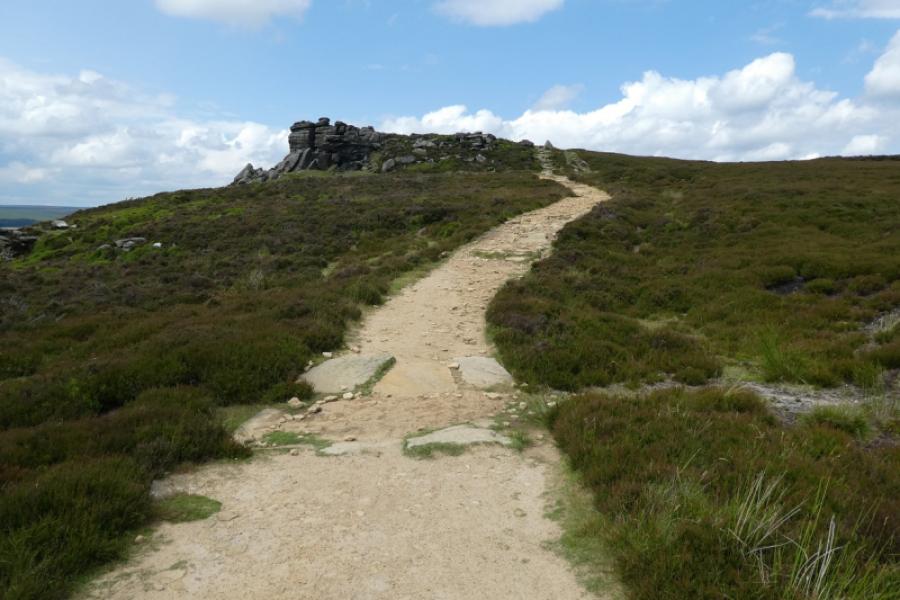
(2) Follow the obvious path, roughly NE, along the broad crest. After about 500 m, there is are two obvious outcrops about 20 m and 70 m to the E of the path which may not be visible in thick mist. They are the Hurkling Stones, c 420 m.
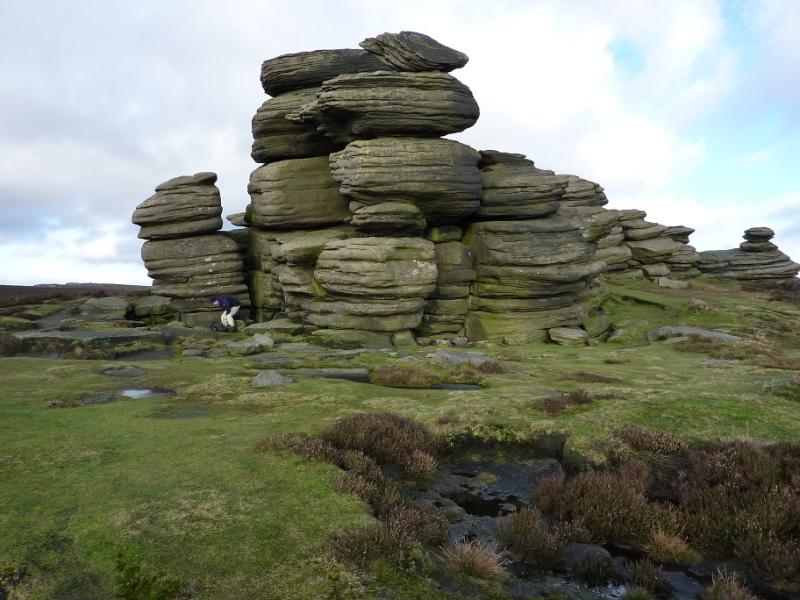
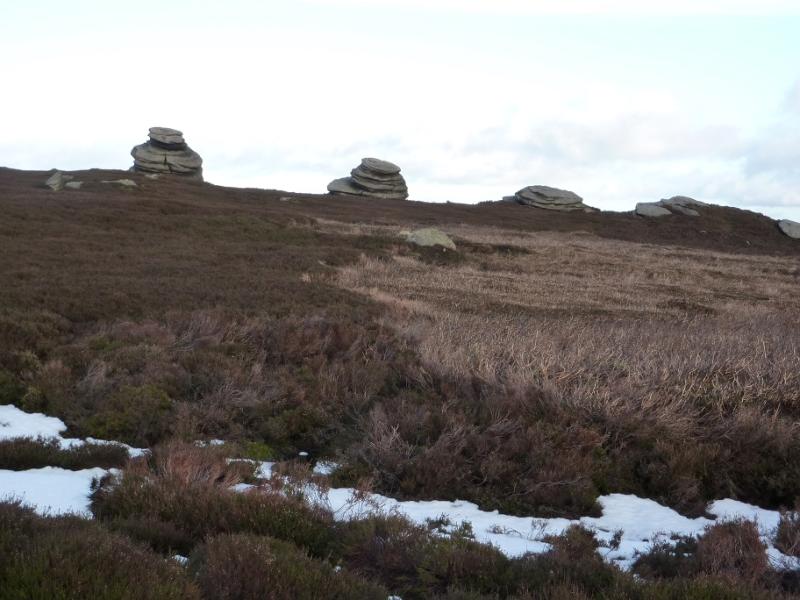
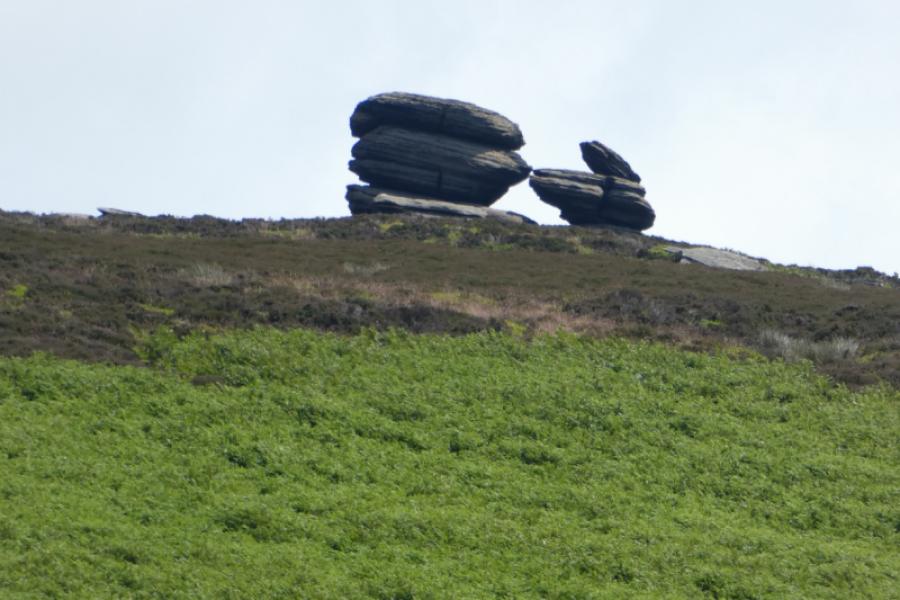
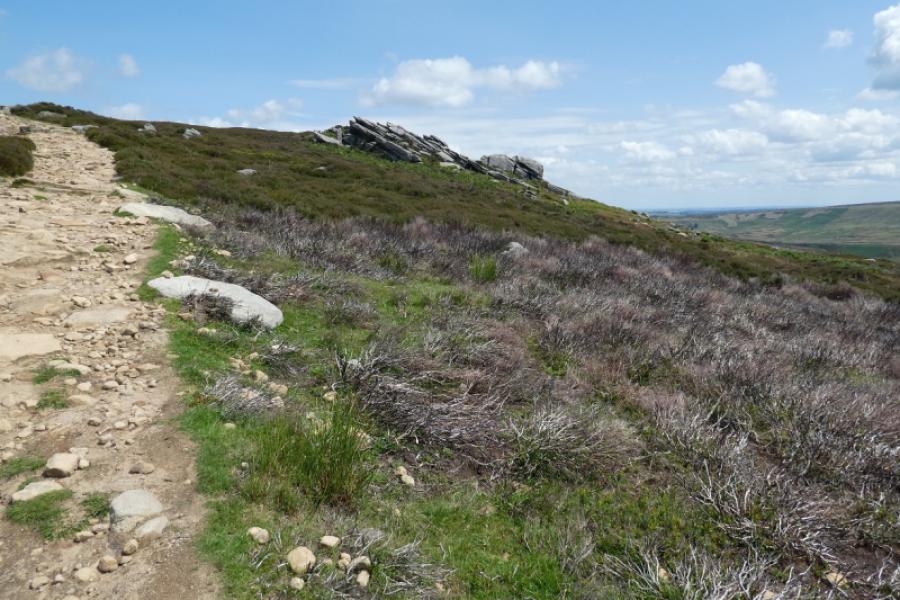
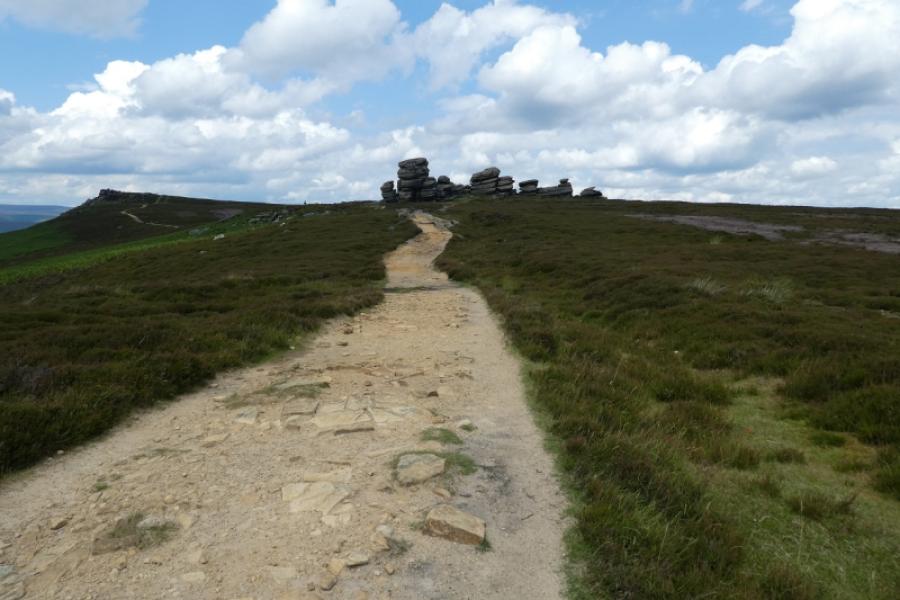
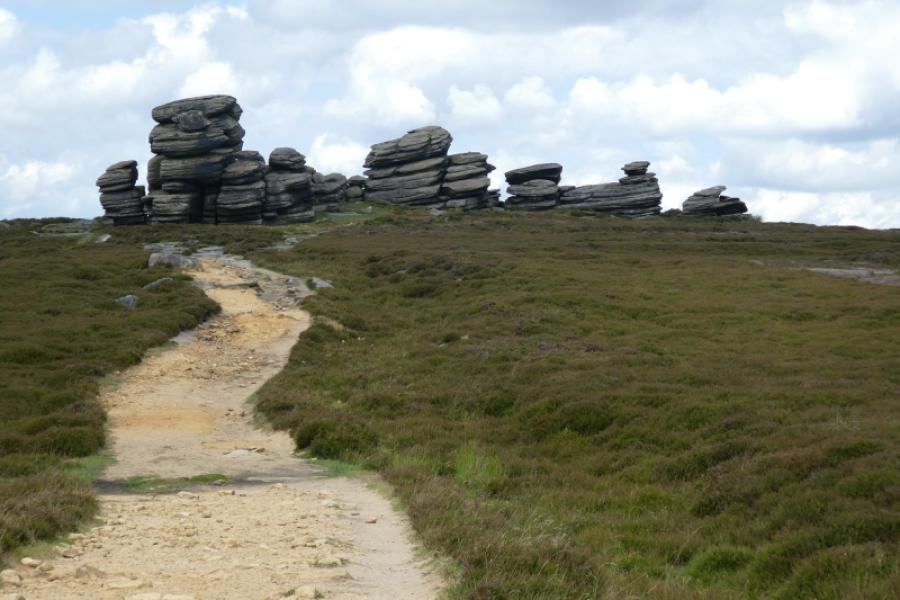
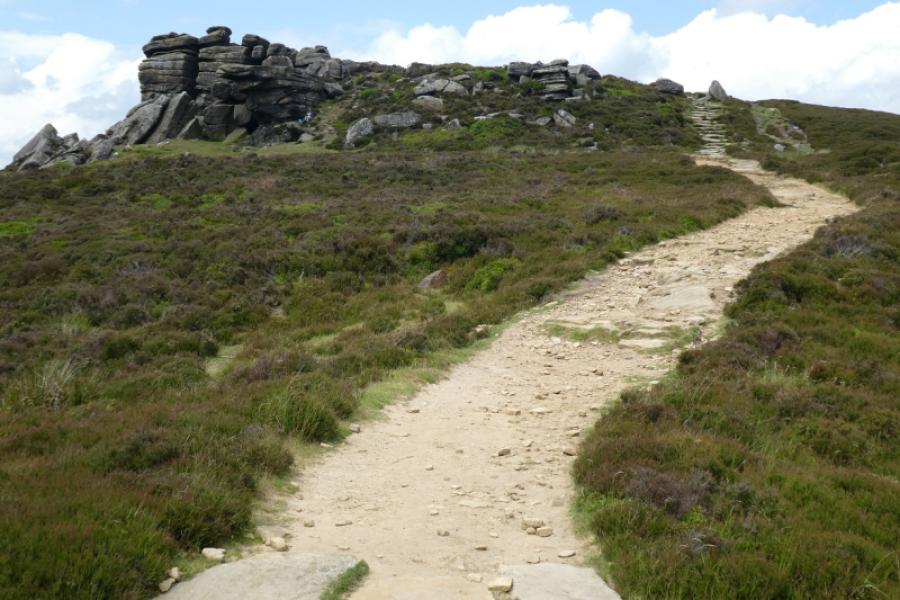
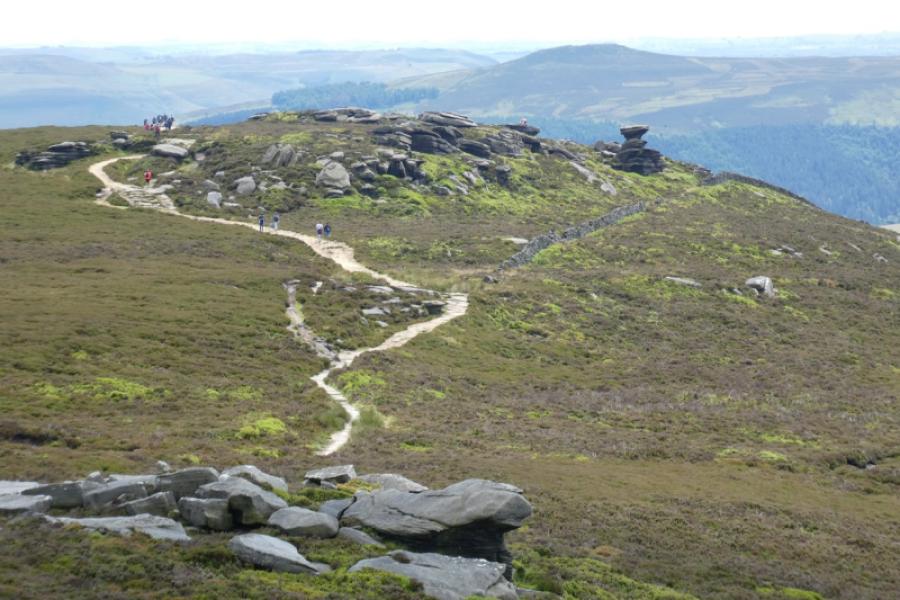
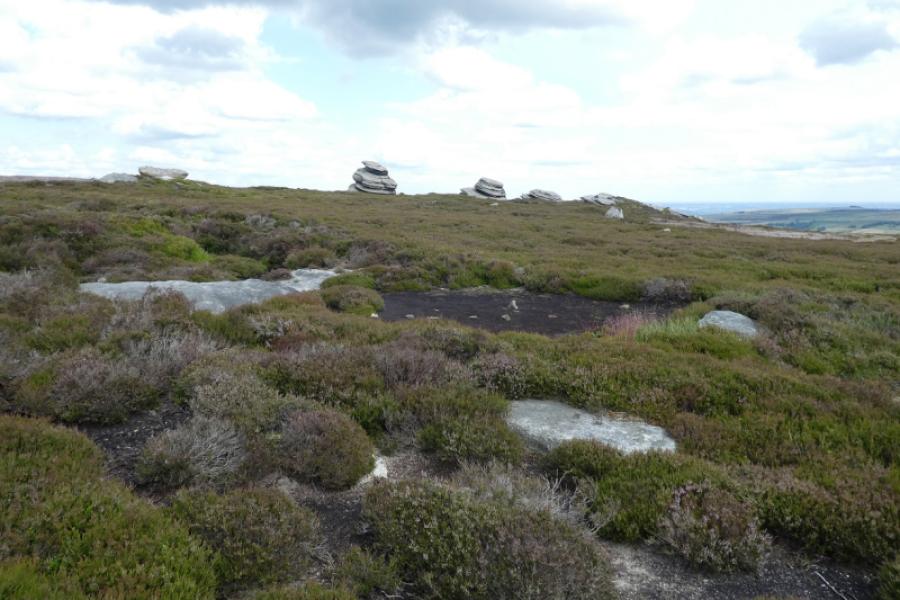
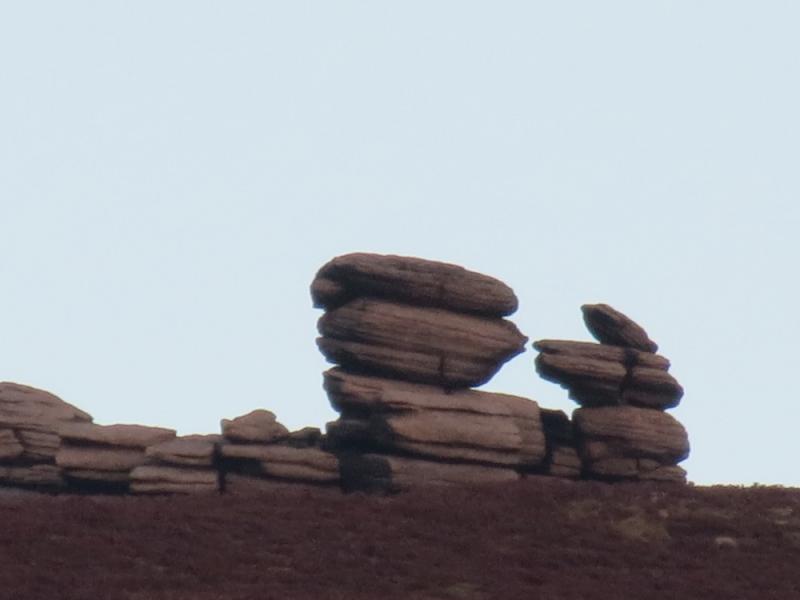
(3) Rejoin the path and follow it roughly N for about 800 m to reach the next obvious land mark known as the Wheel Stones, 481 m. Locally, there is some doubt as to whether their correct name is the Weald Stones. Some people now seem to be calling them “The Coach and Horses”.
(4) The path now continues roughly NE, still on the crest, to White Tor, 487 m, (there is nothing white about it).
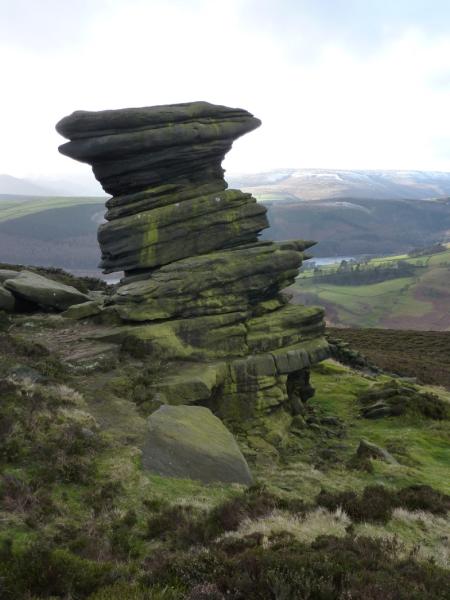
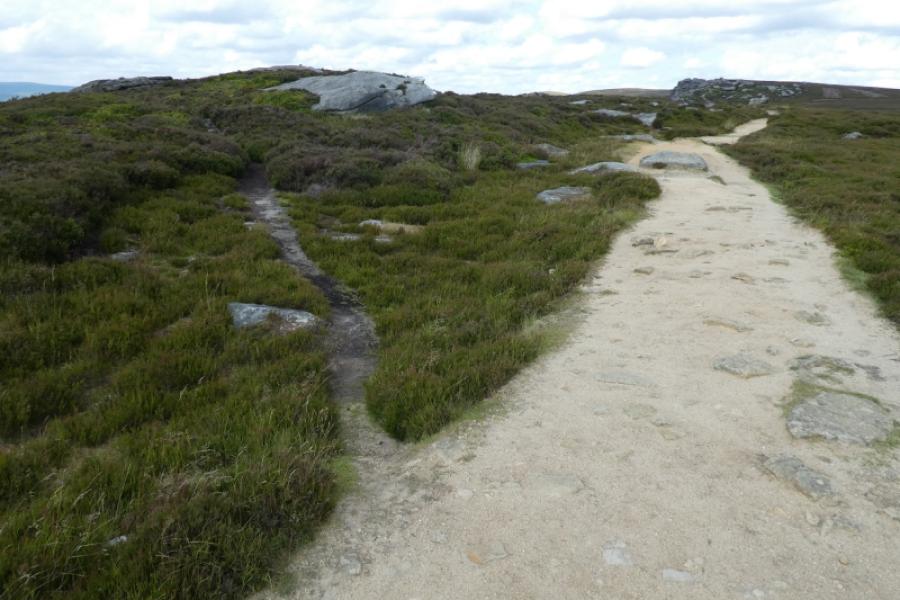
(5) Beyond White Tor, crest dips very slightly then ascends equally gently. About here, look for a faint path going off to the left, W/NW, just before a very slight stony bump. This path loses a little height but within 50 m, arrive at the Salt Cellar, c 470 m, which is a wind eroded boulder not seen from the crest to the S but obvious from the crest to the N.
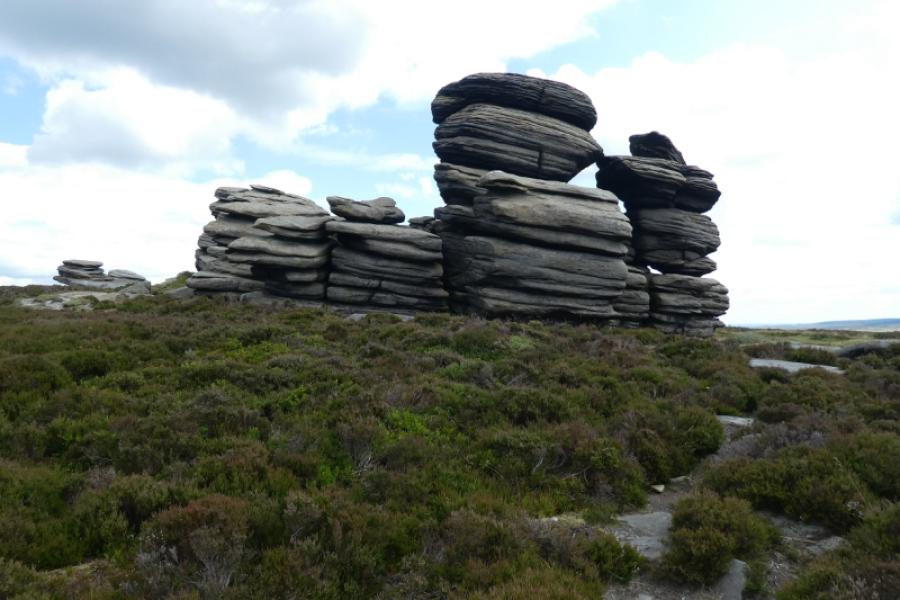
(6) Rejoin the crest path and follow it past the next outcrop known as Dovestone Tor c 500m.
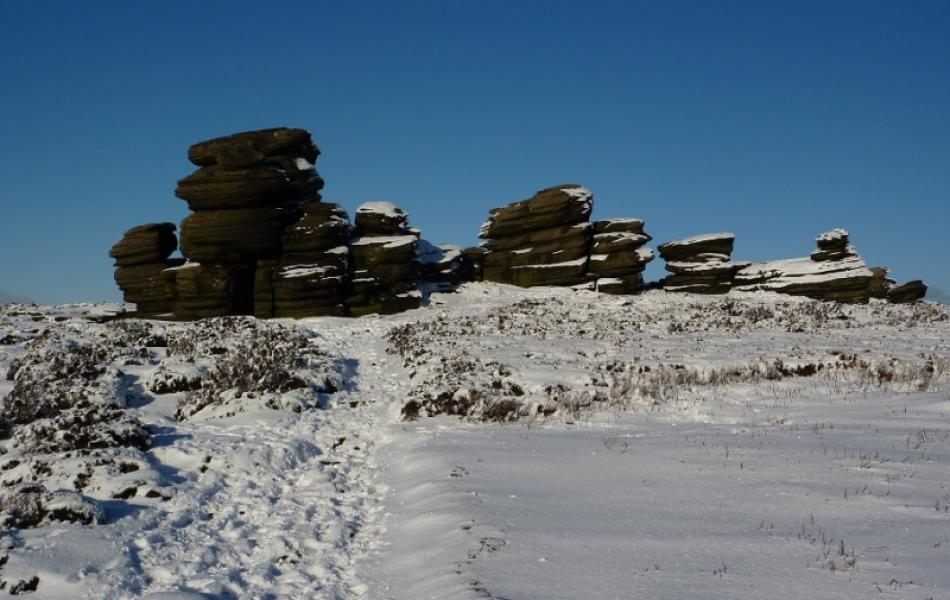
(7) Continue along the ridge, in clear weather, one's eye is drawn to a series of small tors, off to the right called, for fairly obvious reasons, The Cakes Of Bread, c 500 m, which are at right angles to the crest and slightly to the E of the crest. These are well worth a detour and it is possible to scramble up them for those with some experience although there can often be a small pool blocking access.
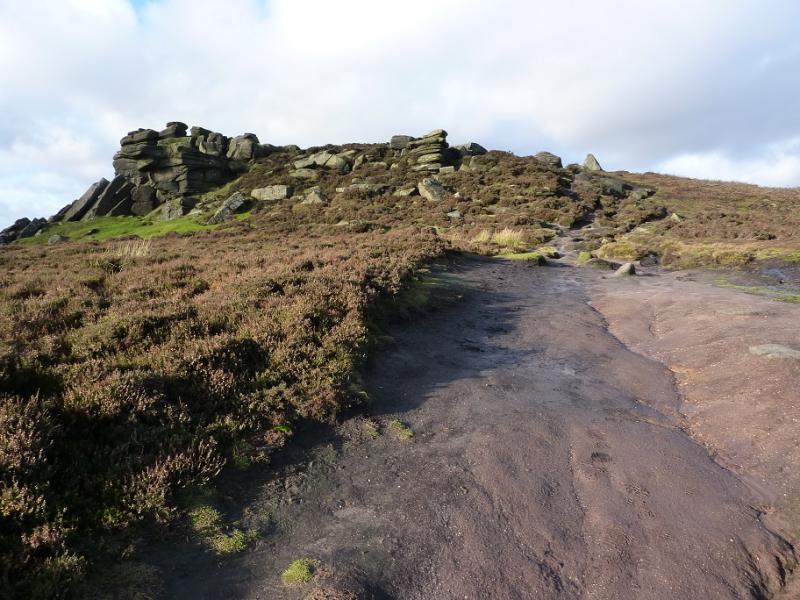
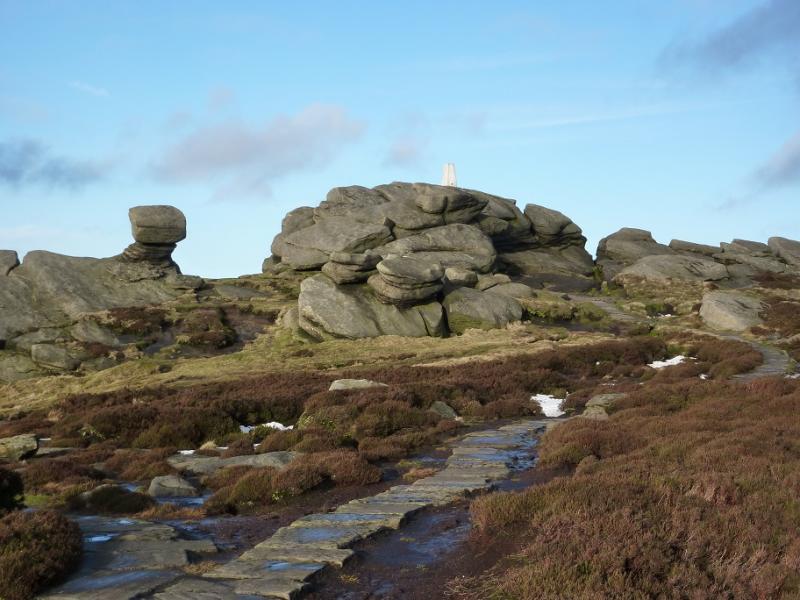
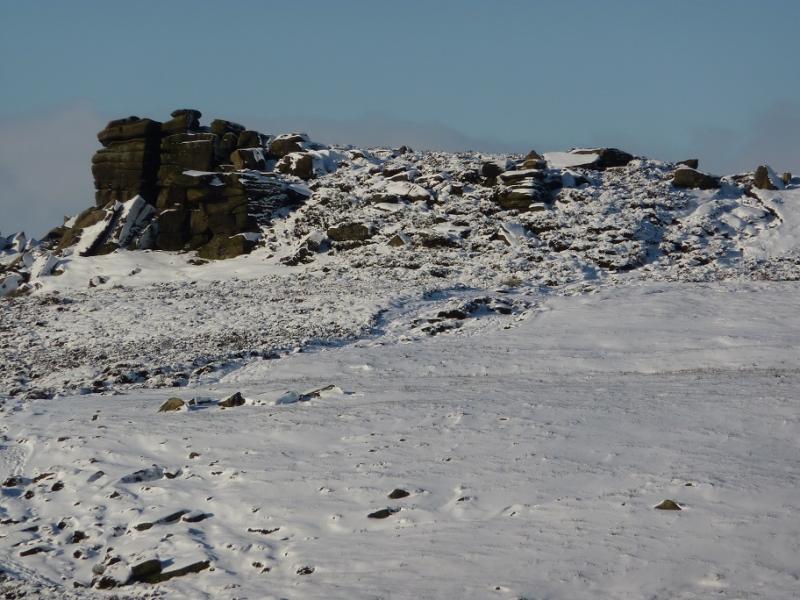
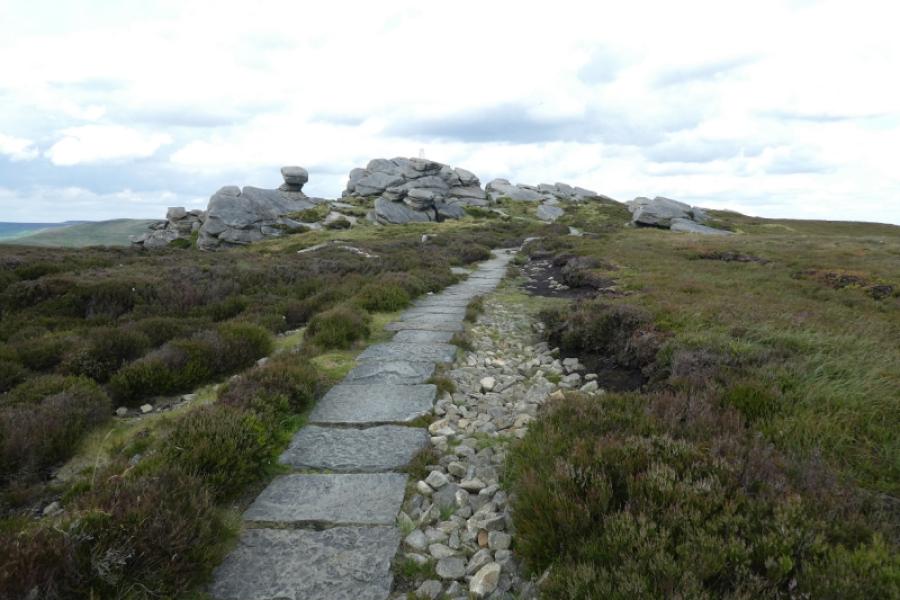
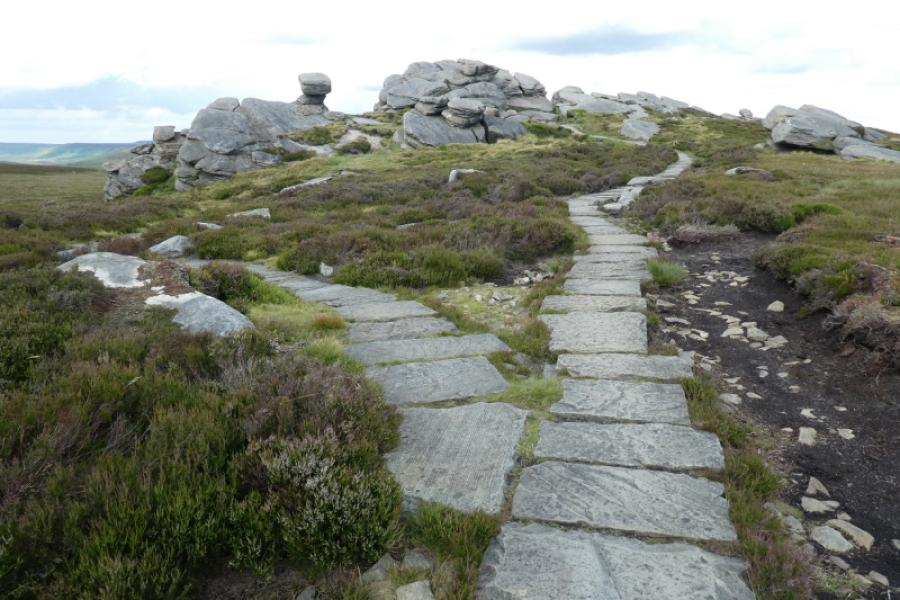
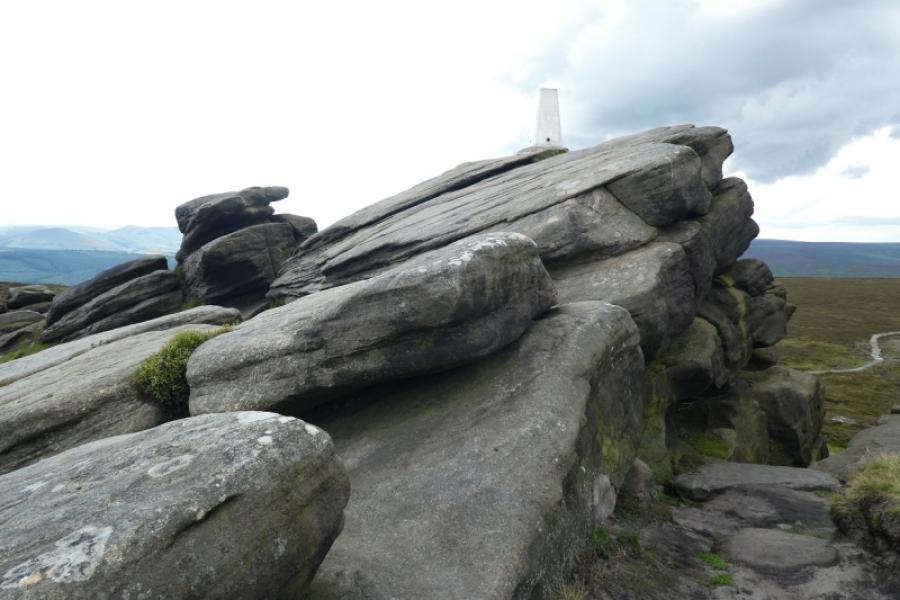
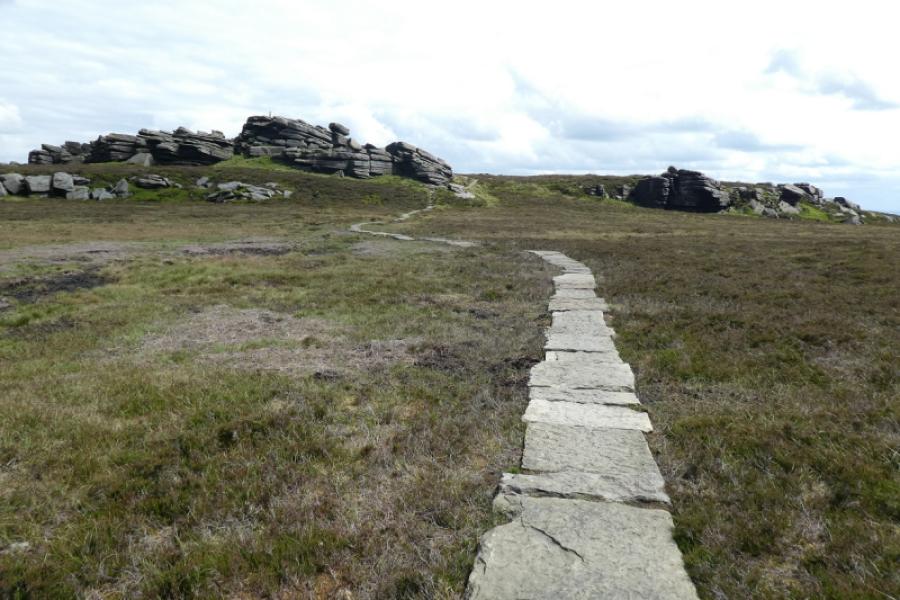
(8) Return to the main path along the edge and follow it to the next outcrop and highest point on the Derwent Edge. A trig point sits on the outcrop, known as Back Tor, 538 m, which can be reached by an easy walk/scramble in dry conditions but can be tricky when wet, icy or snowy. There is also the added hazard of cracks in the outcrop, large enough to slip into and cause injury. The W side of the outcrop has considerable sheer drops. Just before reaching the outcrop, the main path veers left, NW, towards Lost Lad, visible in clear weather.
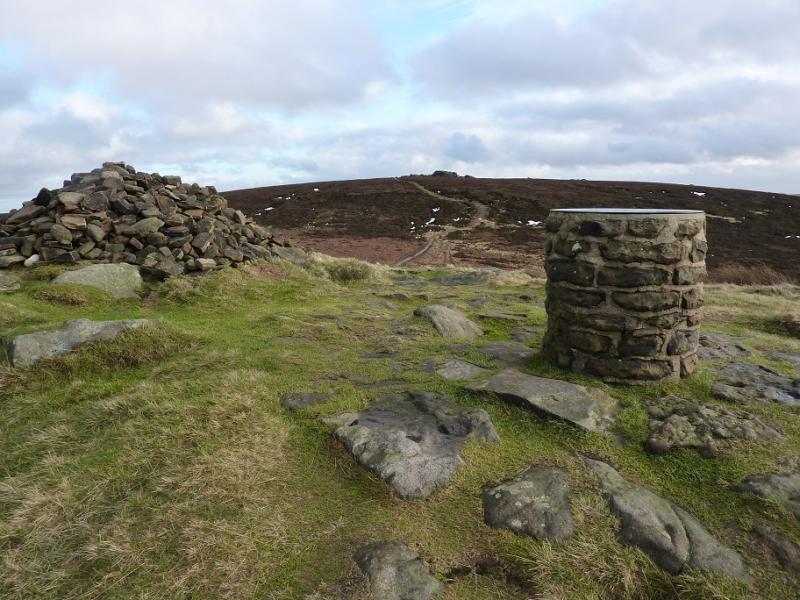
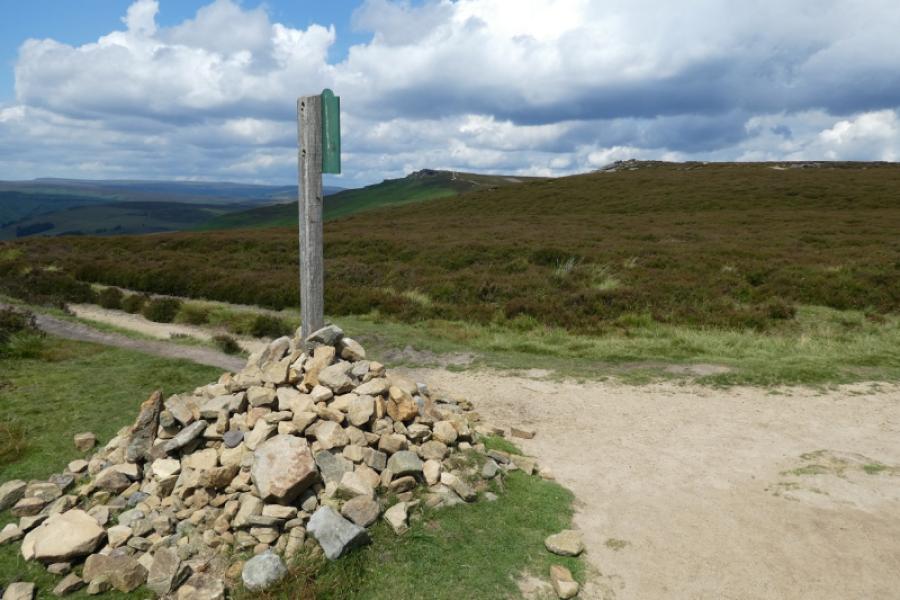
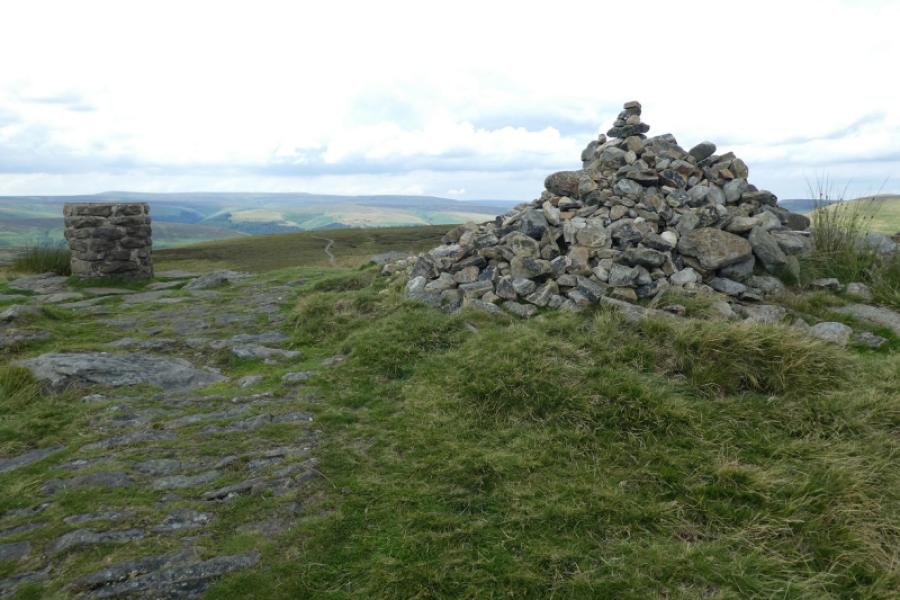
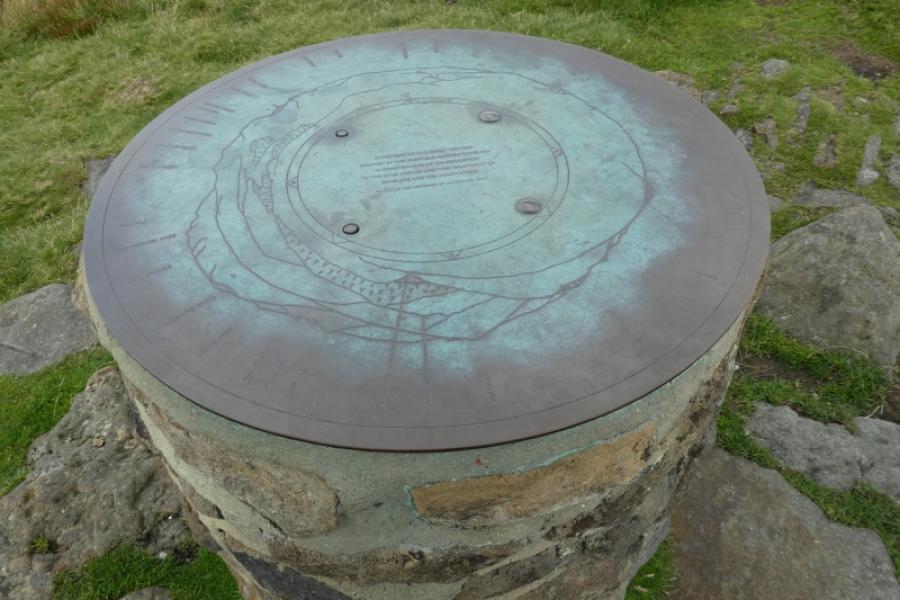
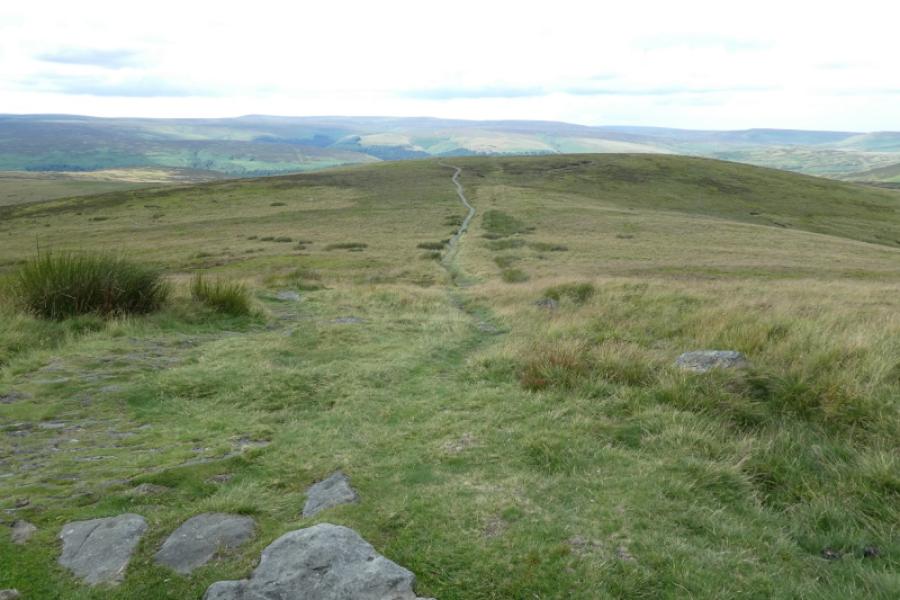
(9) Retrace to the path towards Lost Lad and follow it down into a gentle hollow then up the other side to reach the top of Lost Lad, 518 m, where there is a view cairn which names and points at all the surrounding landmarks as well as giving their distances.
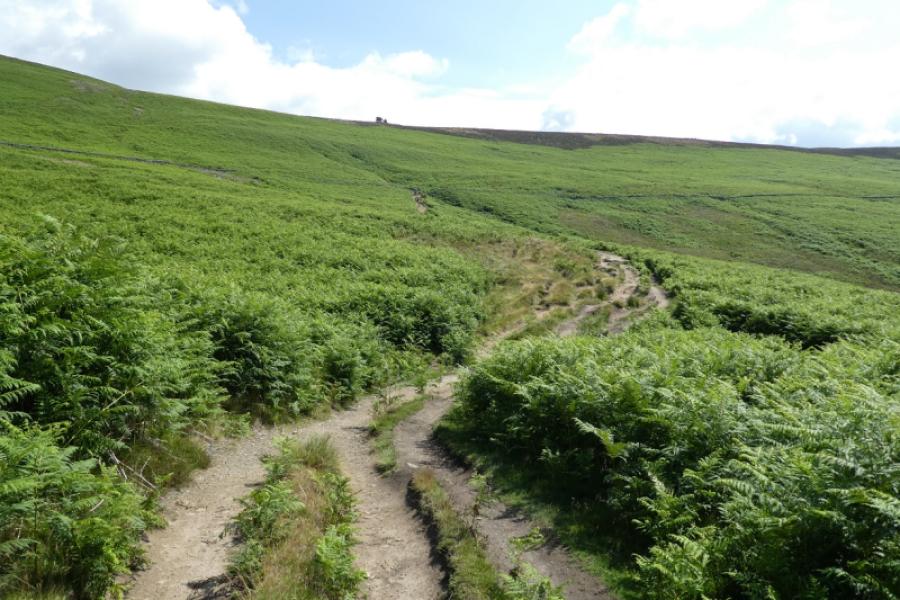
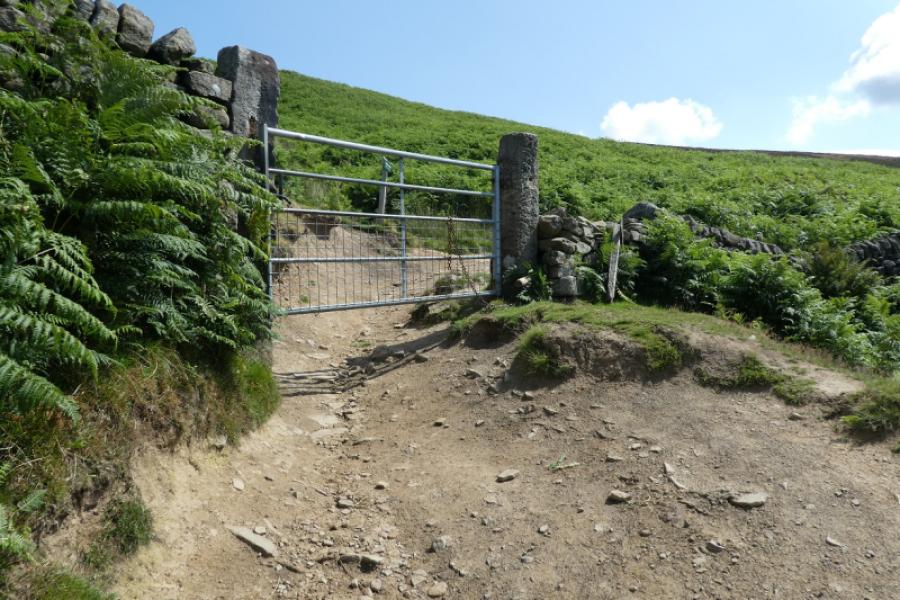
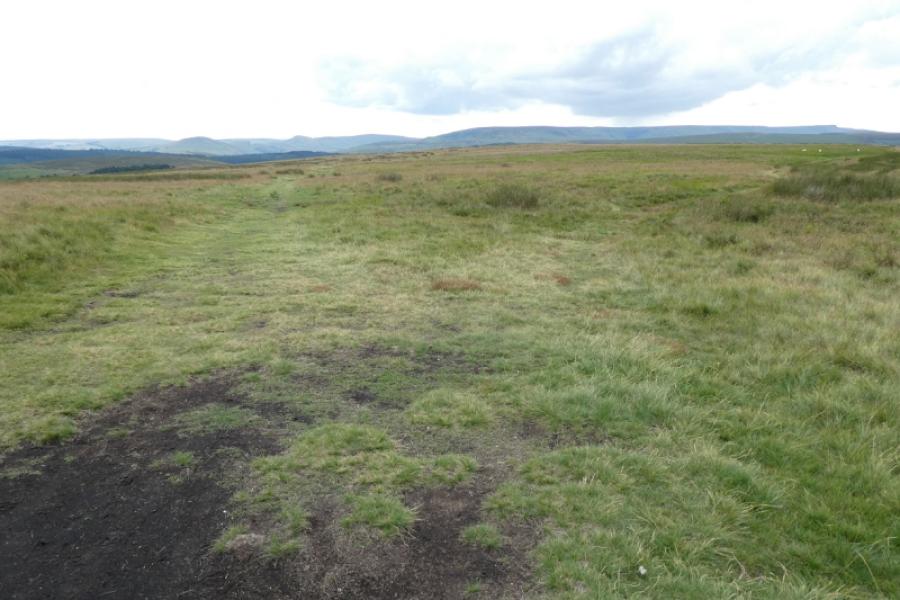
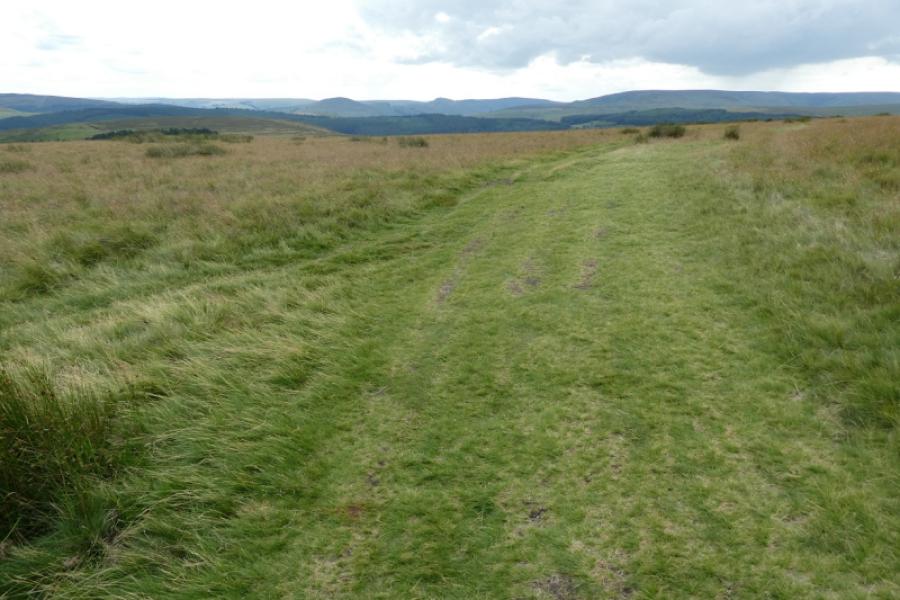
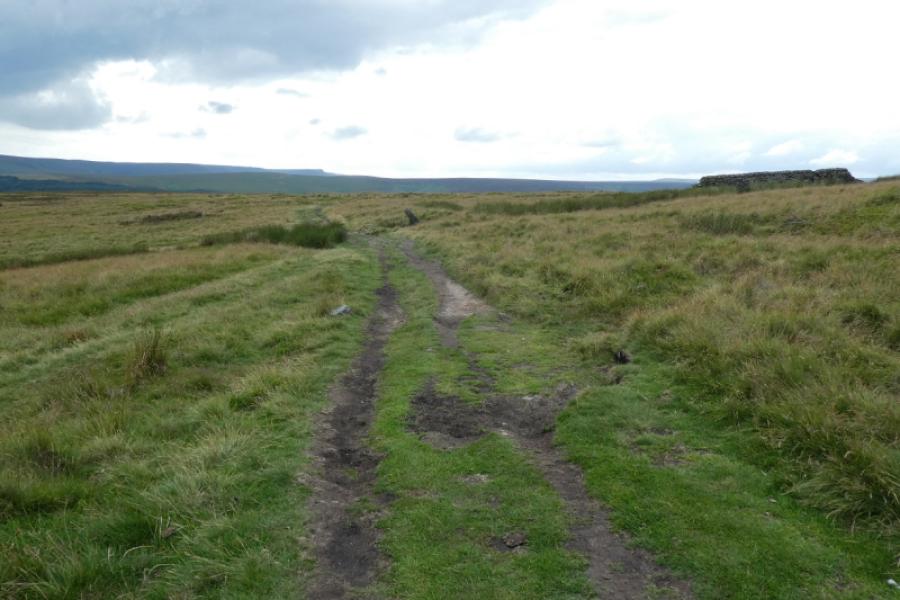
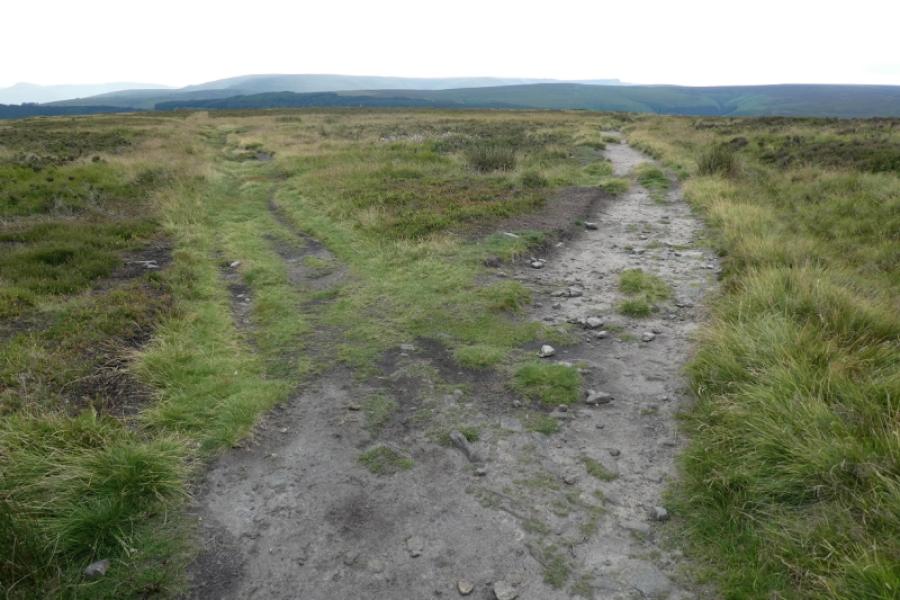
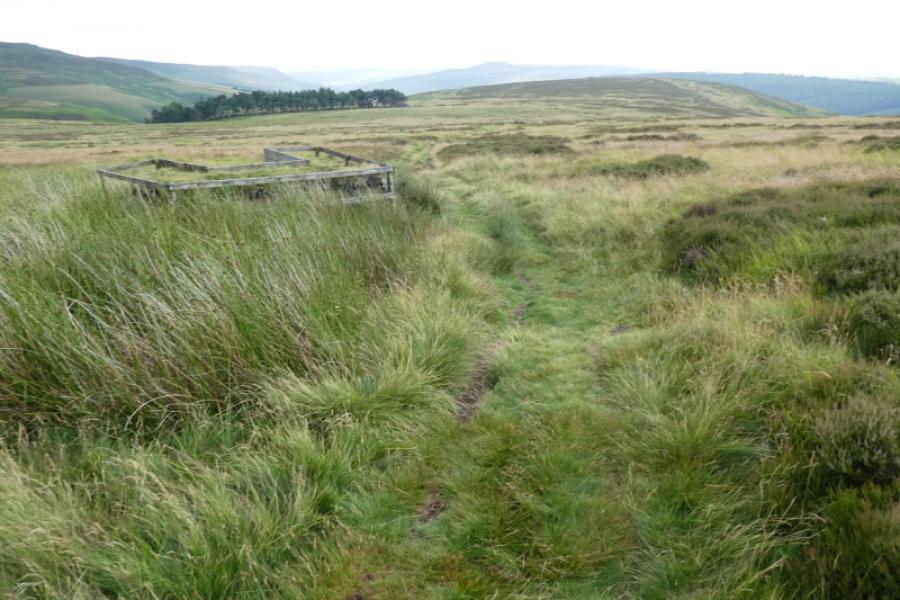
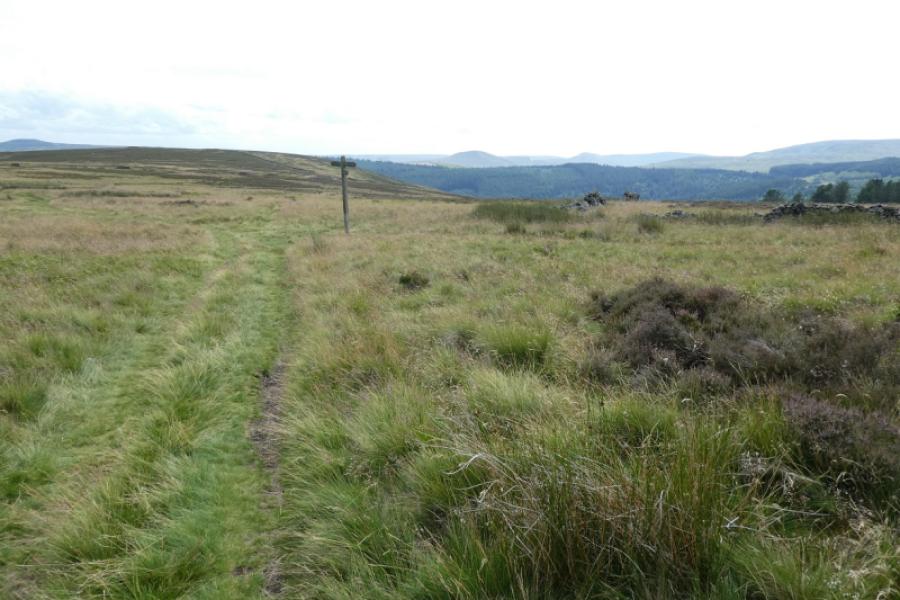
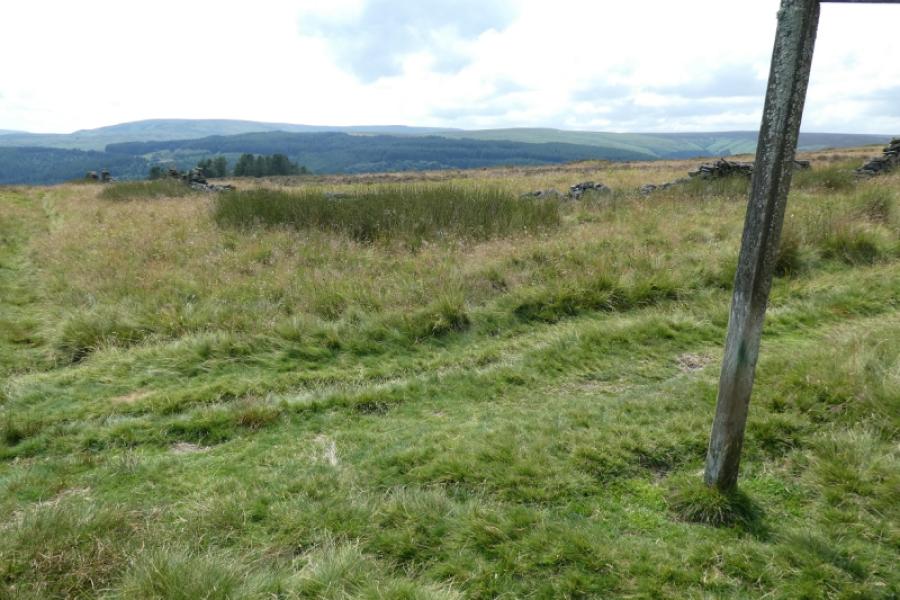
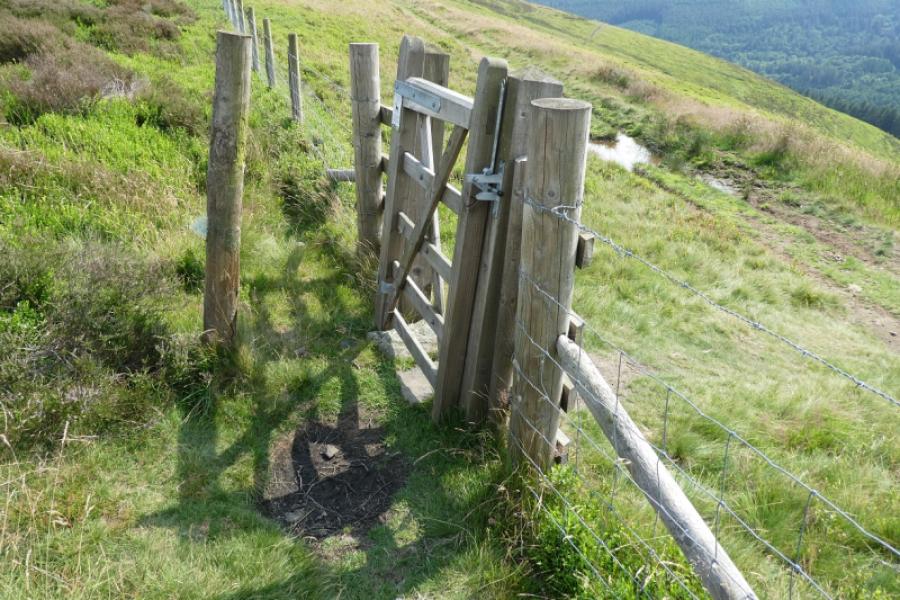
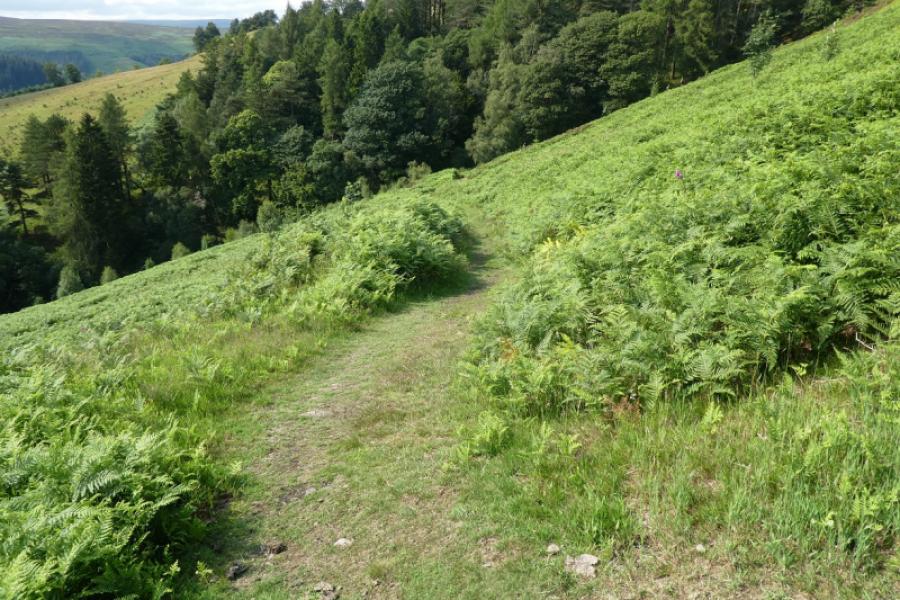
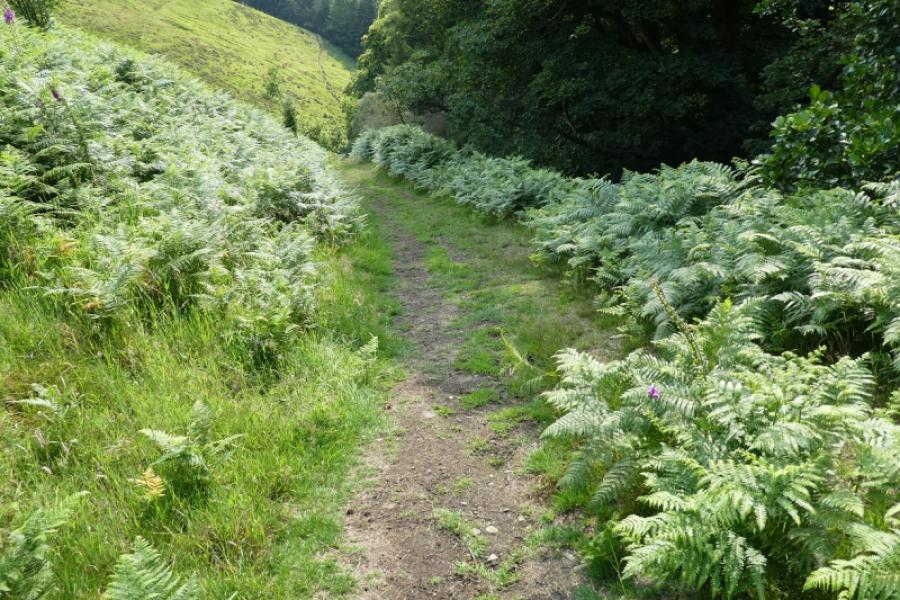
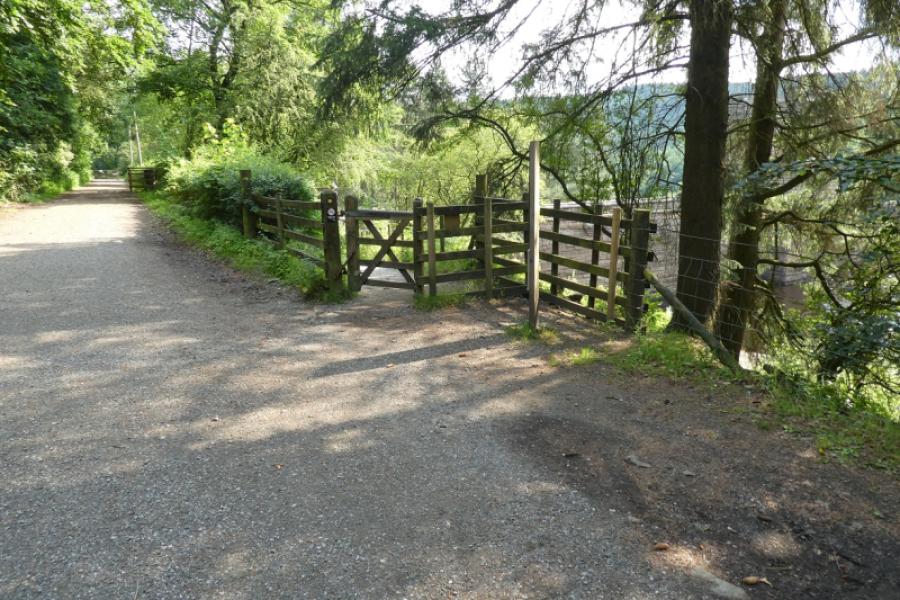
(10) Continue, descending roughly NW, on the obvious path from Lost Lad which gradually veers W to intersect with an old, faint path coming from the NE (shown on map). Not long after, the track seems to split so take the left fork, roughly SW, and is soon joined by the now faint path which left the ridge (where it was signed) at Bradfield Gate Head, about 300 m before Back Tor. From here, one needs to be careful to avoid incorrect navigation. In clear weather, there is a wood, Millbrook Plantation, further along the ridge and just to the left of the crest. The wood isn't on the route but you will be aiming to leave the ridge, on its right, not far from this wood so the wood may be a useful guide. Continue on the path and cross the bare remains of a wall (it seems to be heading towards the wood). Soon after, the path splits; take the left fork. Soon after, it splits again so, again, take the left fork. You will now wlak through a line of makeshift grouse butts with one being almost on the track. Continue to reach a signpost, at a corner of broken walls, where the direction you have come from is signed as the way to the Derwent Edge. You want to go where there is no finger pointing which is on a faint path, roughly right, which follows a broken wall. The faint path reaches a wire fence with a small gate, to the left, which gives access to a horizontal grassy track. You are now at the top of Hollin Clough. Go straight across the track to reach a path slanting down the clough. Lower down it cuts back right to follow the oath by the stream down the clough. Reach a gate at the bottom then soon after gain the minor road by the reservoir. Turn left and soon reach a gate, on the right, just before the Derwent Dam. Take the path and follow it past the dam then down some steps to reach the grassy area below the dam beyond which is the short road back to Fairholmes.
Notes
(a) This walk took place on 18th December, 2011, many times previously and on 13th July, 2023.
(b) An alternative descent would be down Walker's Clough through Hancock Wood which comes down about 800 m further up the reservoir from Hollin Clough but it doesn't have the views of Derwent Dam that Hollin Clough has. To reach this, take the right fork after the first broken wall. Cross another wall then take a faint path left which crosses a track before descending to the wood and into Walker's Clough. This route may have changed on the ground over recent years so keep an eye on the map!
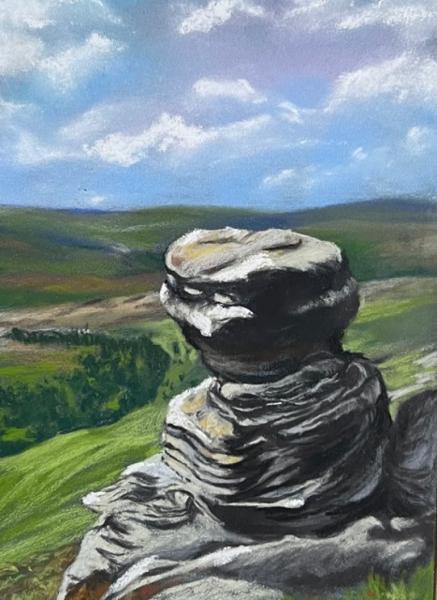
(c) The painting at the end of the photos is of the Salt Cellar, by Katina Johnson, a very talented painter from Lincolnshire. It is well worth looking at her website which is https://katinajohnsonart.com/ The picture is in the portrait format not the landscape format of the thumbnail so make sure you click to enlarge it and see it as it is meant to be!
Photos - Hover over photo for caption. Click on to enlarge. Click on again to reduce.