Get Lost Mountaineering
You are here: Scotland » 00 Galloway and the Borders » Culter Fells and Tinto
Culter Fell & Gathersnow Hill range from Culter Glen
Culter Fell & Gathersnow Hill range from Culter Glen
Start/Finish
Small “lay by” about 150 m past turning for Birthwood Farm. If the two spaces have already been taken then it is possible to park a little further back. From Coulter village take the minor road south from the obvious corner in the village. Coulter is on the A702 between Abington and Biggar.
Distance/Time
27 km. About 8 - 9 hours.
Peaks
Cardon Hill, 675 m, NT 065 314.
Chapelgill Hill, 696 m,NT 066 303.
Culter Fell, 748 m, NT 052 290.
Coomb Hill, 640 m, NT 069 263.
Gathersnow Hill, 688 m, NT 058 257.
Hillshaw Head, 652 m, NT 048 246.
Coomb Dod, 635 m, NT 046 238. OS Explorer sheet 336: Biggar & Broughton.
Introduction
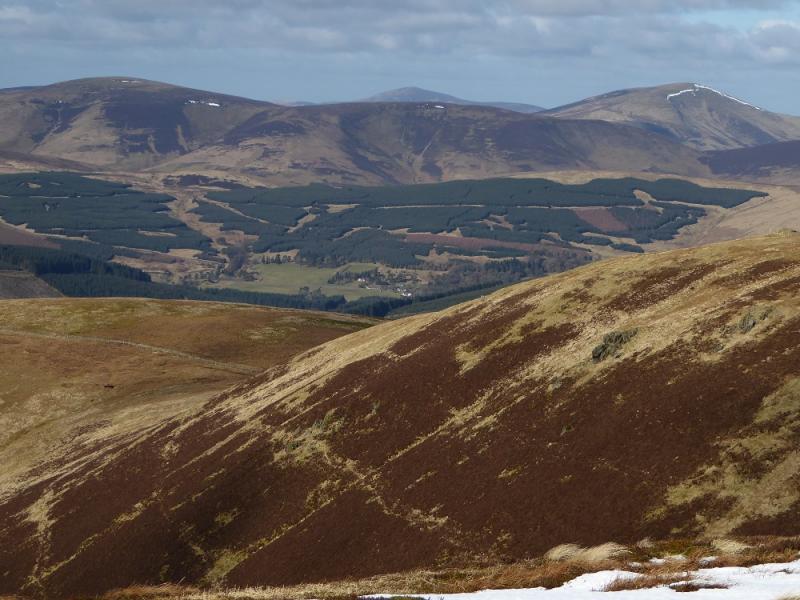
This is a high moorland walk with good views to Tinto and the Broad Law range. There are paths/tracks most of the way and, unusually for the Southern Uplands, every summit is marked. Unfortunately, there is quite a bit of backtracking and Coomb Dod is now part of a huge wind farm.
Route
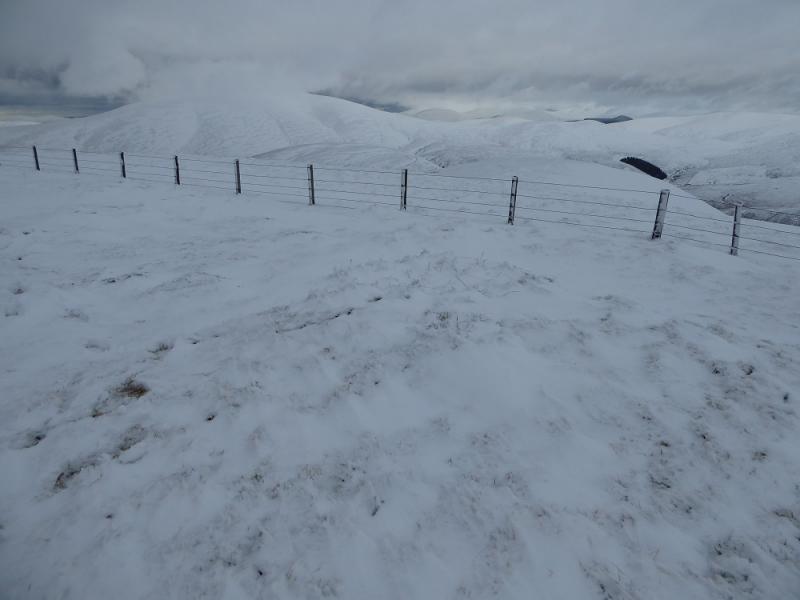
(1) Continue up the road for about 400 m until just past the wood on the left where a rough track goes up the side of the wood to Juniper Knowes. At the top of the wood the track goes left then up to join another track. Turn right here and follow this track up towards Tippet Knowe and Glenharvie Moss. Higher up the track drifts right towards Culter Fell so leave it and follow the fence to Glenharvie Moss to reach the fence running along the crest. A path follows the crest fence but goes through some peat hags. However, further to the east and a little lower, a grassy ATV track bypasses the peat hags before joining the fence path. Continue following the fence to the cairn on Birnies Bowrock then continue down and up to reach the medium cairn on Cardon Hill, 675 m.
(2) Retrace to Birnies Bowrock then follow a faint path shadowing a fence (not on some maps) to reach the broad summit area where a medium cairn next to a small plaque, on the fence, is the summit of Chapelgill Hill, 696 m. However, this may not be the highest point which could be about 50 m SW of here.
(3) Retrace to the main crest and follow the ATV track then fence up to the flat top where a trig point marks the summit of Culter Fell, 748 m.
(4) Follow the fence, roughly S, on a long gradual descent over the minor top of Moss Law to reach Holm Nick where the fence turns E. Continue following the fence, which soon turns S, up a ridge towards Glenwhappen Rig. About 300m after the corner, leave the path/track and drift left towards the corrie rim and follow this up onto Glenwhappen Rig to reach a fenc eon the crest. Follow this ENE then NE up to the medium cairn which is the summit of Coomb Hill, 640 m.
(5) Retrace to Glenwhappen Rig then follow the fence up the E ridge of Gathersnow Hill. Reach a flat section where a small cairn marks the summit of Gathersnow Hill, 688 m.
(6) Continue following the fence, descending W then SW before ascending up to a small cairn which is the summit of Hillshaw Head, 652 m.
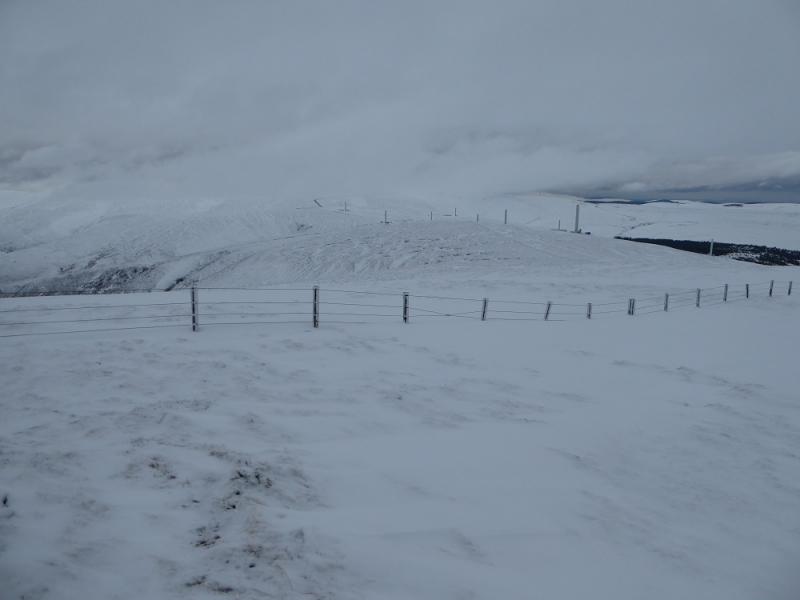
(7) Continue following the fence, roughly S, and enter the wind farm area bfore ascending to the trig point which is the summit of Coomb Dod, 635 m.
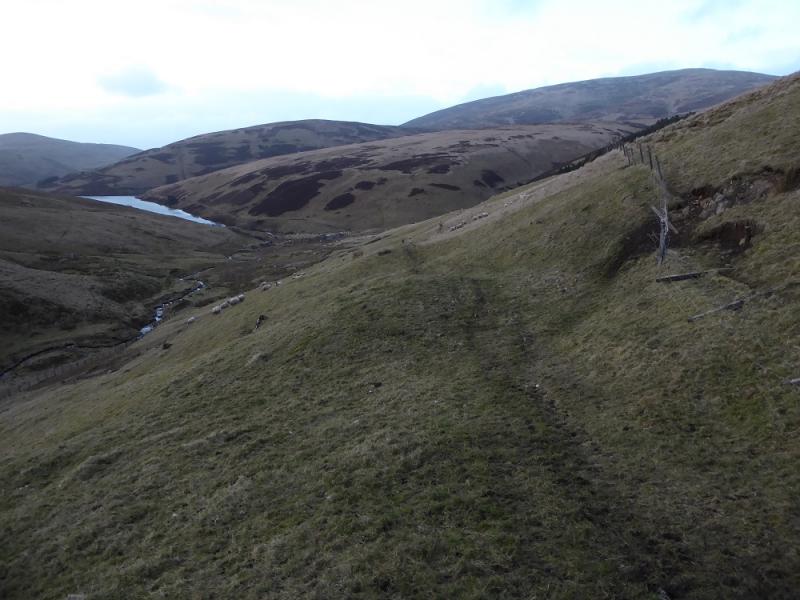
(8) It is a long way and take sin some rough ground. Follow the wind farm road N until past Hillshaw Head then leave the road before a gully and pick a way across the rough ground before dropping down a steep bank to the Fingland Burn. Follow this down. It is easy in places but rough in others and there are a few small waterfalls to avoid. The burn can be crossed several times to ease the descent before open ground is reached and one reaches the ford (usually easy to cross) at the eastern tip of the reservoir. Cross over and follow the track along the N side of the reservoir. Soon after the dam, the tarmac road starts and this is followed for about 3 km back to the start.
Notes
(a) This walk took place on 8 th March, 2017 and about 15 years earlier on a full round of all the Culter Fells which also included Hudderstone. The wind farm road now makes it easier to include Hudderstone for not that much more effort if one descends via Cowgill Rig.
Photos - Hover over photo for caption. Click on to enlarge. Click on again to reduce.