Get Lost Mountaineering
You are here: England » Lake District » 4 Southern Fells
Glaramara, Allen Crags & Seathwaite Fell from Seathwaite
Glaramara, Allen Crags & Seathwaite Fell from Seathwaite
Start/Finish
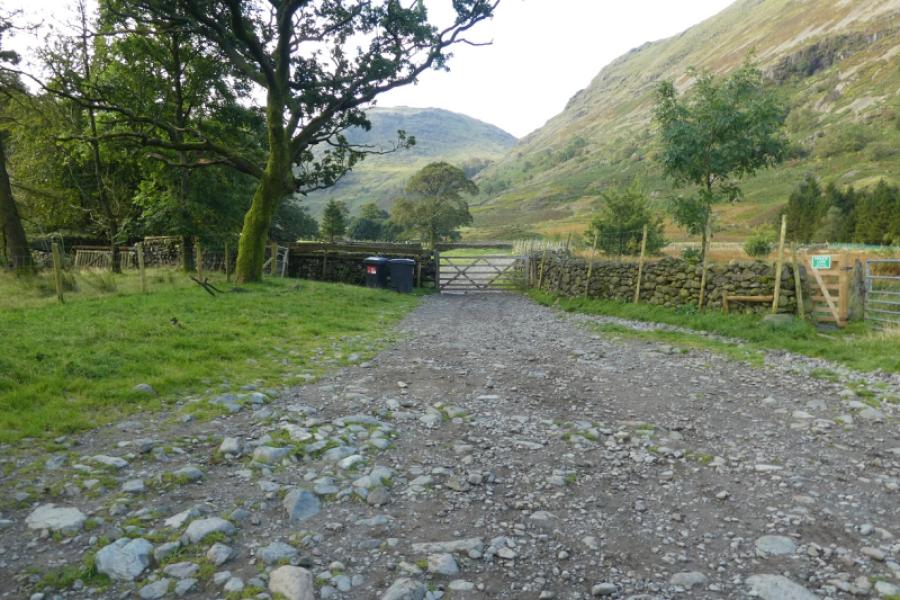
Seathwaite Farm where there is limited parking on the verge of the approach road or one can pay £5 (2024) to park at the farm. The road to Seathwaite leaves the Borrowdale/Honister Pass road just south of Seatoller
Distance/Time
14 km About 7 - 8 hours
Peaks
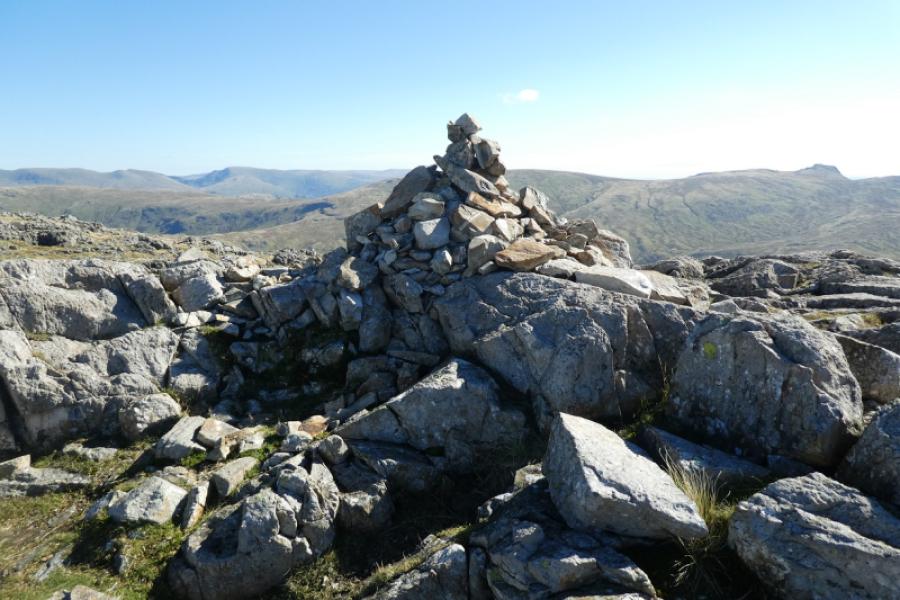
Glaramara, 783 m, NY 246 105.
Allen Crags, 785 m, NY 237 005.
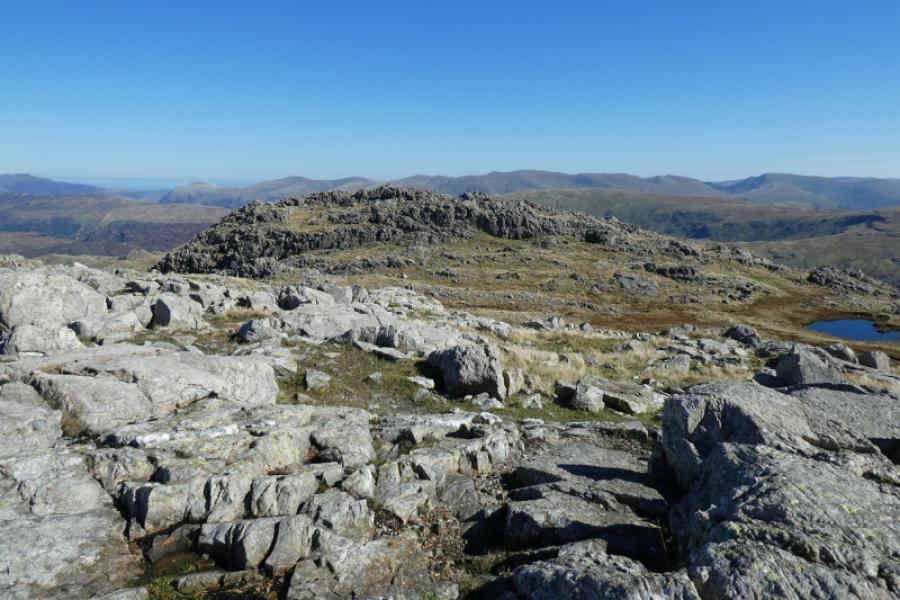
Seathwaite Fell, 632 m, NY 227 097.
OS Sheet 90: Penrith & Keswick
OL 4 North Western Lakes OL 6 South Western Lakes
Introduction
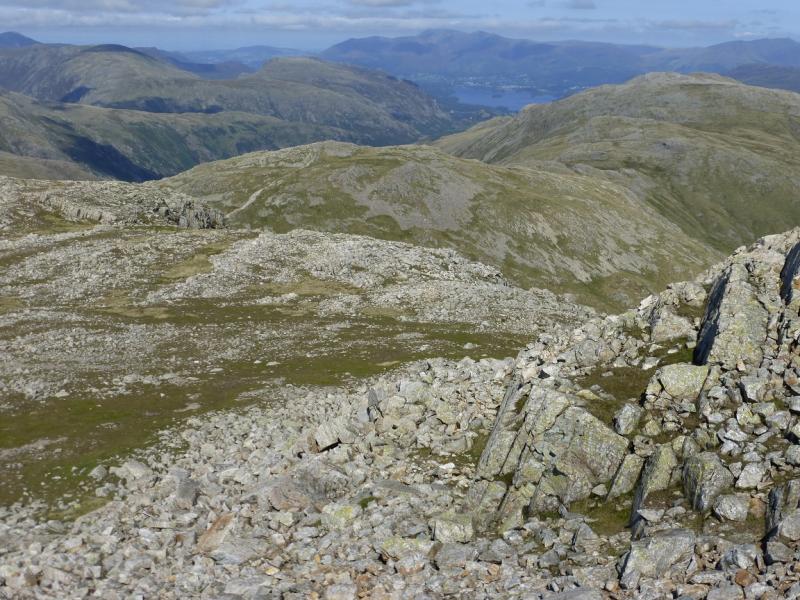
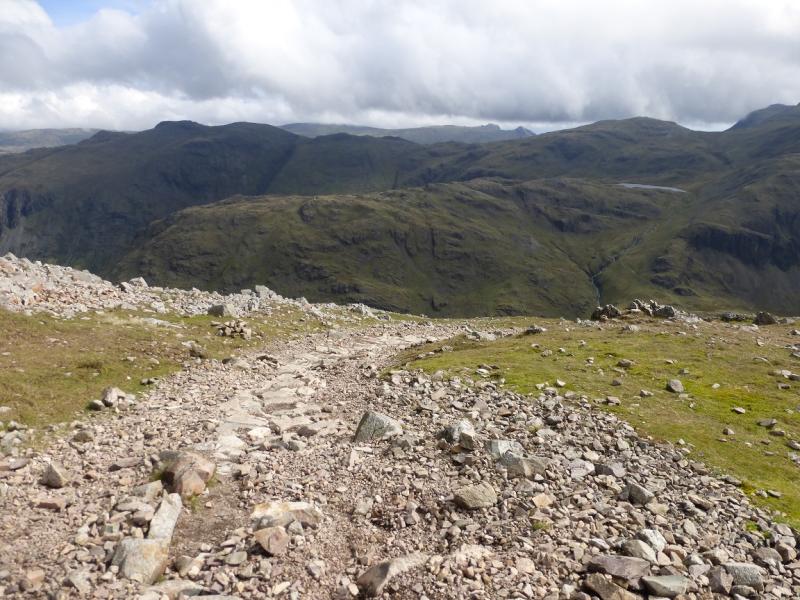
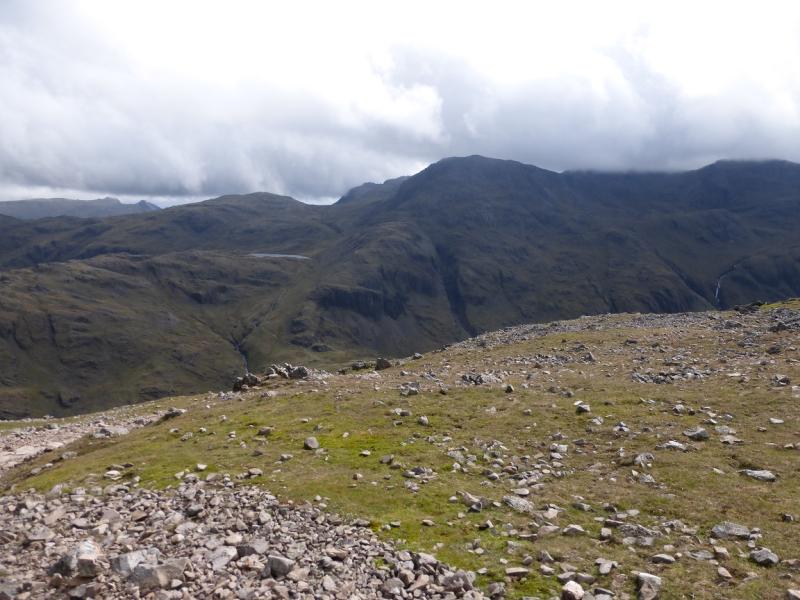
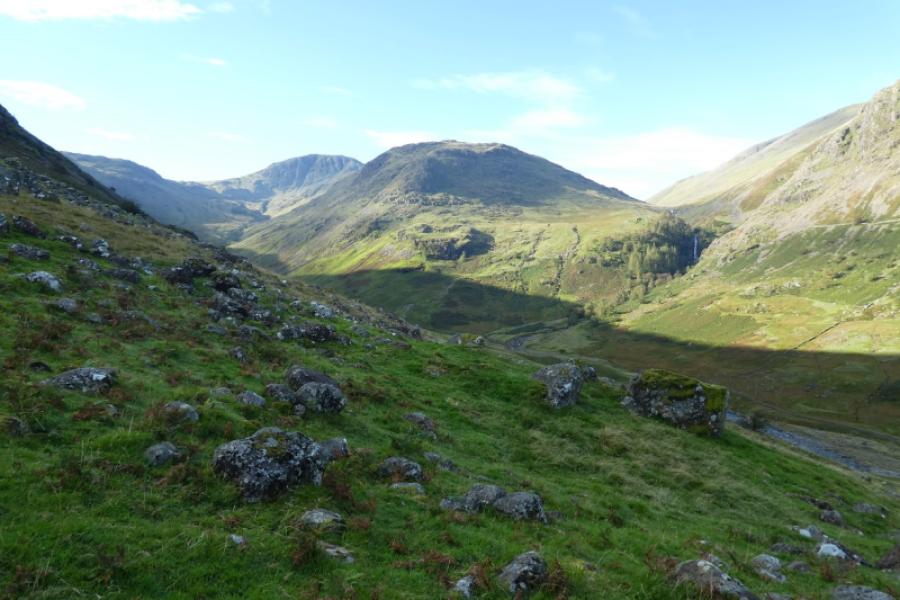
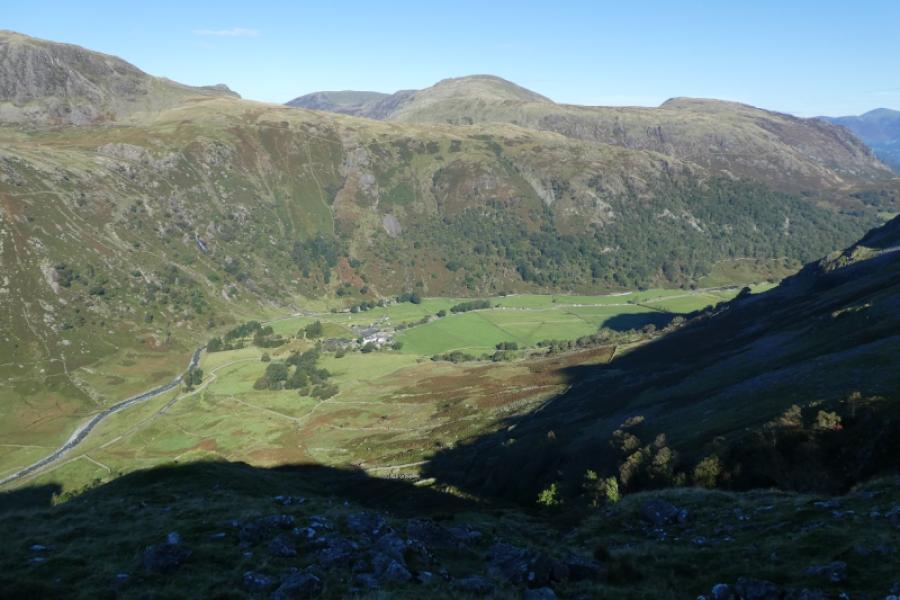
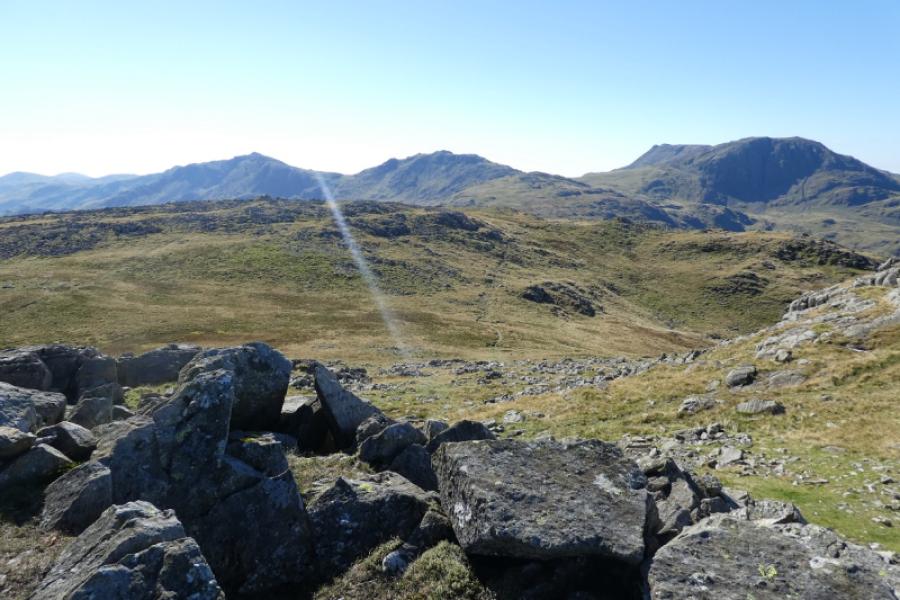
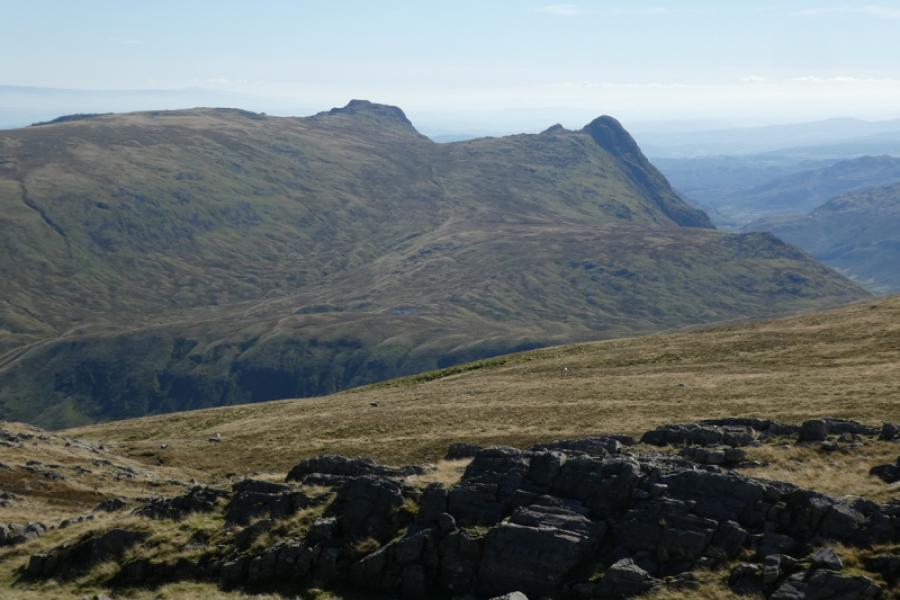
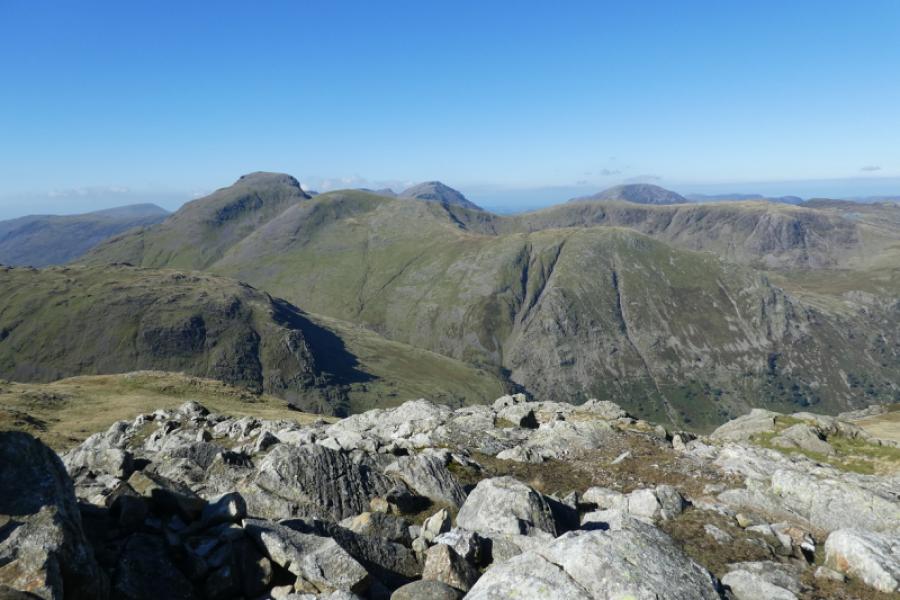
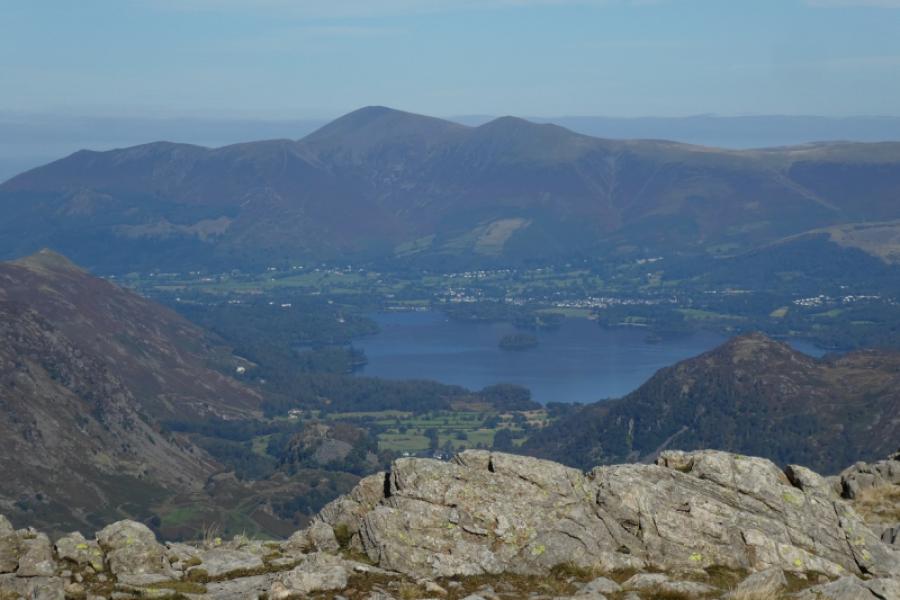
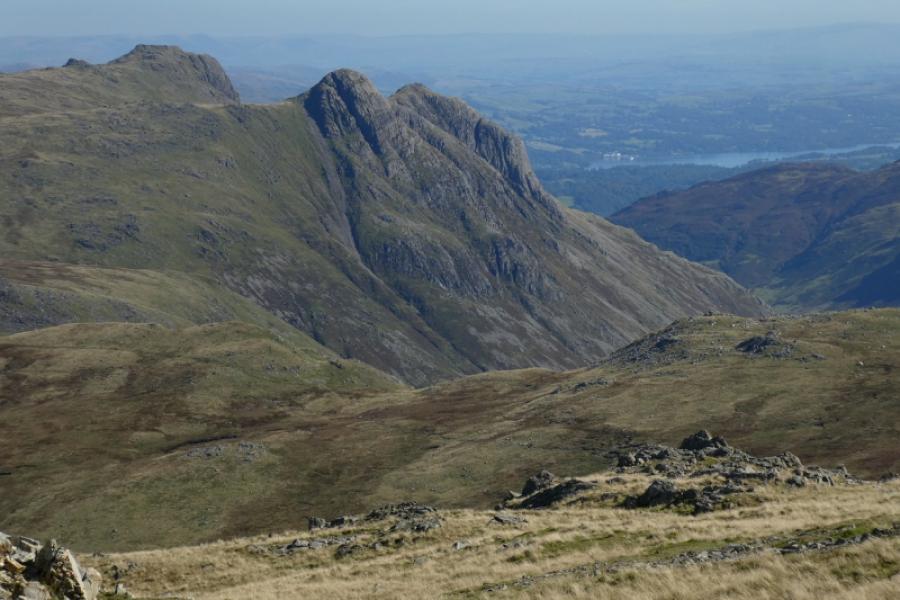
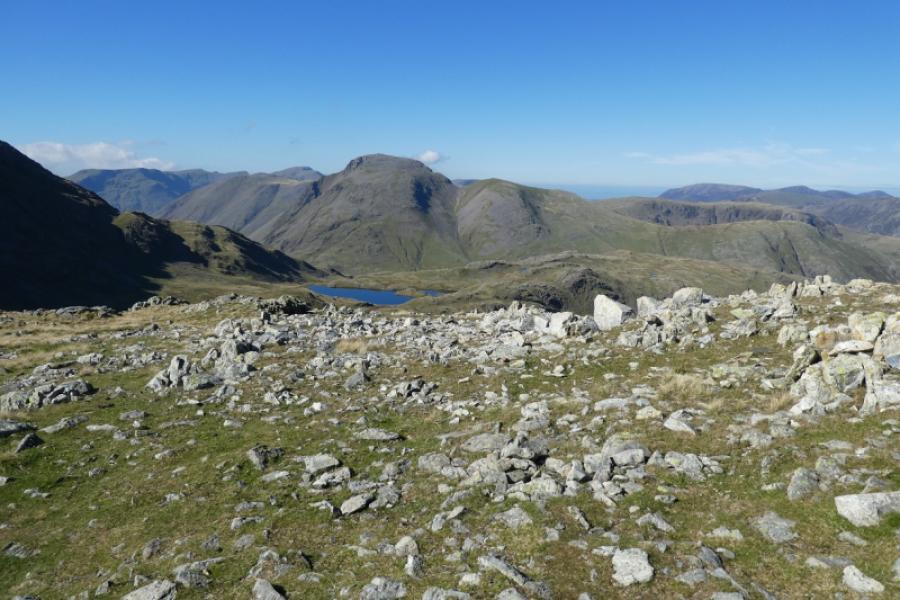
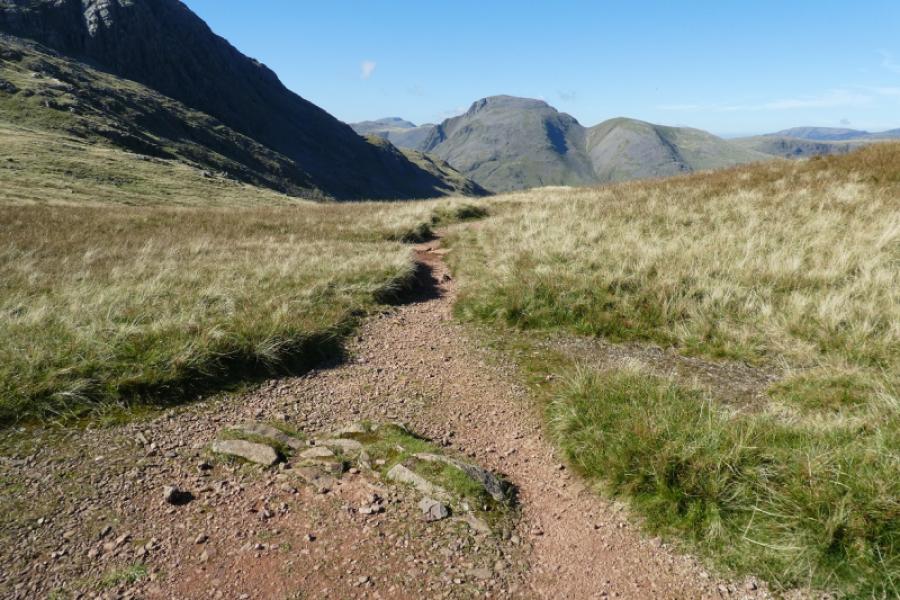
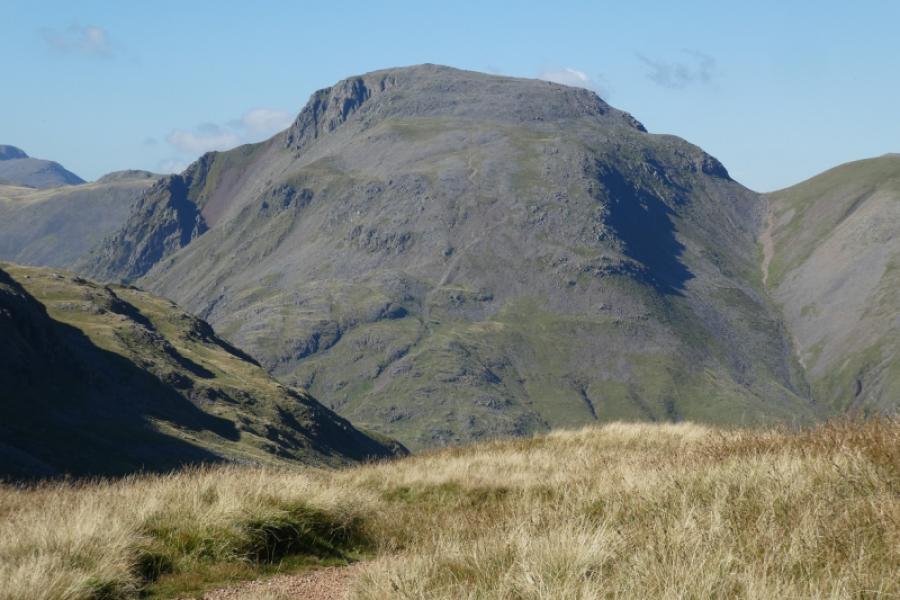
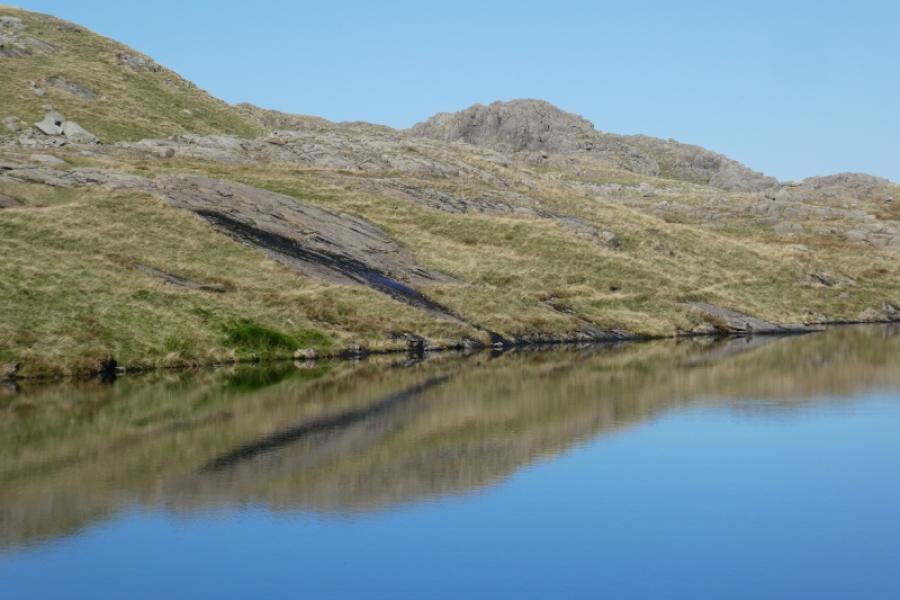
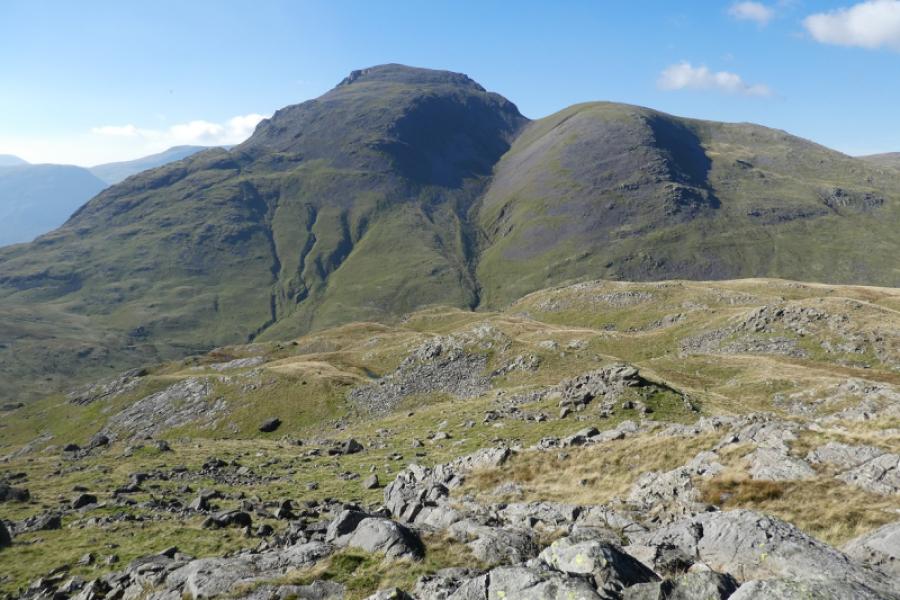
This is a tough route especially the ascent of Glaramara by the side of Hind Gill where the path is steep, intermittent and sometimes exposed. Between Glaramara and Allen Crags there are several tops involving much up and down on a path which isn't always obvious, Seathwaite Fell, by comparison, is a joy with many little tarns and the much photographed Sprinkling Tarn. The path from Styhead Tarn back down to Seathwaite, despite being engineered, is very rough in places. Despite all this, there are brilliant views in all directions including Great Gable, Great End, Bow Fell, Esk Pike, Langdale Pikes and even Skiddaw and Helvellyn. Given the nature of the terrain, this route is not recommended in poor visibility.
Route
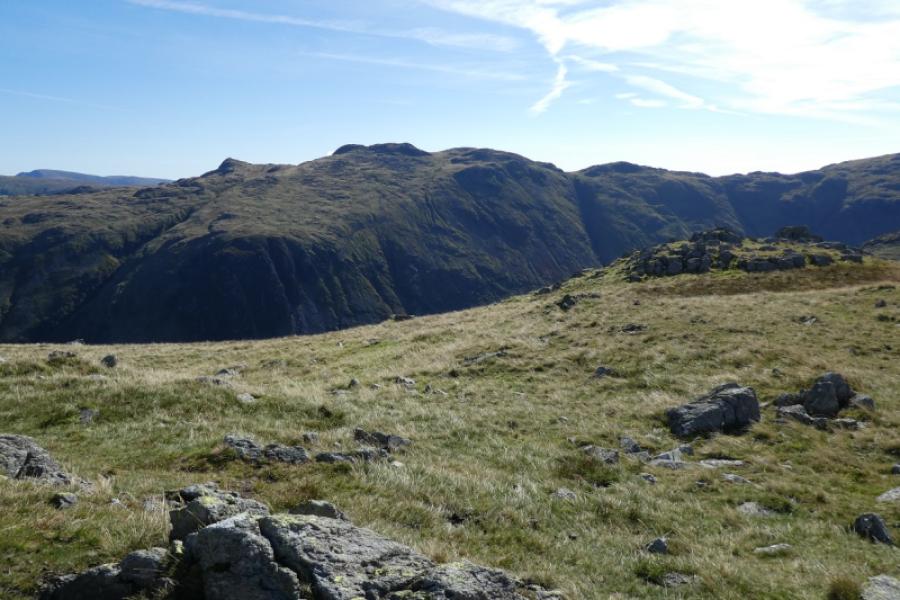
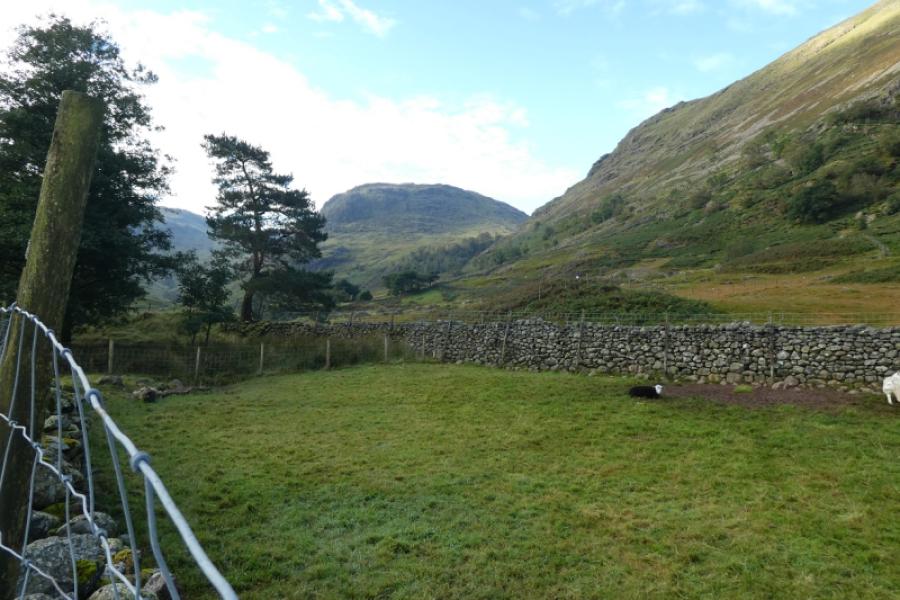
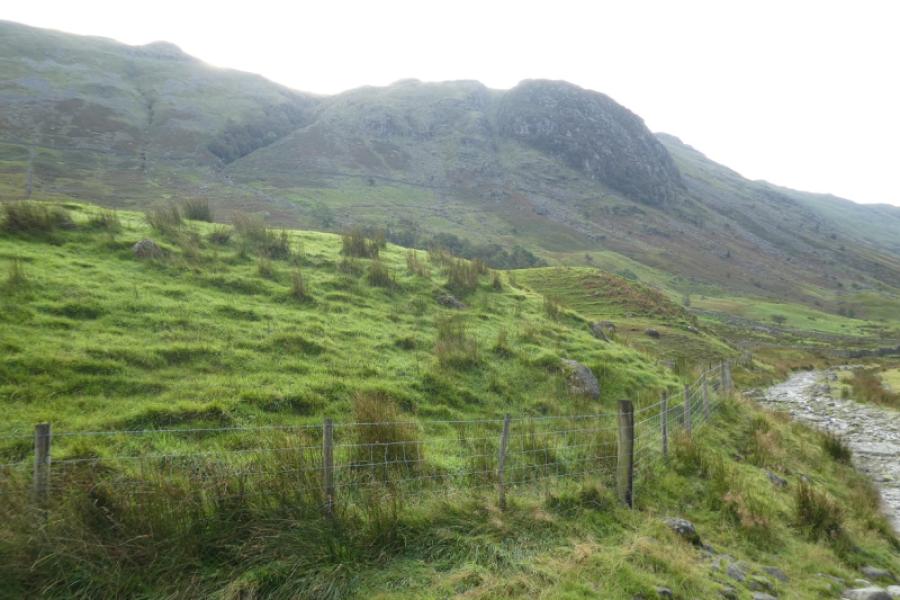
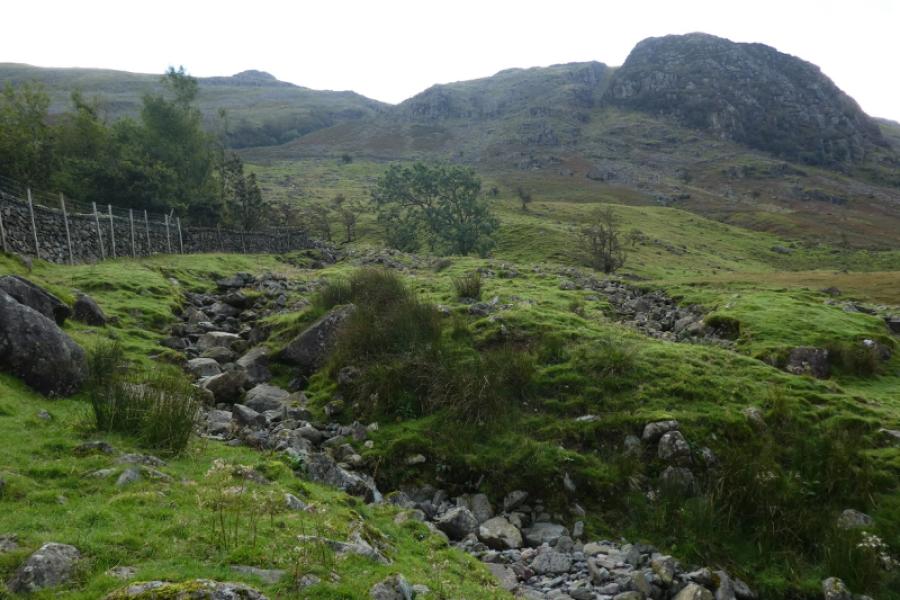
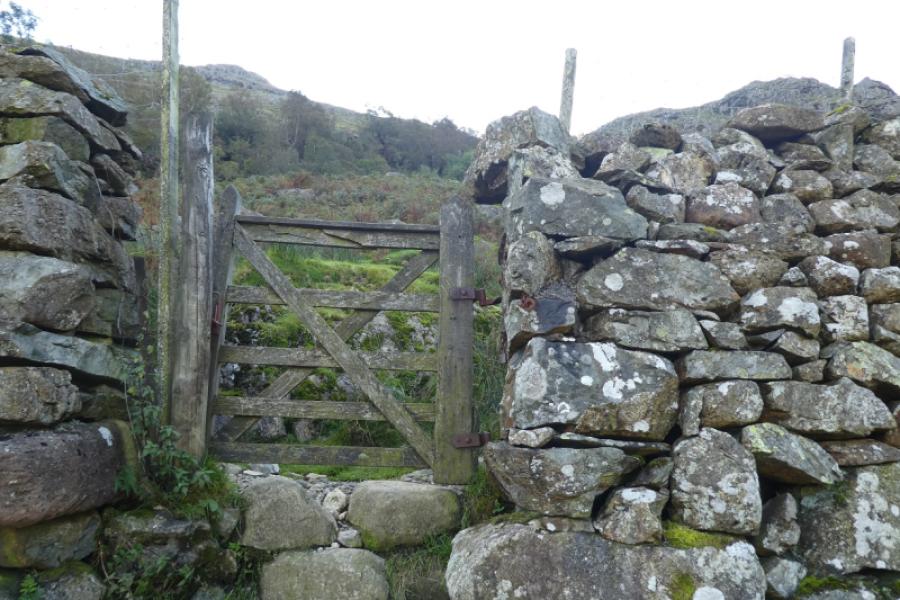
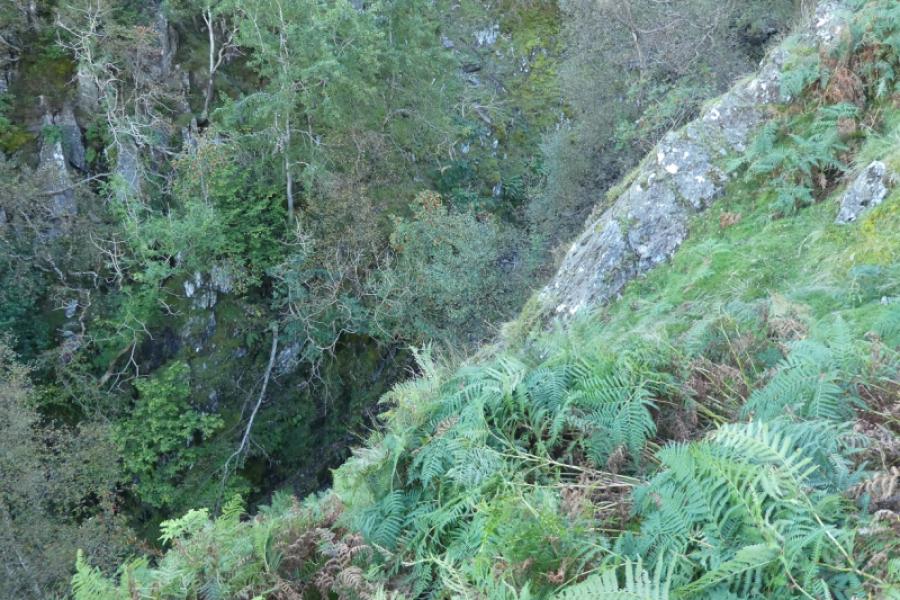
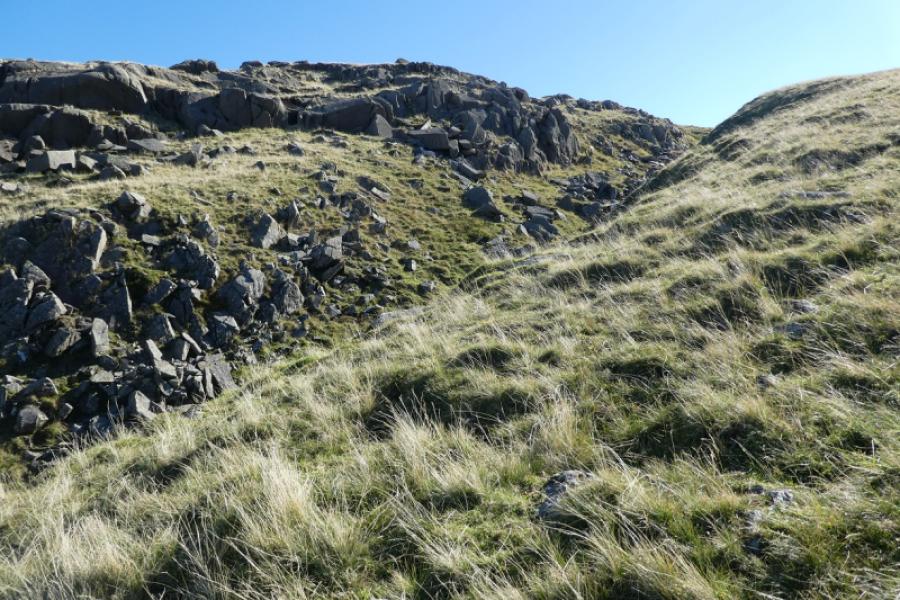
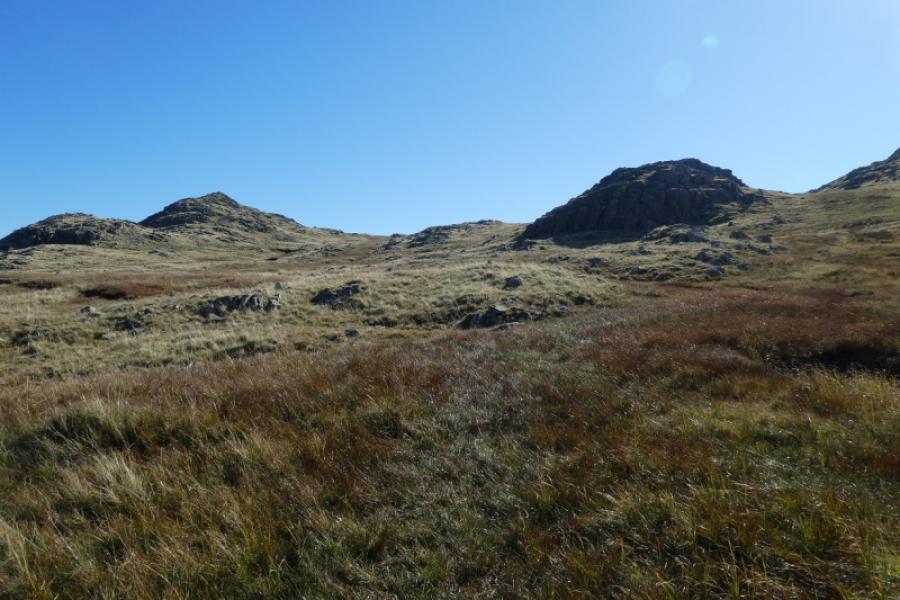
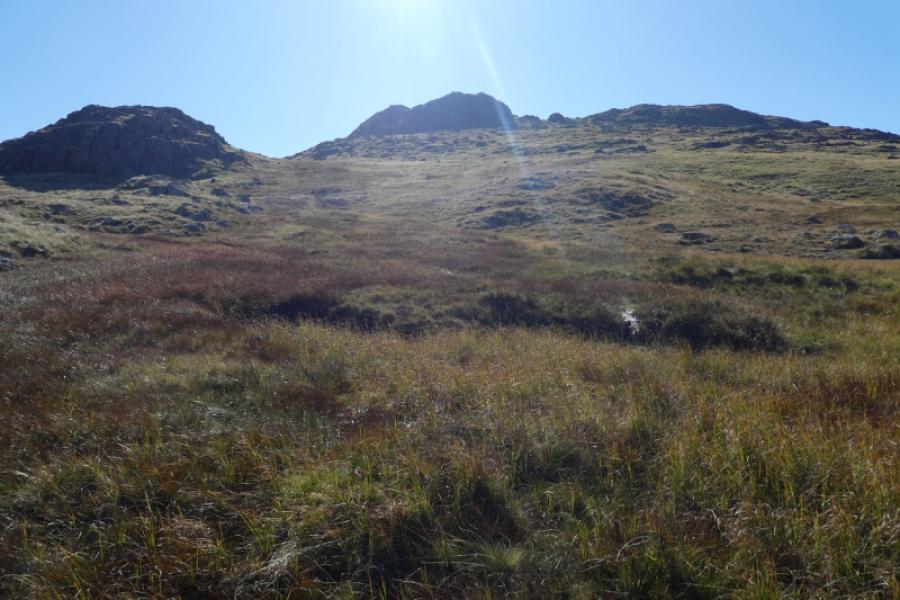
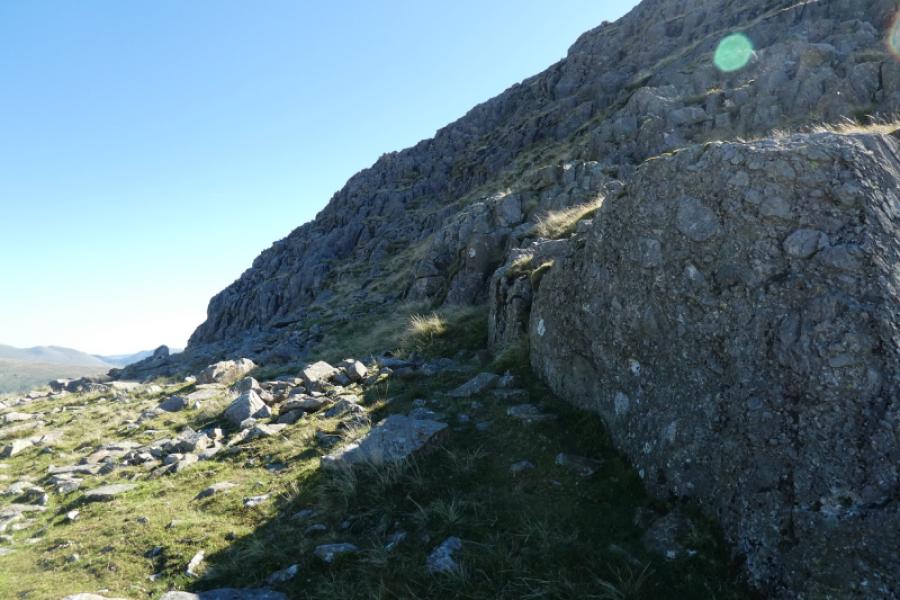
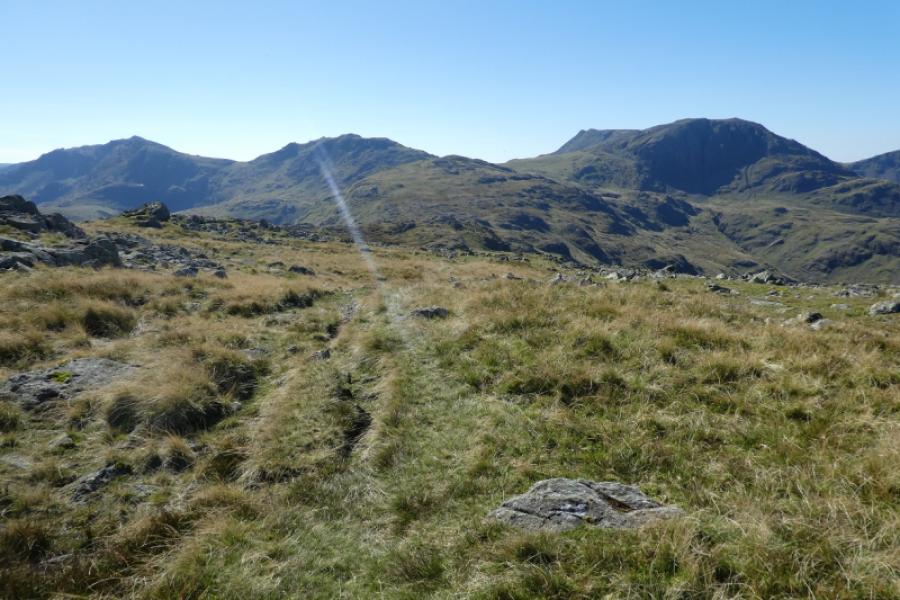
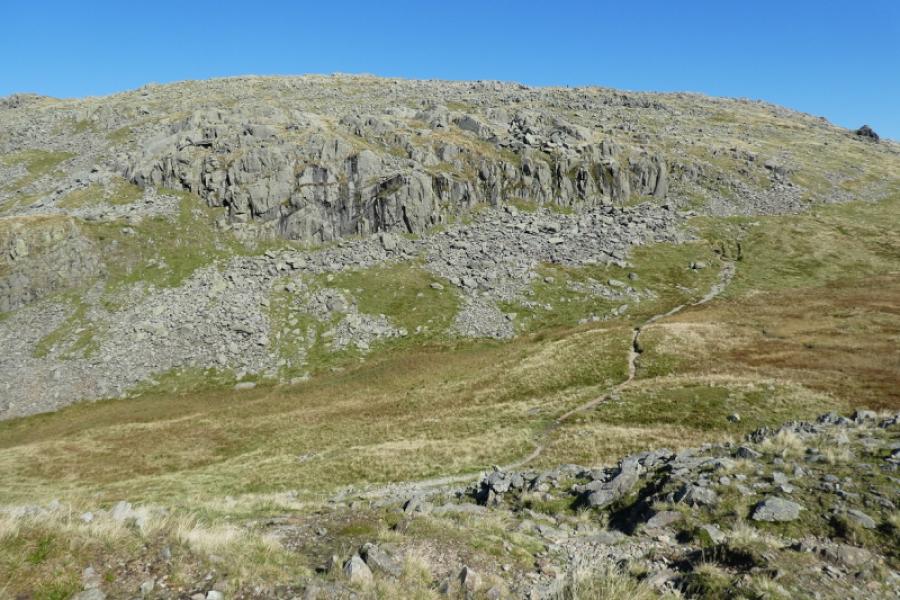
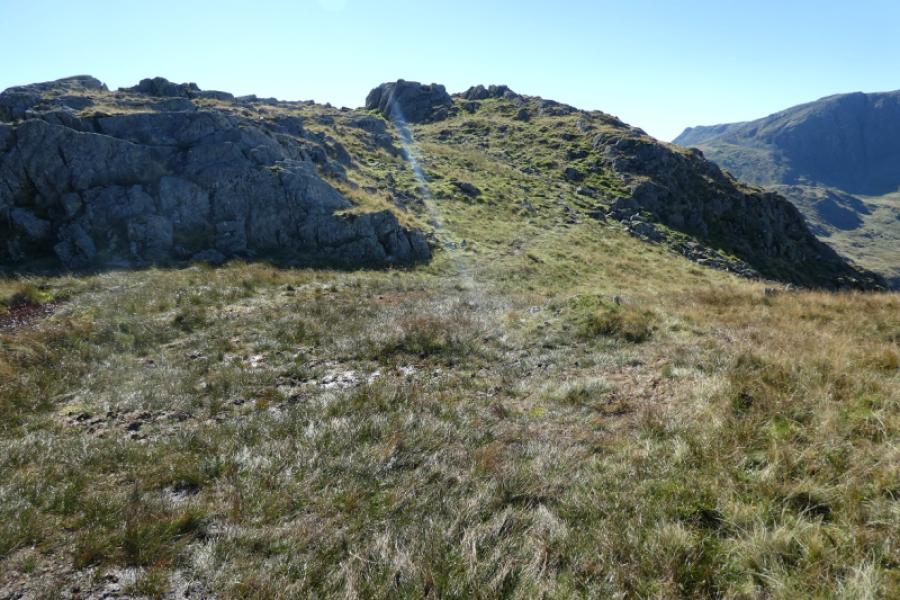
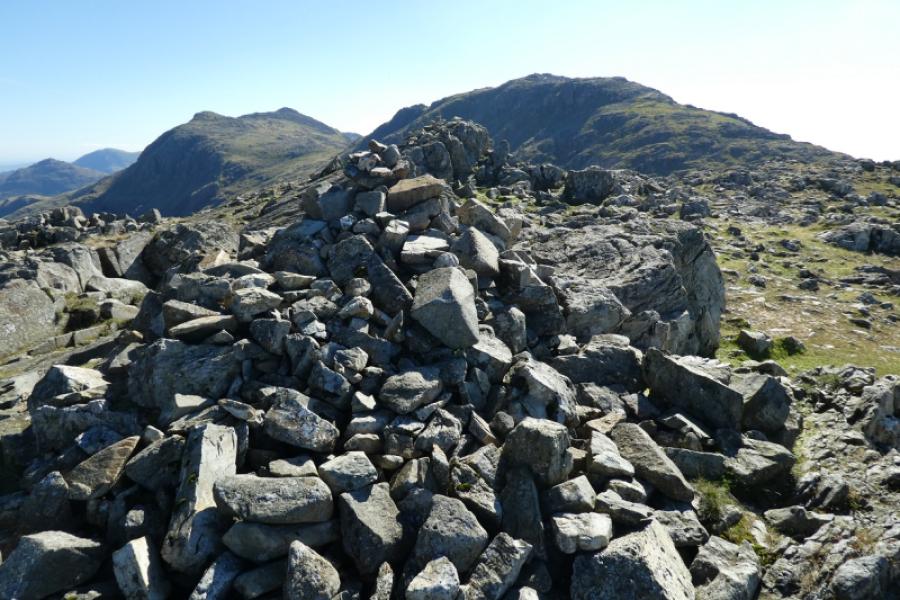
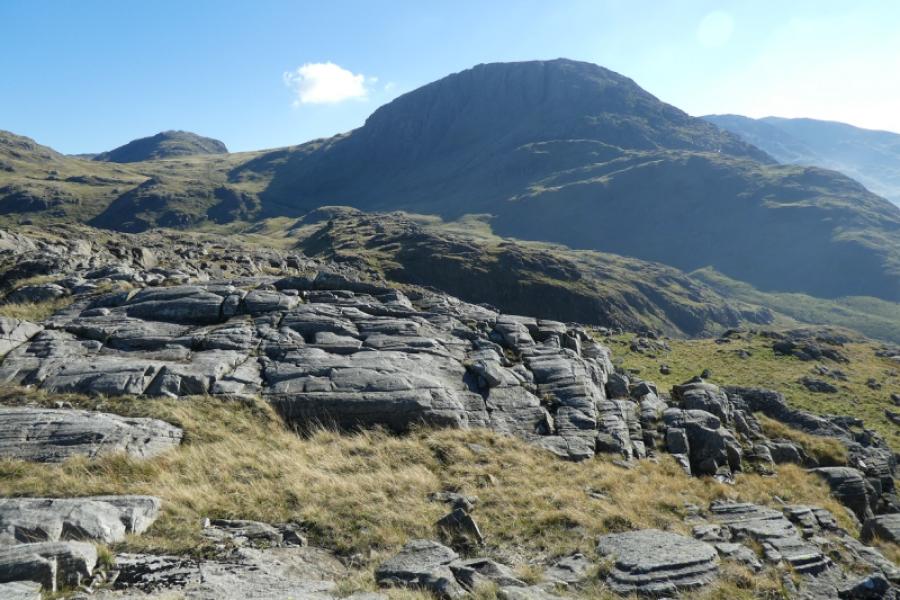
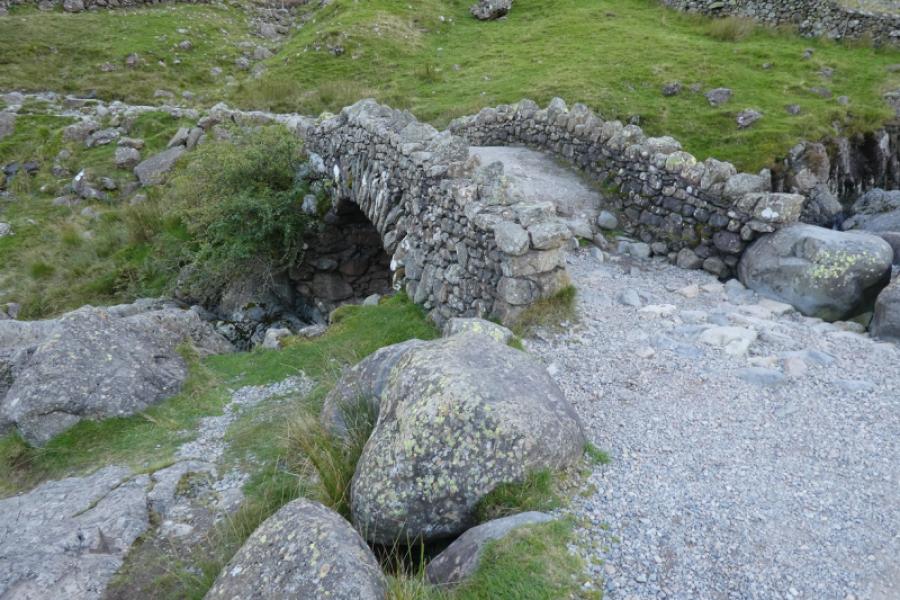
(1) Walk through Seathwaite Farm and continue ahead as if heading for Sty Head via Stockley Bridge. Pass the bridge going to High House then continue until about opposite a group of scattered trees, marked as a wood on some maps. About here, there is gate with a footpath arrow on it. This is the way up Hind Gill. Initially there is a wall on the left but the best route is to the right of the streams. There is little sign of a path here but one gradually appears with height. Pass through an old broken wall then a narrow gate and continue up trying to keep to the path. The hillside soon becomes rocky and Hind Gill becomes a deep gorge so care is needed. Eventually, the rock is all passed and the angle eases but the path then becomes even more difficult to follow but it is actually near to the gill which is now just a stream. Continue up and head for the crest to reach a path going right towards Glaramara. The path leads to a cairn below a broken buttress which some will scramble up but most will go around to the right and pick up a path which leads up easily to between the two tops of Glaramara. Go right and ascend easily to the medium cairn which is the summit of Glaramara, 783 m. The northern top, above the buttress, is slightly lower. There are other cairns nearby which are viewpoints. Allen Crags is visible but often merges into Esk Pike.
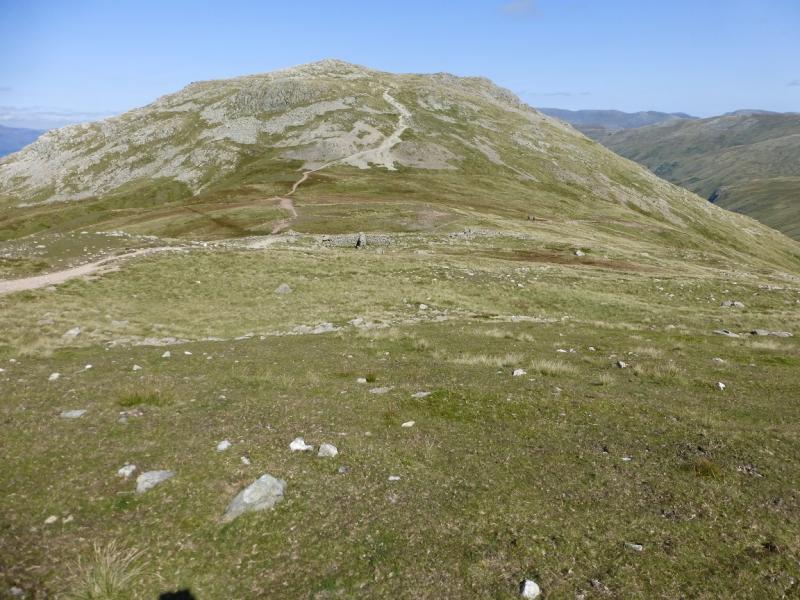
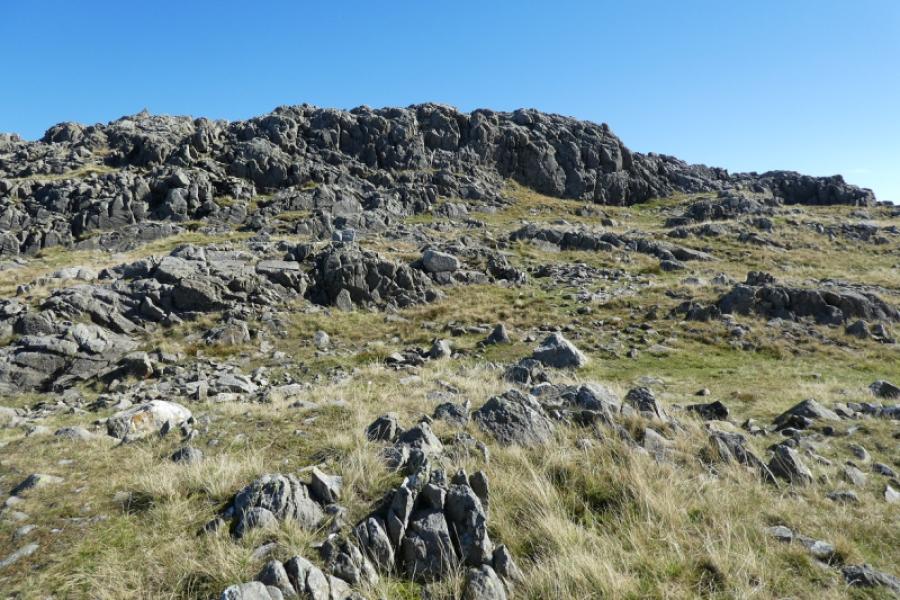
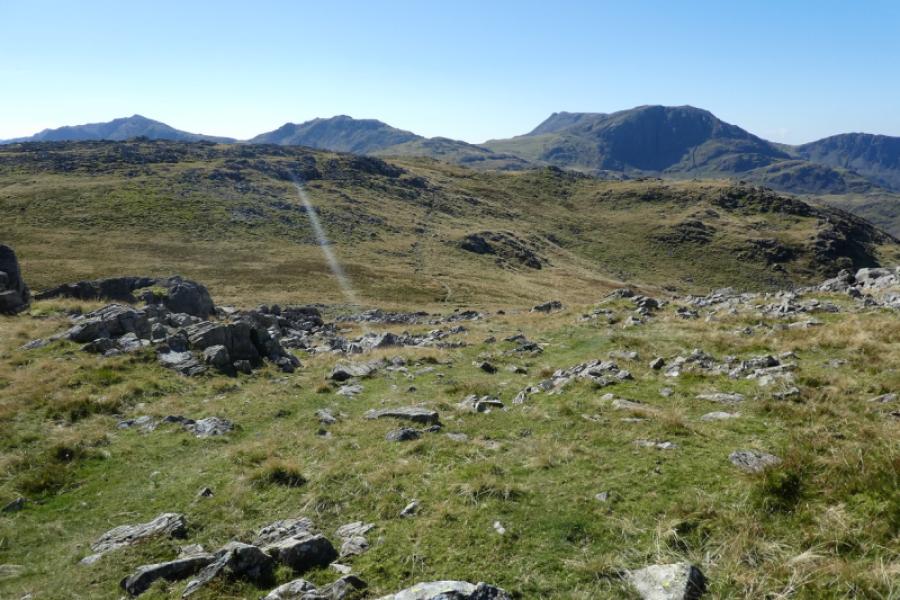
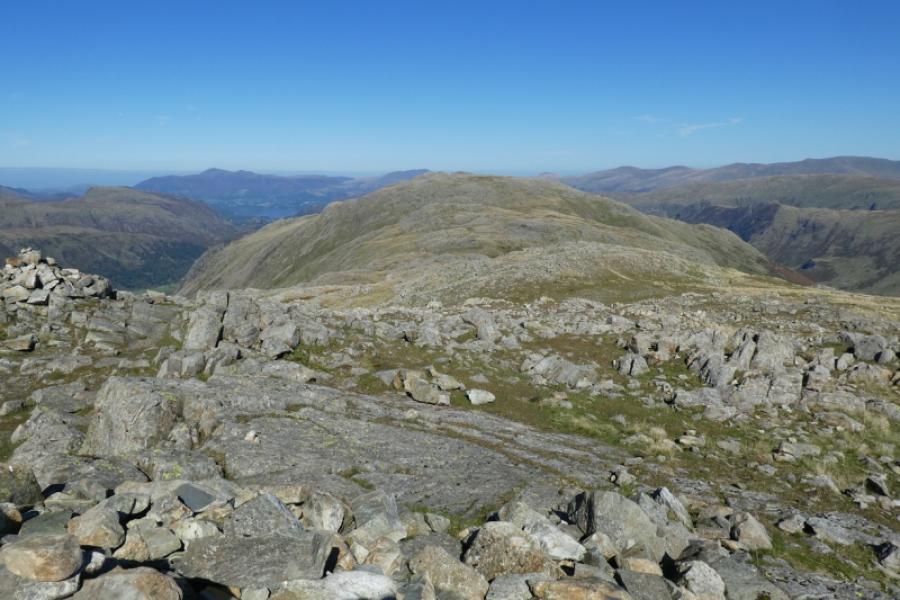
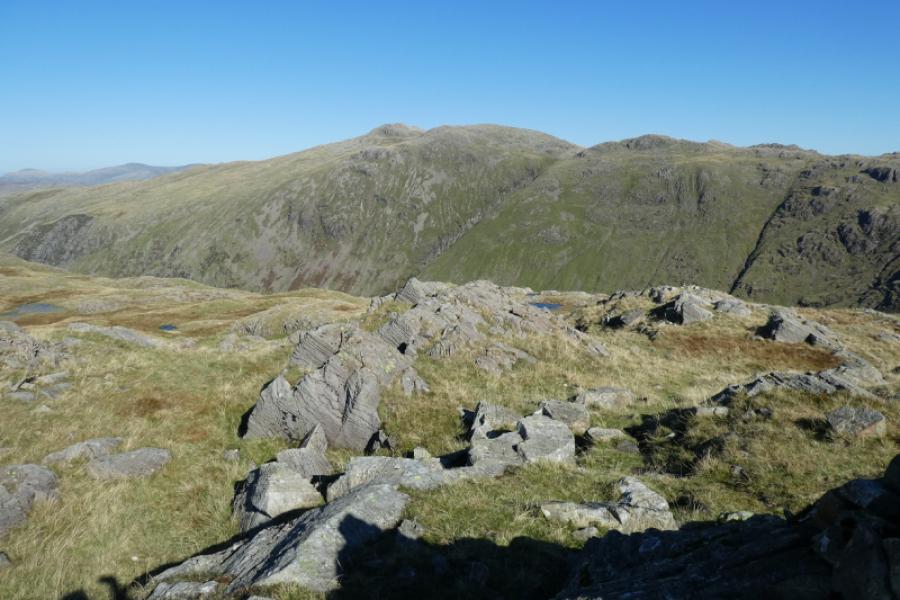
(2) Head roughly south taking either the upper or lower path and continue towards Allen Crags. There are several descents and reascents with one descent going around some broken buttresses. Eventually arrive at a medium cairn next to a small cairn on an outcrop which is the summit of Allen Crags, 785 m. In clear weather, Esk Hause, the dip between Esk Pike and Great End, is fairly obvious.
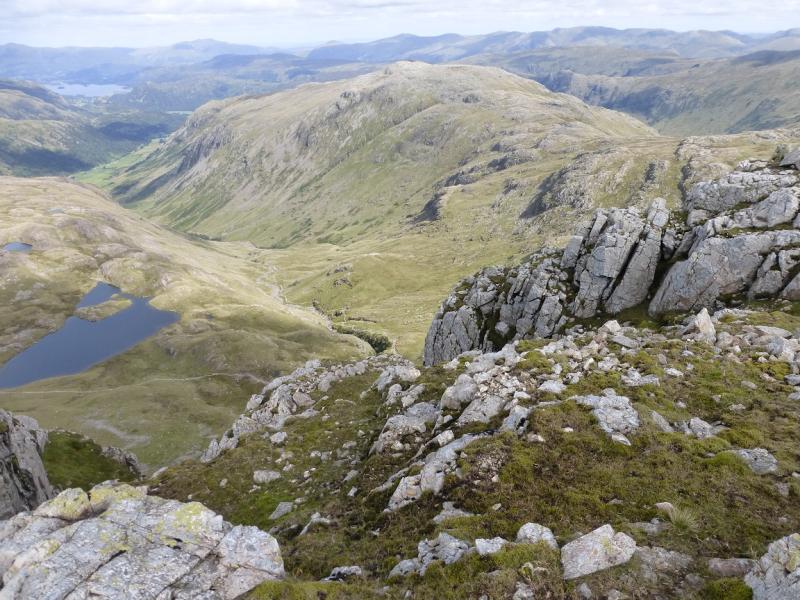
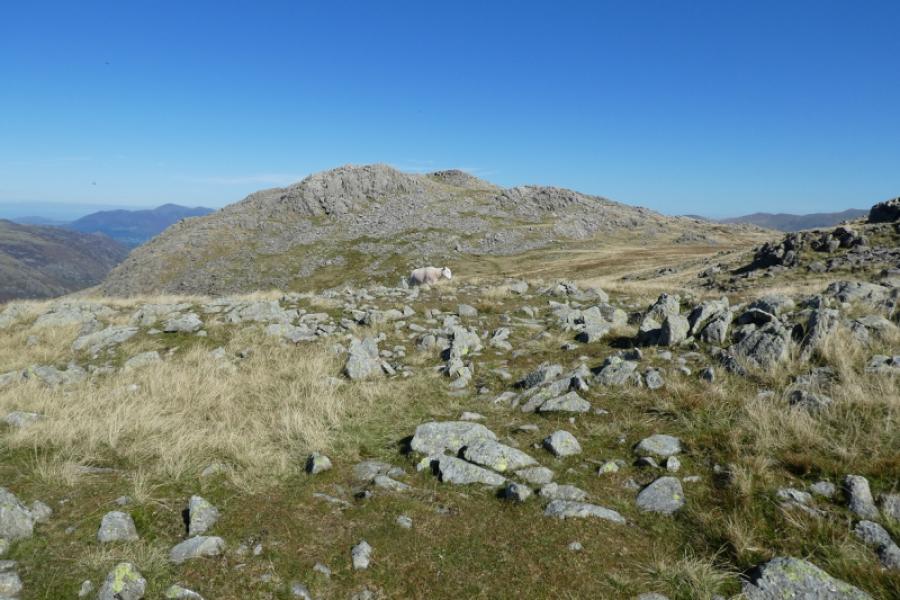
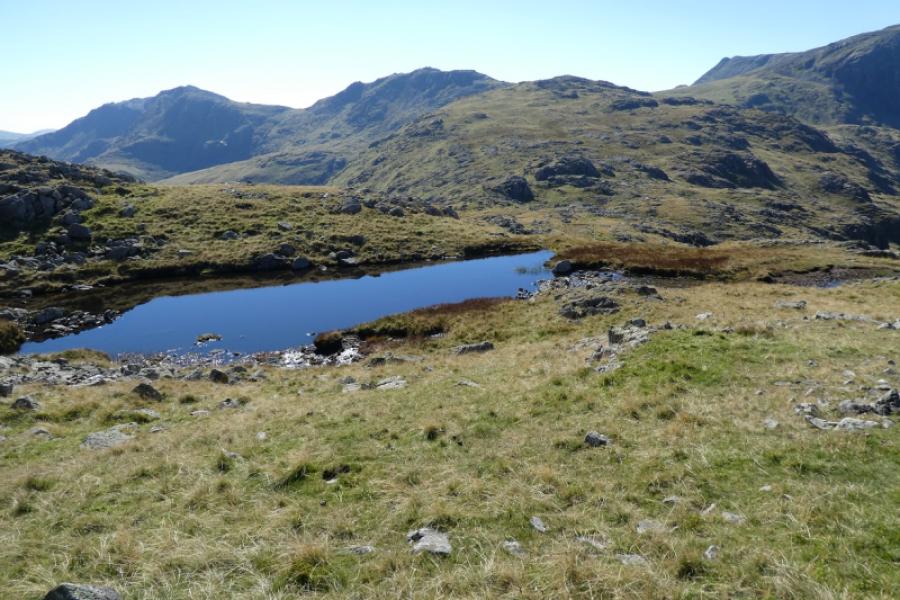
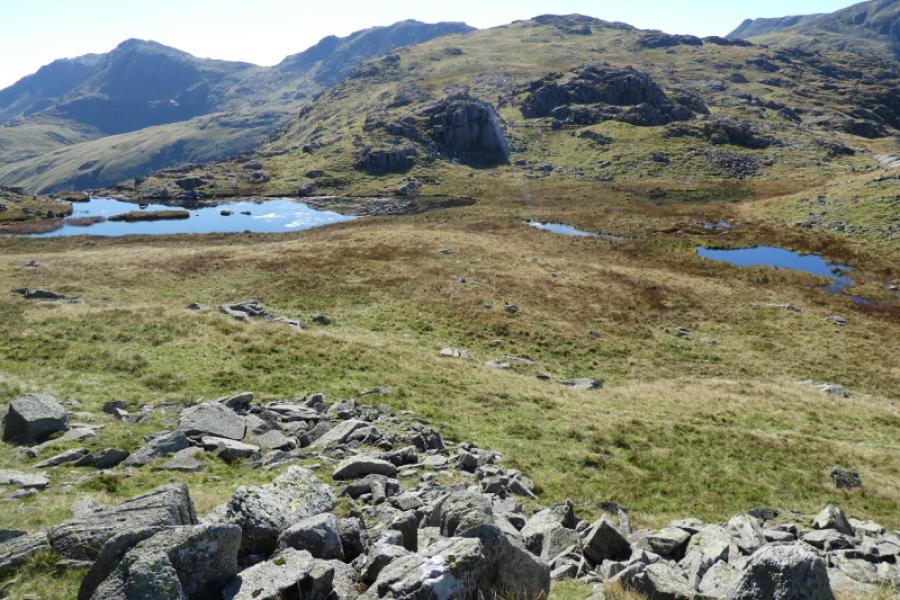
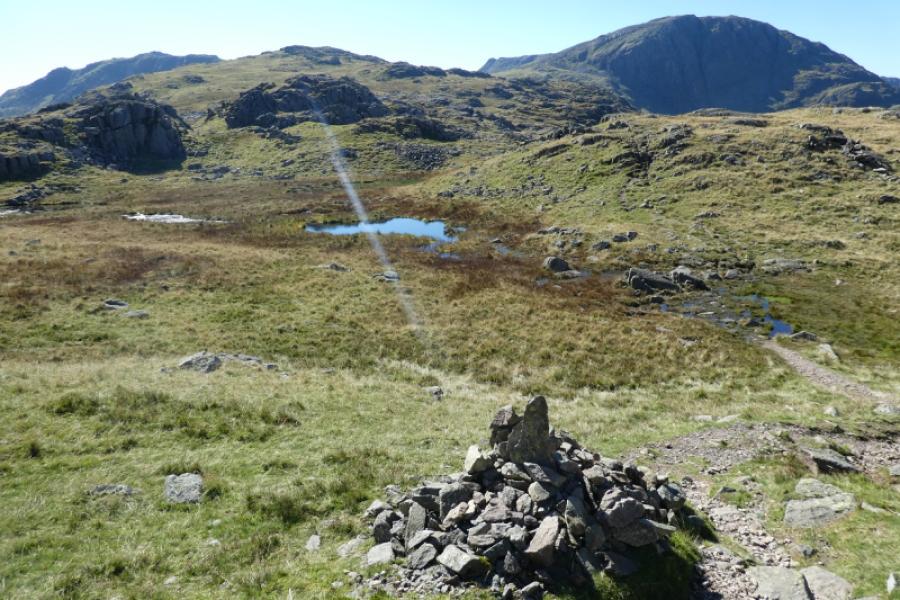
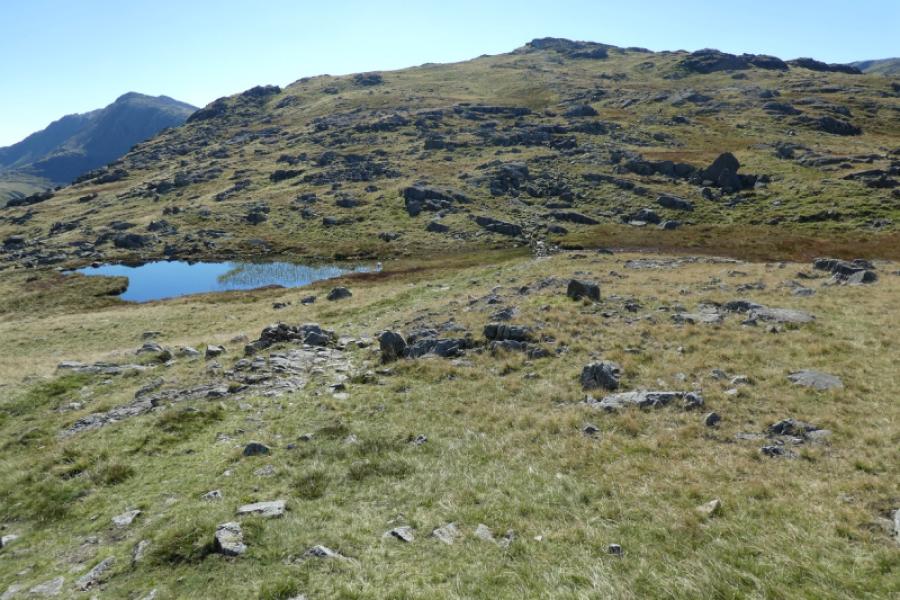
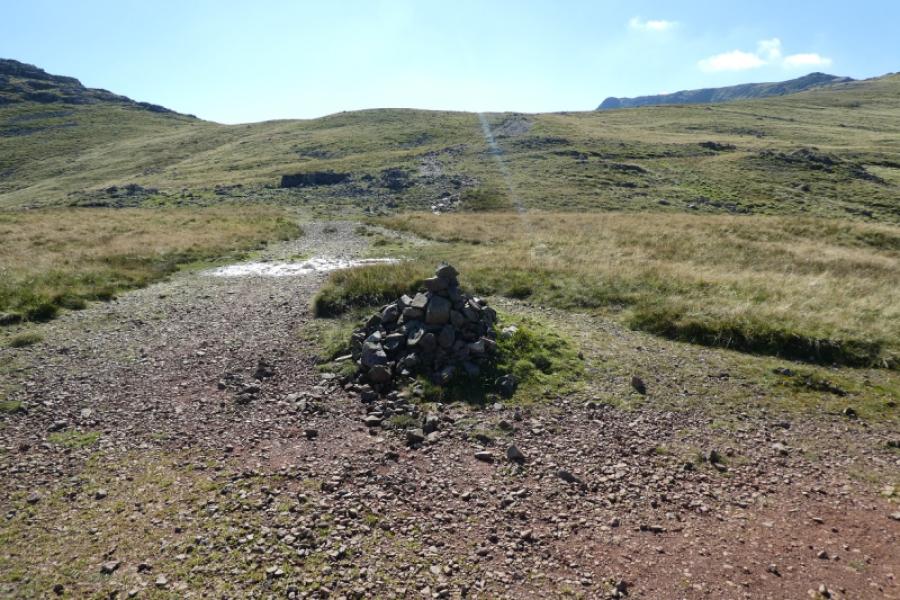
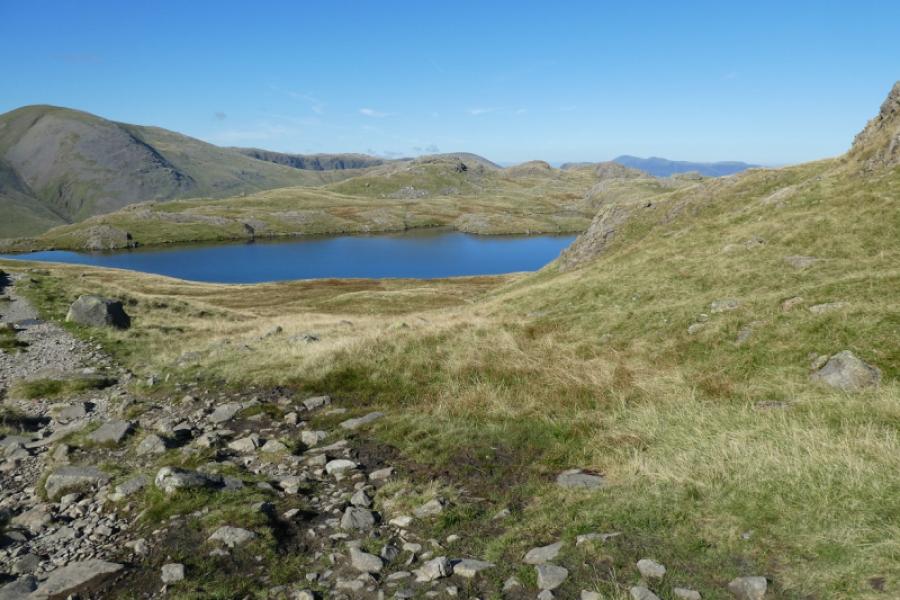
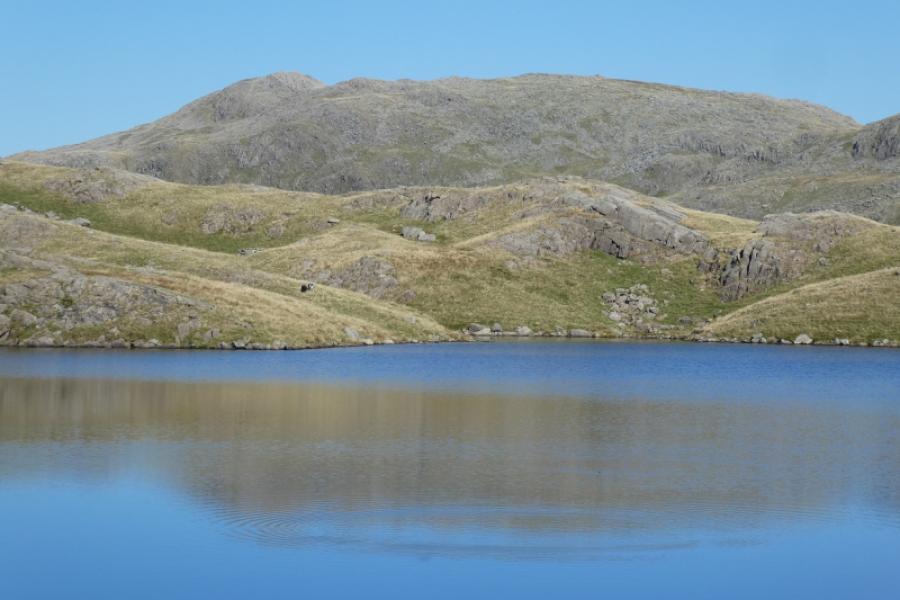
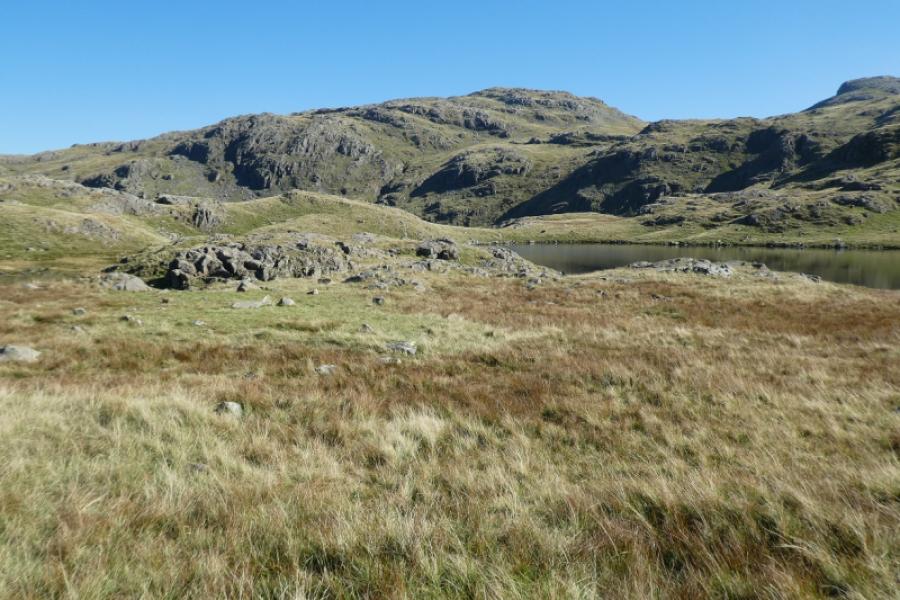
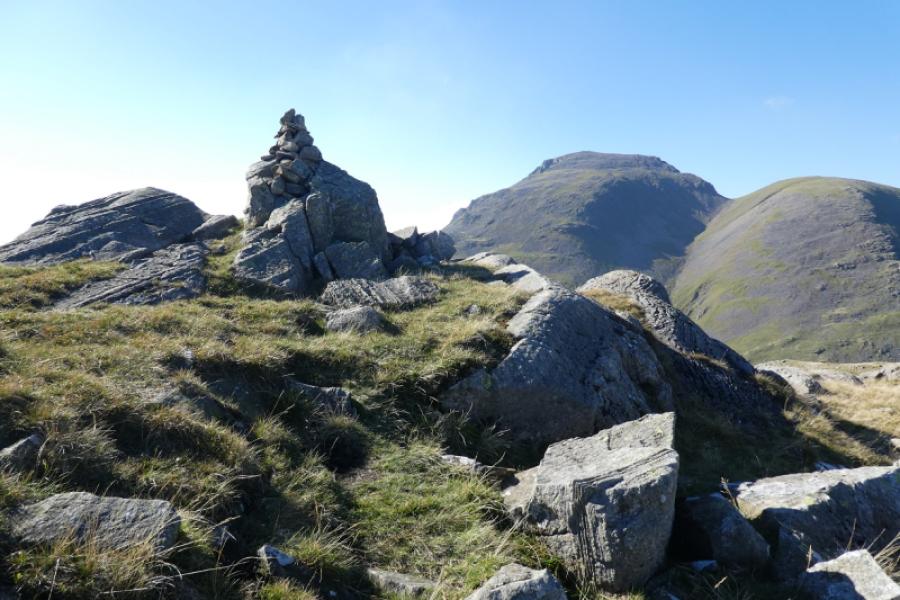
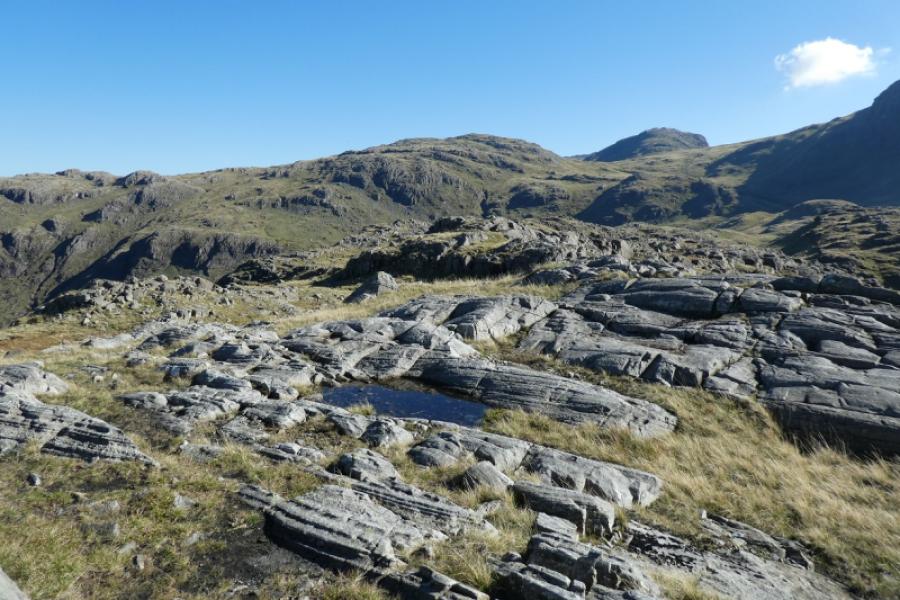
(3) Descend on the path leading to Esk Hause to reach a cairn in a dip. Turn right here and follow the path to eventually join the main path from Esk Hause to Sty Head. Reach Sprinkling Tarn and cross its outflow then take a path which is initially on its north side. Follow the path for about 1 km until below some outcrops with nothing higher ahead, Follow a faint path, which may cross a more prominent path then reach a small tarn from where the summit cairn should be visible. Ascend easily to reach a small cairn on a rock which is the summit of Seathwaite Fell, 632 m
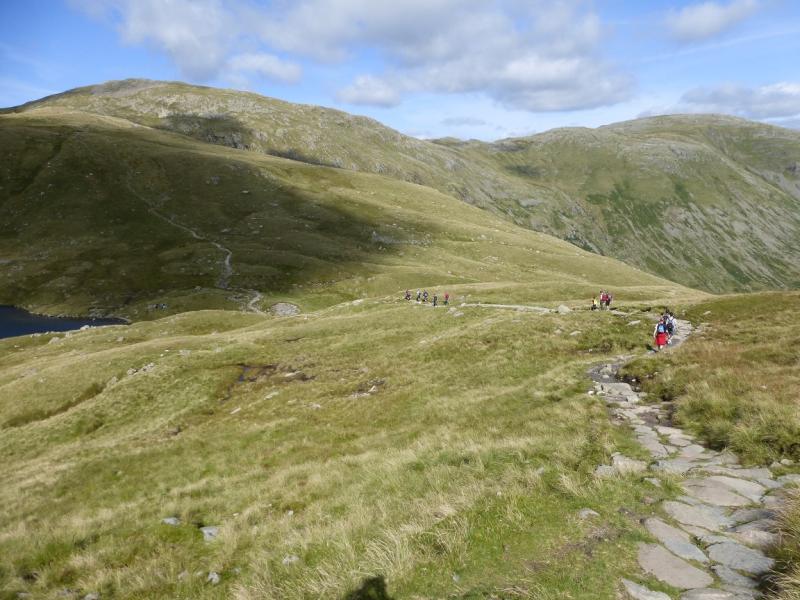
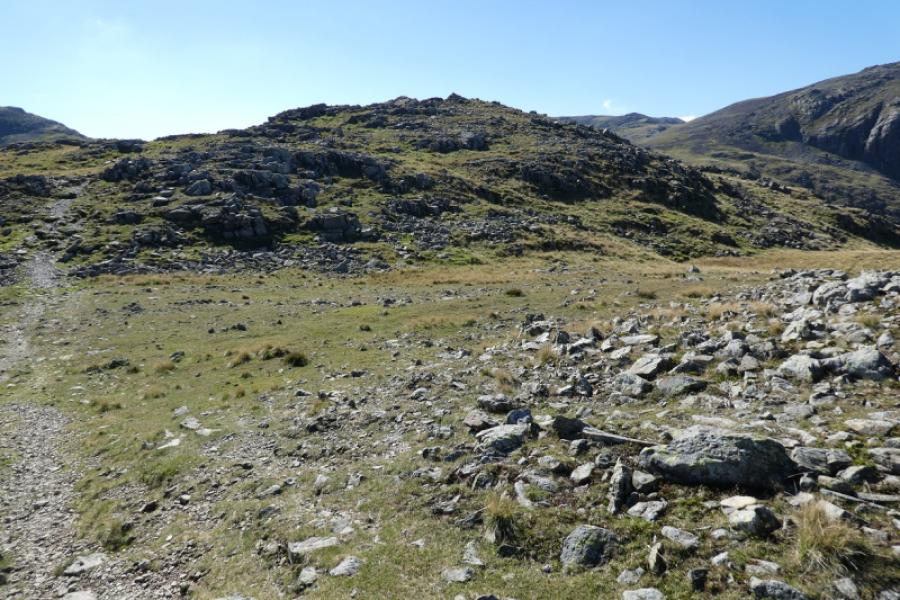
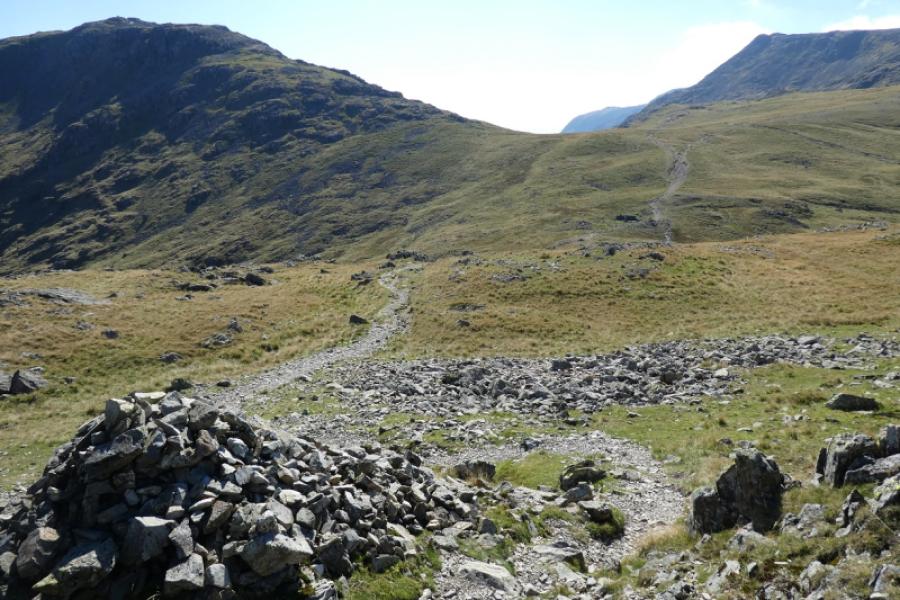
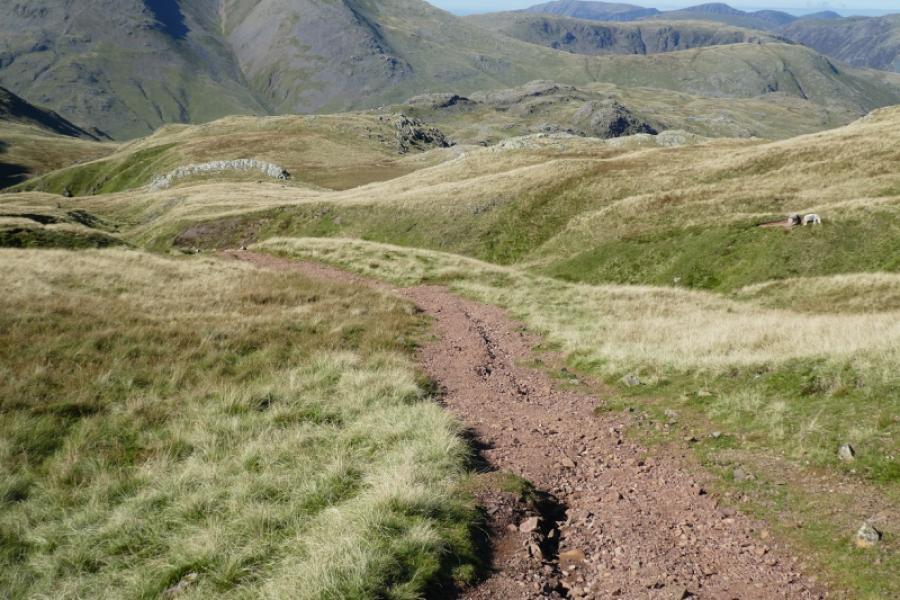
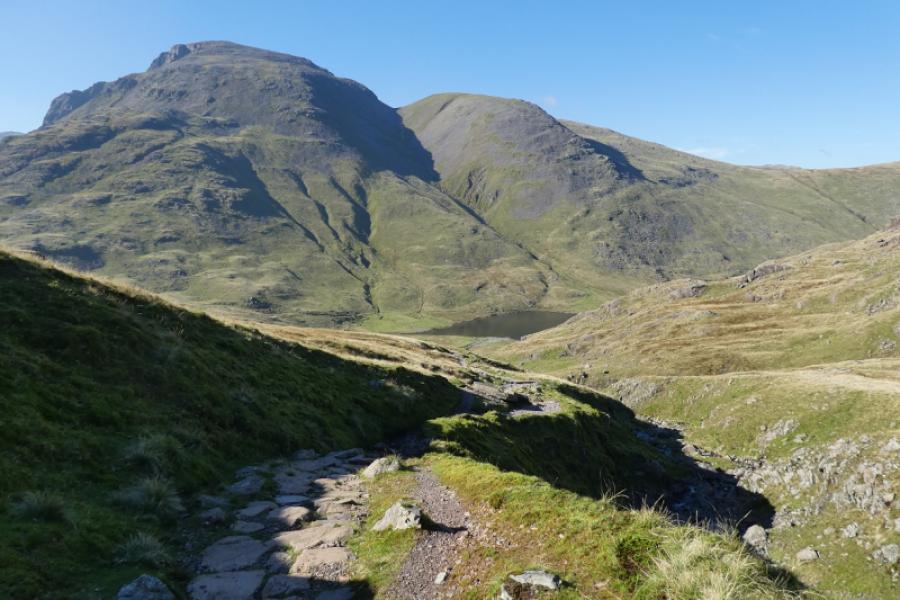
(4) Retrace to the prominent path and follow that to rejoin the path to Sty Head. Continue down to Sty Head where there is a mountain rescue box. Turn right and walk past Styhead Tarn then follow the obvious path, rough in places, back down to Seathwaite.
Notes
(a) This walk took place on 17th September, 2024.
Photos - Hover over photo for caption. Click on to enlarge. Click on again to reduce.